10
Mag Probe Assembly
The following assembly instructions are for Global Mag Plus an Mag Plus probes. For other probe types follow assembly
instructions included with probe.
Attaching Probe Canister Spacer Rings
1. Open the probe shipping carton so that you have access to the probe. Also open the installation kit.
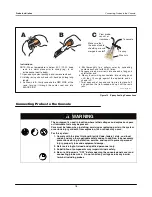
2. After setting the spacer vanes for a 3- or 4-inch riser (see Figure 5), install the two spacer rings as shown. Note: you
must slide the bottom spacer over the probe and onto the lower end of the canister. NOTE: spacers are not required
for a 2-inch riser.
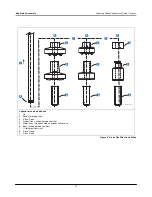
Assembling Floats onto Probe Shaft
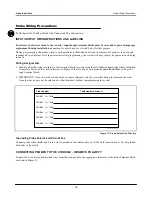
The Product floats, Water Floats (if ordered), and Boots from Probe Installation Kits are assembled on the probe shafts in
the exact sequence and orientation shown in Figure 6.
IMPORTANT! Failure to push the boot as far as possible onto the probe shaft could cause the boot and float(s) to fall
into the tank. The boot must be pushed on until it “locks” on the probe shaft. Also, water floats must be installed, if
ordered, for the probe to operate correctly.
Handle the probe carefully. Striking or dropping the probe will result in loss of calibration and could cause permanent
damage.
Attaching Cable Connector to Probe Canister
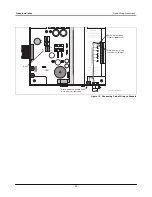
Attach the connector end of the probe cable to the threaded connector on top of the probe canister and tighten down the
integral nut.
This completes the probe assembly. Save the remaining kit components. They will be needed to install the probe into the
tank.


