background image

Installation guide

3. Connecting guideo

On certain vehicles equipped with an onboard computer, an 

error message

may be generated when the system is connected to the turn indicators 
(because the connection is interpreted as a defect).
In this case, you must add an 

anti-feedback diode

to the connection so that 

the computer does not interpret it as a fault.

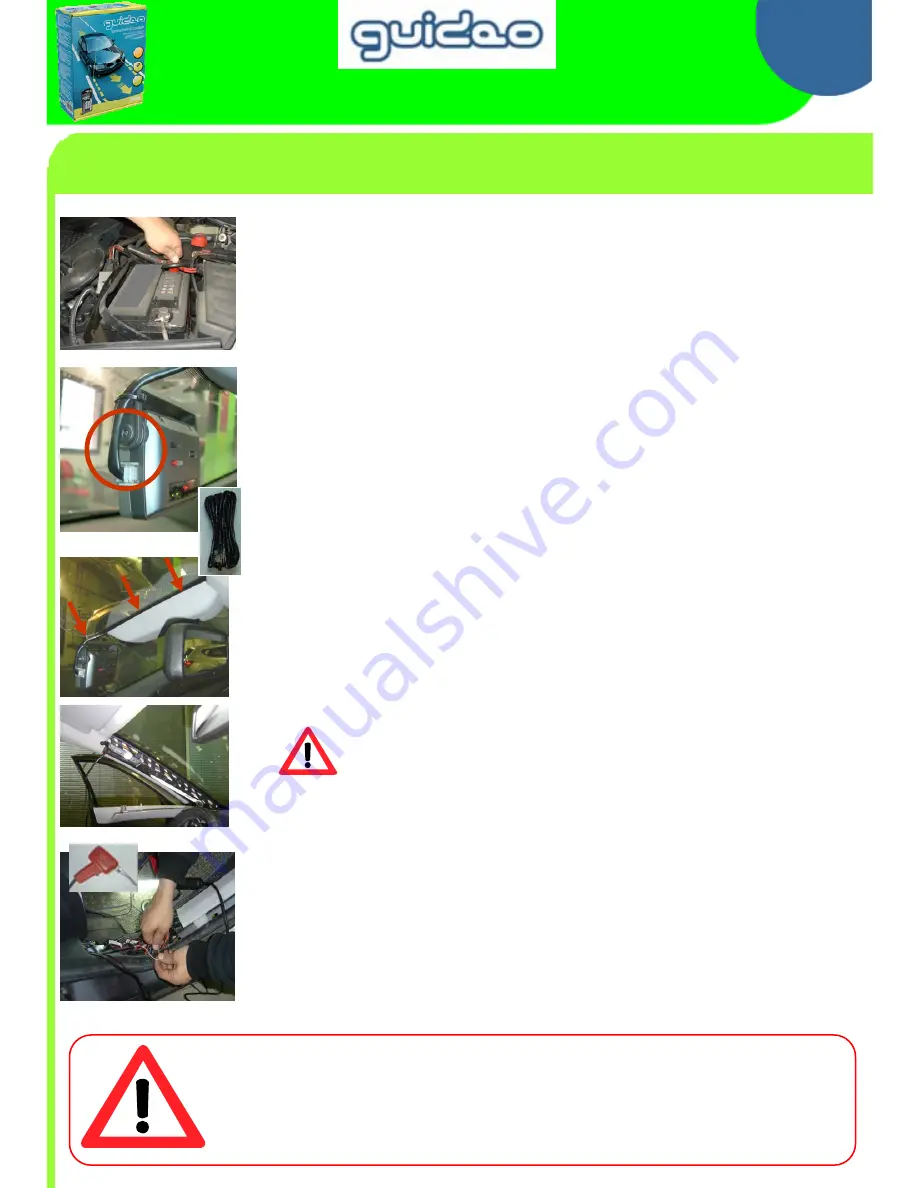
Disconnect the battery:

Switch off the engine first.

Wait for 2 minutes

before you disconnect the battery, to 

give the vehicle's computers sufficient time to power off 
completely.

Connect the power cable 

(RJ45 connector) to 

the camera module.

Pass the module's power cable 

to the driver's 

side of the dashboard

either hide the cable under the central rearview mirror, 
or connect it unobtrusively to the rearview mirror's edge with 
the small self-adhesive cable clips provided,
then feed the cable into the windscreen side pillar and the 
door pillar.

Take care not to obstruct any airbag.

Connect the wiring cable's different wires:

White/brown s brown: to +ACC
White/orange s orange: to ground
Blue: to speed output
Green: to left turn indicator
White/blue stripes: to right turn indicator
White/green stripes: not used

6/11

Содержание beep & park

Страница 1: ...gorithm to spot any vehicle drift in relation to the road markings and immediately informs the driver who can then correct the trajectory accordingly The driver is informed as soon as the vehicle drif...

Страница 2: ...lar functions Language selection Selection of audible or voice message alert Adjustable volume Battery powered Guideo Manager software CD Rom included for installation on PC PC Windows 2000 XP Vista c...

Страница 3: ...trol for controlling all camera and function settings No special tools required Average estimated installation time 1 hour The following installation assistance is available Detailed illustrated insta...

Страница 4: ...e block Locate the left and right turn indicator outputs These are generally located at the fuse block lighting control stalk or turn indicator tell tale Also locate the vehicle s speed information ei...

Страница 5: ...op of the windscreen checking that the windscreen s and the template s centres are aligned Install the camera mounting on the windscreen Place the mounting on the smaller notch in the template s lower...

Страница 6: ...s sufficient time to power off completely Connect the power cable RJ45 connector to the camera module Pass the module s power cable to the driver s side of the dashboard either hide the cable under th...

Страница 7: ...1 minute before switching on the engine to ensure that the vehicle s computers are reinitialised properly 4 Start up operating test Power Default mode Image check Vehicle type Install Language Mute L...

Страница 8: ...t of the camera angle The angle adjustment mode helps you install guideo in its exact position Press the Angle button on the remote control Loosen the screw and carefully adjust the camera by successi...

Страница 9: ...d the internal circuits Guideo cannot function correctly with obstacles in its field of vision Make sure that the windshield glass in front of it is clean Similarly make sure that there are no objects...

Страница 10: ...rt to operate after 2 seconds of watching road lines So after passing crossroads or no mark region the warning will come out after 2 seconds If you cross lines again while the warning message is still...

Страница 11: ...device sometimes gets hot In hot summer or under direct sun light the device may get hot as a result of external heat The internal electronic circuit and speaker may generate some heat without a brea...

Отзывы: