Set-up 4
0020181589_04 auroCOMPACT Installation and maintenance instructions
11
6.
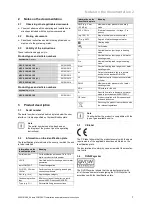
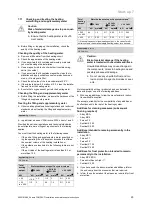
Never transport the unit as illustrated above.
1
5
7
3
7.
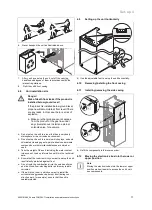
After you have set up the unit, cut off the carrying
handles and dispose of them in accordance with the
relevant regulations.
8.
Refit the unit's front casing.
4.8
Unit installation site
Danger!
Risk of death from leaks if the product is
installed below ground level!
If the product is installed below ground level,
propane will accumulate at floor level if there
are any leaks. In this case, there is a risk of
explosion.
▶
Make sure that propane cannot escape
from the product or the gas line under
any circumstances. Install an external
solenoid valve, for example.
▶
Do not set up the unit in a room that has a very dusty
atmosphere or in a corrosive environment.
▶
Do not set up the unit in rooms in which sprays, solvents,
chlorinated cleaning agents, paint, adhesives, ammonia
compounds or other similar substances are stored or
used.
▶
Take the weight of the unit, including the water content,
into account. Look up information on this in the technical
data.
▶
Ensure that the room in which you want to set up the unit
is sufficiently protected against frost.
▶
Do not route the combustion air via the smoke outlet on
an old oil-fired floor-standing boiler as this may lead to
corrosion.
▶
If the air in the room in which you want to install the
unit contains aggressive vapours or dust (during con-
struction work, for example), ensure that the unit is
sealed/protected.
4.9
Setting up the unit horizontally
▶
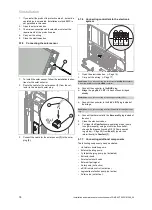
Use the adjustable feet to set up the unit horizontally.
4.10
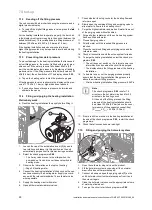
Removing/installing the front casing
4.11
Installing/removing the side casing
1
5
7
3
A
B
C
A
▶
Refit the components in the reverse order.
4.12
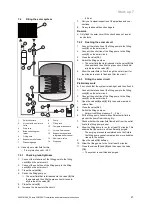
Moving the electronics box into the lower or
upper position
Note
Moving the electronics box into the lower or upper
position makes it easier to access the unit's vari-
ous components.


