


2.1.1
DISPLAY MENU BASIC SETTINGS
2.1.1.1
Language
Use “
#$
” to select the language in this menu.
2.1.1.2
Device ID
This option can be used to assign an address to the DVR for controlling it with a remote control.
Define a different address for each device if several DVRs are installed, otherwise the remote control will control all DVRs with the
same address at the same time.
The default address is “
01
”.
Use keys 0
9 on the front panel to edit the device ID address.
The address must be from 1
255.
2.1.1.3
Require password
This option can be used to enable or disenable password request for the following functions:
!
Menu
This function enables/disenables password request when the configuration menu is accessed.
!
Power off (with the
button)
used to enable/disenable password request for direct DVR switch-off.
This function is
!
PLAYBACK
This function enables/disenables password request when playback is started/stopped.
!
RECORDING
ables/disenables password request when recording is started/stopped.
This function en
!
PTZ
This function enables/disenables password request when the PTZ menu is accessed.
Press “
ENTER
” or “
EDIT
” to enable or disenable the password.
ord is not required.
Symbol “
"
” indicates that a password is required; symbol “
×
” indicates that a passw
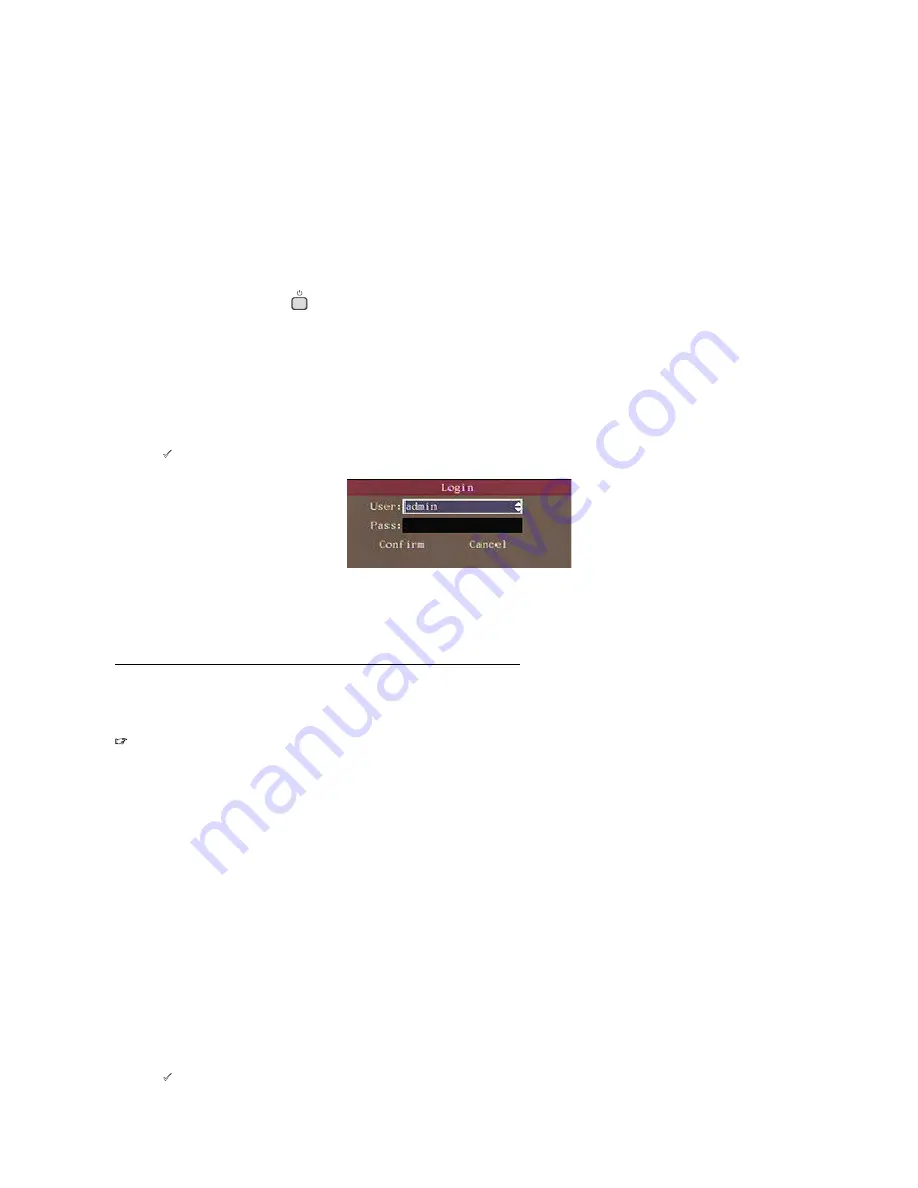
In case of psw request, the login window shown in the following figure will appear.
Figure 21: login page
The box contains a list of the default users. The features of the default administrator are:
!
User
admin
!
password
12345
The “admin” user name cannot be edited. The password can be edited.
Press “
"
” to point the cursor to “
Password
” and then use the number keys on the front panel to enter the default password.
Now, press “
ENTER
” twice to confirm and access the menu.
A sequence of three beeps lasting for approximately 3 seconds will be heard if the entered password is not correct. In this case,
press “
MENU
” and enter the password again.
IMP RT
O
ANT NOTE
"#
THE DEFAULT PASSWORD IS “12345”.
"#
It is advisable to change the default password to prevent intrusions.
"#
To enter/edit the password, remember to press “
SHIFT
” (make sure that the STATUS LED lights up) followed
by the number keys. At the end of the operation, press “
SHIFT
” to go back to default functions. The STATUS
LED will go out.
"#
Do not lose or forget the programmed password.
"#
Take note of the new password and keep it in a safe place.
"#
It will not be possible to access the device in local mode (i.e. using the front panel) if an alphanumeric
password is chosen (using the dedicated software).
2.1.1.4
Screen saver
ed to set the OSD (On Screen Display) display time.
This option can be us
Use “
#$
” to select.
Possible selections: “
1min
”, “
2min
”, “
5min
”, “
10 min
”, “
20 min
”, “
30 min
” and “
never
” (OSD is always shown – press “
ESC
” to
quit the menu).
2.1.1.5
Video standard
This option can be used to select the video format. Use “
#$
” to select. Possible selections are “
NTSC
” and “
PAL
”.
2.1.1.6
Enable scaler
This function allows to adapt the DVR video output display to the screen being used. Furthermore, by enabling this function, the
DVR automatically switches the resolution from 704x576 to 640x576 for PAL video systems and from 704x480 to 640x480 for
of traditional CCTV monitors are used (CRT).
NTSC video systems. This function may be useful if some types
Press “
ENTER
” or “
EDIT
” to enable or disenable the password.
Symbol “
"
” indicates that the selected option is enabled; symbol “
×
” indicates that it is not.
DS1093-024
34


