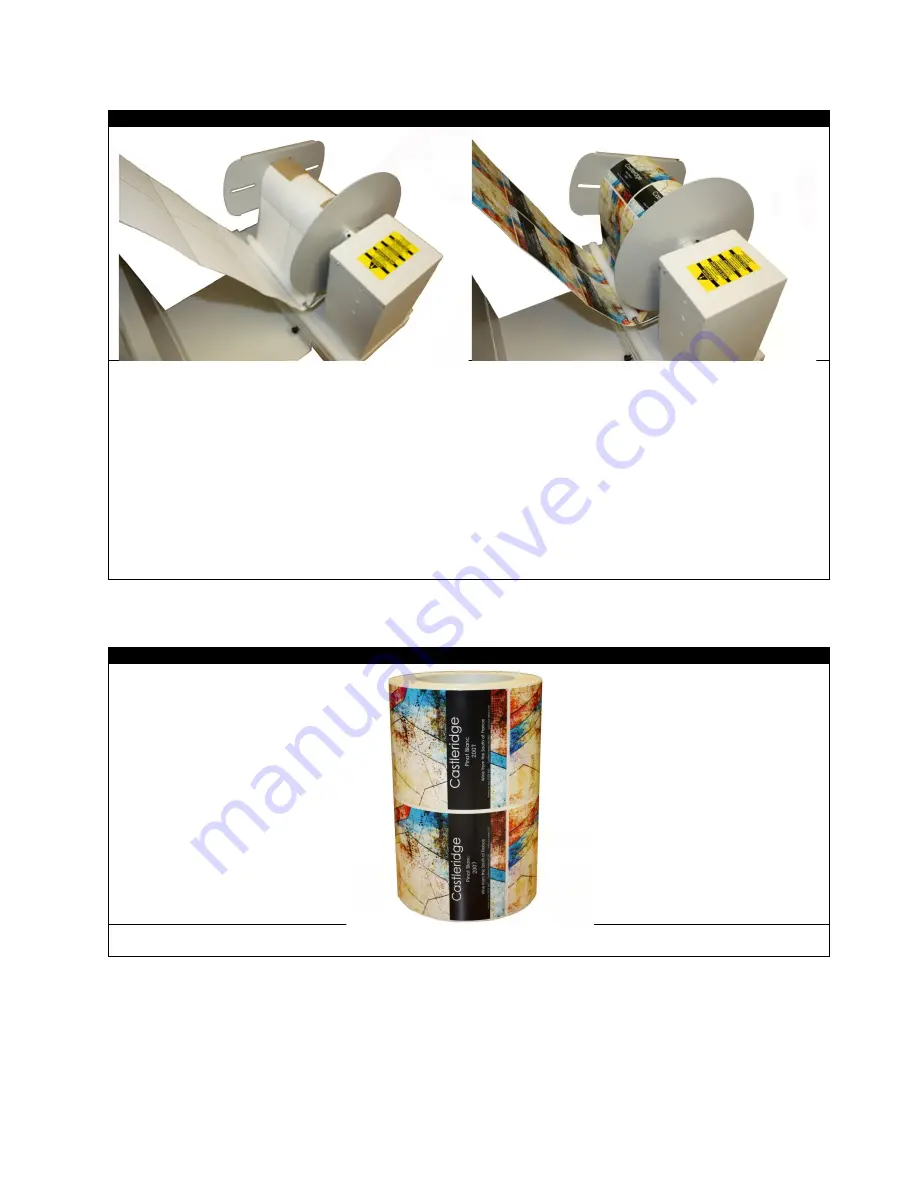
STEP 5 of 6
Press Print in the software when your job is ready. As the paper exits the printer, lift the
Dancer Arm
and bring the
media underneath the
Dancer Arm
and up onto the core. Secure it to the core using a section of media or excess
label.
Lower the
Dancer Arm
downwards to begin winding the material onto the core. Place your hand gently on top of the
core to create some initial tension at the beginning of the roll. Once the media is winding, release the
Dancer Arm
gently downwards onto the paper. The roll will continue to wind.
NOTE:
Winding speed is determined by the position of the
Dancer Arm
. Lowering the arm will speed up the winding
and lifting upwards will slow it down.
NOTE:
If the roll seems to be winding too loosely, place your hand on the top of the roll while it’s winding. This will
increase the tension momentarily. Be careful when doing this as too much tension will cause the roll to wind unevenly
or create bubbles between the reams.
STEP 6 of 6
When the roll is done, turn off the rewinder. Unscrew the
Core Adjustment Knob
on the
Spindle
. Remove the roll
from the
Spindle
and return the
Right End Disk
to its initial position.
50


