STEP 3 of 4
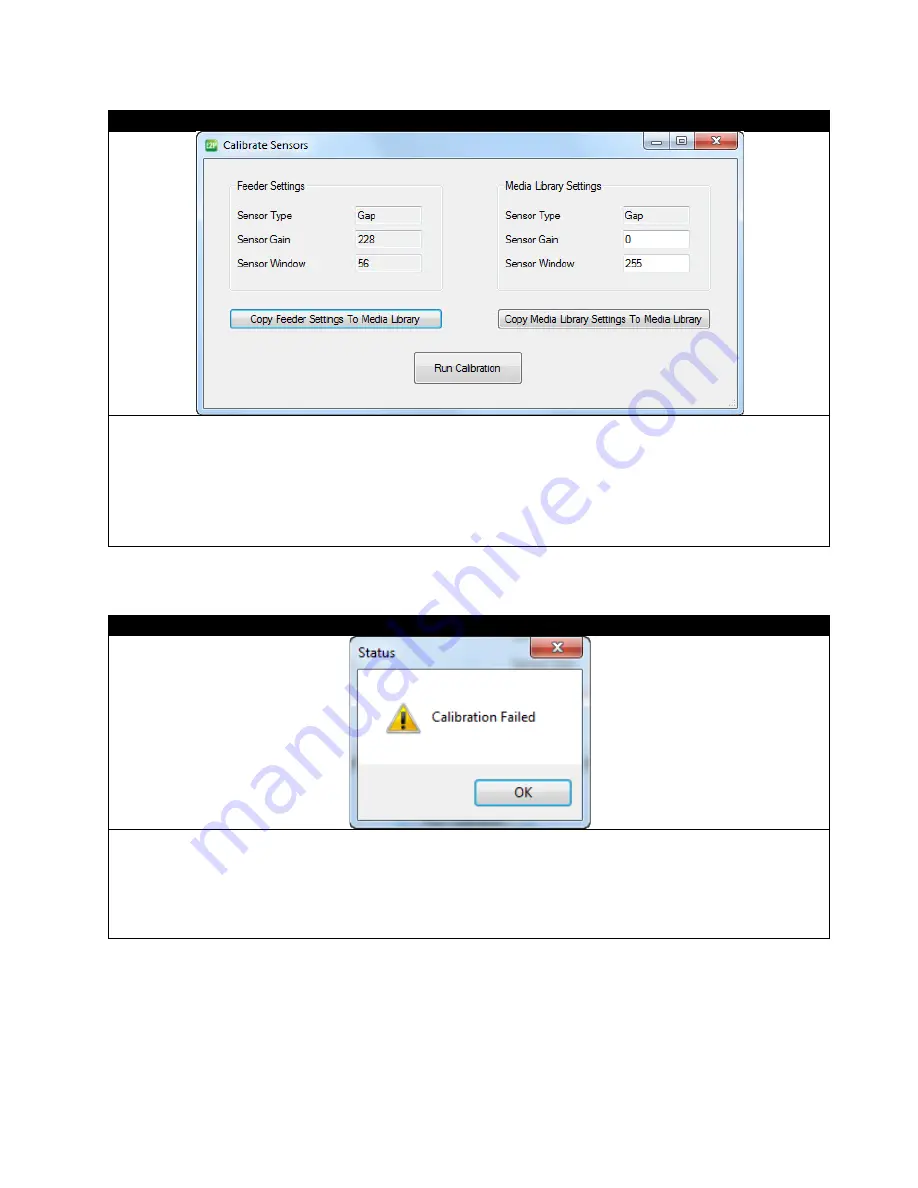
After the media is properly loaded, click
Calibrate
in the software. The following dialogue will pop up. Select
Run
Calibration.
The printer will run the paper upwards about 6 inches to the nearest gap mark.
Note:
1) You can use previously stored values in the feeder from the last use by clicking
Copy Feeder Settings To
Media Library
.
2) You can also manually input the values for Sensor Gain and Sensor Window under the Media Library Settings,
and then click
Copy Media Library Settings To Media Library
to update the values in the feeder.
STEP 4 of 4
If the calibration did not work, an error screen will pop up and you will have to adjust the roll before performing another
calibration.
After calibration is done. Turn the feeder
Offline
and hold the
DOWN
arrow on the feeder display to cut extra paper.
Remove the excess paper, then turn the feeder
On Line
and press
Load
to finish the loading process.
You are now ready to add a label image and print a die-cut label.
47


