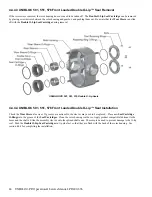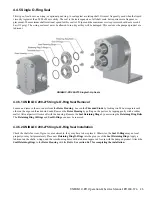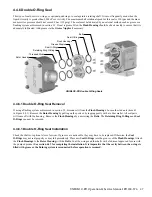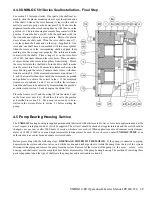
28 UNIBLOC-PD Operation & Service Manual: PD200-576
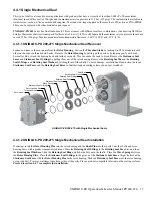
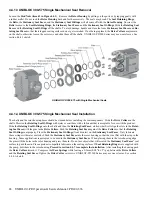
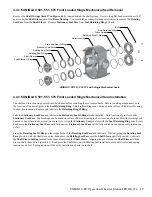
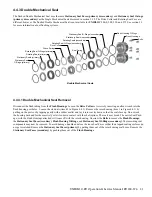
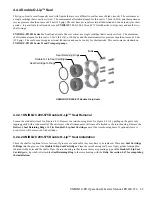
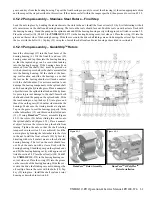
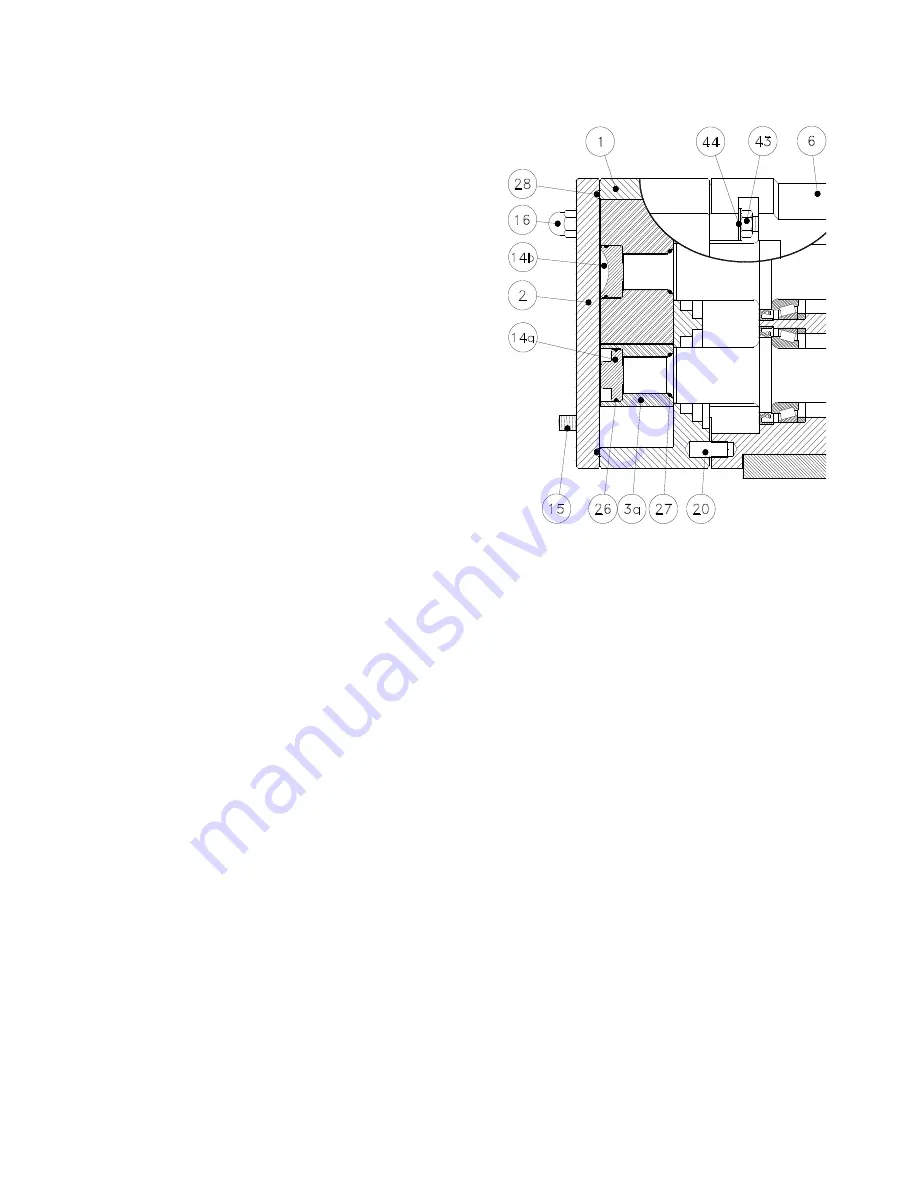
4.4.7 UNIBLOC 200-575 Seal Installation – Final Step
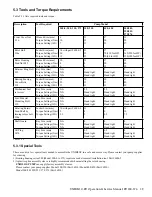
See section 5.3 for torque limits. If not part of the shaft seal assembly,
slide the plastic mounting sleeves over the splined ends of the shafts.
Slide on the rotor housing (1) tap it with a rubber mallet to seat it prop-
erly on the dowel pins (20). Make sure the alignment mark on the rotor
housing lines up with the one on the bearing housing (6). The rotor hous-
ing must make firm contact with the bearing housing. On
UNIBLOC
models 300-575,
fasten the hex nuts (43) with the split washer (44) on
the stud ends and tighten in a cross pattern.
On
UNIBLOC models 200-275
, insert the one piece studs (15) through
rotor housing and thread into the bearing housing. Tighten them in a
cross pattern by locking two M6 nuts against each other on the
protruding stud ends. Remove the plastic sleeves from the shaft ends.
If the shaft seals are either flushed single or flushed double mechanical,
tighten the set screws through the flush housing’s port holes. If the rotors
are made from a polymer (nonmetal) material, slide them on the shafts
and turn the drive shaft to make sure the rotors turn freely. They do not
require o-rings (26) and (27) or the rotor bolts (14a, 14b). If the rotors are
metal, slide the rotor shaft o-rings (27) over the splined shaft ends and on
the step, if applicable.
One of the rotors will have a small marking on the rear end. This indi-
cates that this rotors match with the drive shaft.
Slide the rotors over the corresponding shafts and push them making
sure the o-rings seat properly. The rotors must make contact with the
shafts. Place o-rings (26) on the rotor bolts (14a, 14b). Lubricate them
and the rotor bores. Place a nonmetal object between the rotors to keep them from turning. Thread the rotor bolts in to the shaft ends.
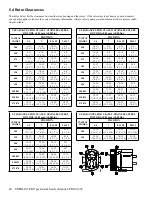
Turn the drive shaft to make sure the rotors turn freely. Measure the clearances between the rotor housing and the rotors. Compare
these values with those listed in section 5.4. If the measured clearances at positions 1-7, 8, and 10 are smaller than those listed, the
rotors must be ground and polished to achieve the correct values. If the measured clearances at positions 9 and 11 are not within
the tolerances listed the shafts must be adjusted by disassembling the bearing housing, as instructed in section 4.5 and changing the
shims (11).
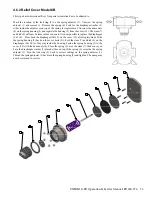
Place the o-ring (28) in the groove on the cover (2). Slide the cover on the studs (15). Tighten the front cover nuts (16). Check the
oil level in the bearing housing as described in section 5.2. The pump is now ready to be installed in the system. If flushed seals
were installed, reconnect the flush tubing. Refer to section 2.3 before starting the pump.
Содержание 54001010P20H6010T12E
Страница 42: ...42 UNIBLOC PD Operation Service Manual PD200 576 UNIBLOC PUMP ...
Страница 43: ...UNIBLOC PD Operation Service Manual PD200 576 43 UNIBLOC PUMP ...
Страница 44: ...44 UNIBLOC PD Operation Service Manual PD200 576 UNIBLOC PUMP ...
Страница 45: ...UNIBLOC PD Operation Service Manual PD200 576 45 UNIBLOC PUMP ...
Страница 46: ...46 UNIBLOC PD Operation Service Manual PD200 576 UNIBLOC PUMP ...
Страница 47: ...UNIBLOC PD Operation Service Manual PD200 576 47 UNIBLOC PUMP ...
Страница 48: ...48 UNIBLOC PD Operation Service Manual PD200 576 UNIBLOC PUMP ...
Страница 49: ...UNIBLOC PD Operation Service Manual PD200 576 49 UNIBLOC PUMP ...
Страница 50: ...50 UNIBLOC PD Operation Service Manual PD200 576 3 ...
Страница 51: ......
Страница 52: ......

