background image

EN 

UltiMaker S7


Installation and user manual

4

1.1  Safety messages

The information provided below is applicable to the UltiMaker S7 and the UltiMaker S7 in combination with the 

Material Station (“UltiMaker products”).

This guide contains warnings and safety notices.

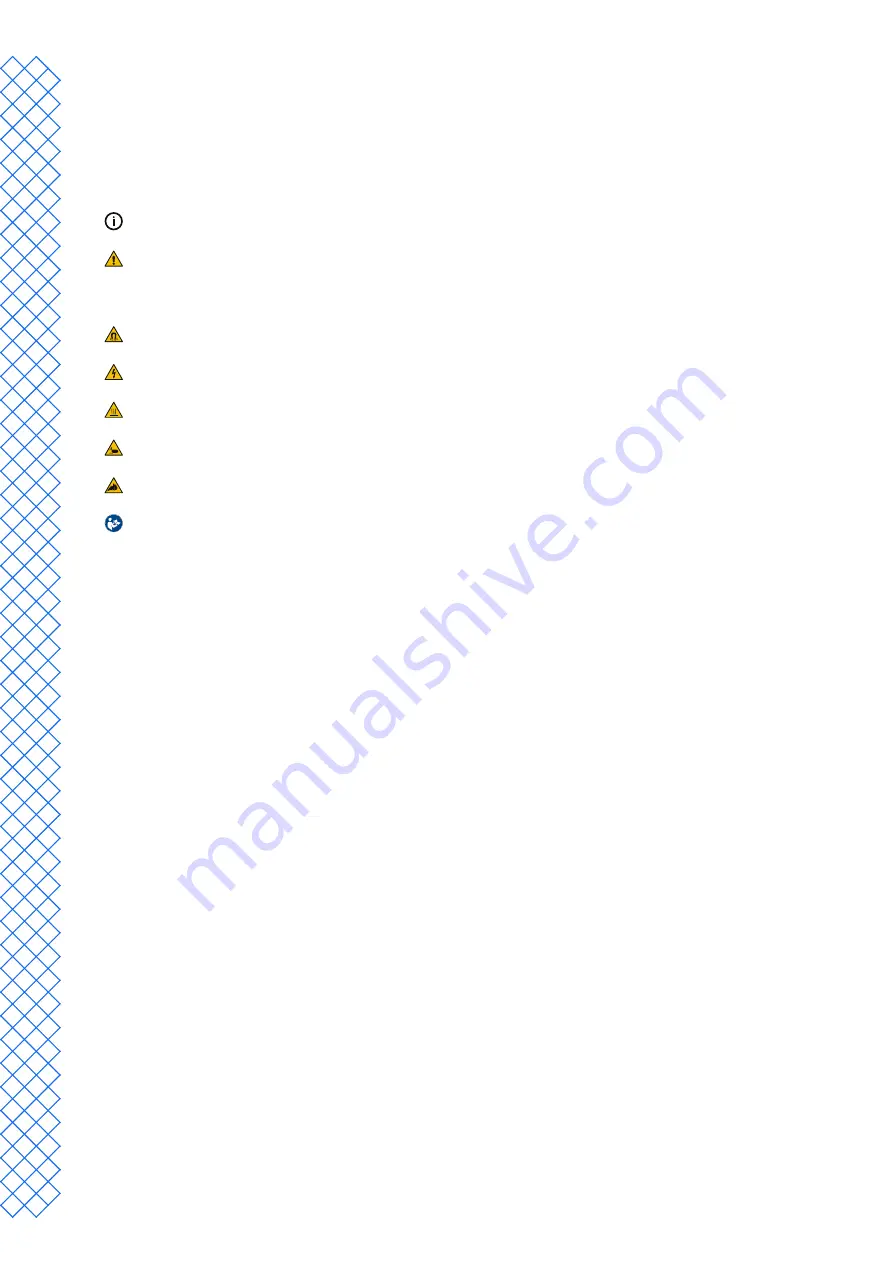
 Provides additional information that is helpful to do a task or to avoid problems.

 Warns of a situation that may cause material damage or injuries if the safety instructions are not followed.

The following ISO warning symbols are also used:

 Magnetic field (ISO 7010-W006)

 Electricity hazard (ISO 7010-W012)

 Hot surface (ISO 7010-W017)

 Crushing of hands (ISO 7010-W024)

 Pinching and entanglement hazard

 Read the user manual (ISO 7010-M002). Before using this product, read the complete user manual to learn 

about all its features and safety related information

1.2  General safety information

•  UltiMaker products shall only be used by persons that have carefully read and understood the user manual and 

the safety provisions in it.

•  UltiMaker 3D printers generate high temperatures and have hot moving parts that can cause injury. Never 

reach inside UltiMaker 3D printers while they are in operation. Always control the printers with the touchscreen 

at the front, the power switch at the back or via UltiMaker Digital Factory.

• 

Allow the UltiMaker 3D printers to cool down sufficiently before reaching inside, unless explicitly stated 

otherwise for certain (maintenance) processes. Always wait until the display indicates that the build plate has 

cooled down to a safe temperature.

•  Do not change or adjust any parts of the product unless the change or adjustment is authorized by UltiMaker.

•  Do not store items inside UltiMaker products.

•  UltiMaker products are not intended for use by persons with reduced physical and/or mental capabilities, or 

persons with lack of experience and knowledge, unless they are supervised or have been given instructions 

concerning the use of the appliance by a person responsible for their safety.

•  This product is not intended for use by children. When using this product, children should be under constant 

supervision of an adult responsible for their safety. Maintenance actions shall only be performed by an adult, 

following the provided instructions.

• 

Do not change the filter of the Air Manager while the fan is in operation. Turn off the printer or use the filter 

replacement procedure to make sure the fan cannot start unexpectedly.

• 

If the door must be opened to remove the print, change the printer configuration, or for maintenance or repair 

actions, close the door immediately afterward to prevent the risk of bumping into it.

Содержание S7

Страница 1: ...UltiMaker S7 and UltiMaker S7 Pro Bundle Installation and user manual EN 01 2023 S7 v1 2 Original instructions...

Страница 2: ...creen 20 4 2 Materials 20 4 3 Preparing a print with UltiMaker Cura 21 4 4 Printing 22 4 5 Remove the print 23 4 6 Remove support material 23 4 7 Change the printer configuration 24 4 8 Calibrations 2...

Страница 3: ...nation with the Material Station As a standalone printer install up to two materials using the spool holder at the back In combination with the Material Station pre load up to six material spools and...

Страница 4: ...1 Safety and compliance...

Страница 5: ...the front the power switch at the back or via UltiMaker Digital Factory Allow the UltiMaker 3D printers to cool down sufficiently before reaching inside unless explicitly stated otherwise for certain...

Страница 6: ...zard The force of the build plate is limited but may cause minor injury so stay out of the reach of the build plate during operation Always unplug the product before performing maintenance or modifica...

Страница 7: ...working safely with the UltiMaker S7 especially for performing maintenance actions Tweezers These are required for safely removing material residue from the tip of the nozzle Pliers When cleaning the...

Страница 8: ...2 Introduction...

Страница 9: ...int head 3 Air Manager filter 4 Bowden tubes 5 Z stage 6 Flexible build plate 7 Touchscreen 8 USB port 9 Air Manager fan 10 Air Manager cable 11 Feeder 2 12 Feeder 1 13 Spoolholder with filament guide...

Страница 10: ...lbs Ambient conditions Operating ambient temperature 15 32 C 59 90 F Non operating storage temperature 0 32 C 32 90 F Relative humidity 10 90 RH non condensing Electrical requirements Voltage 100 240...

Страница 11: ...3 Installation...

Страница 12: ...iMaker S7 is going to be installed in combination with the Material Station place the Material Station first Place the UltiMaker S7 on top of the Material Station and ensure the two products are corre...

Страница 13: ...gn the back of the flexible build plate with the pins at the back of the base plate 5 Lower the flexible build plate so it snaps into place The flexible build plate must be placed fully against the pr...

Страница 14: ...ng is different Connect the Air Manager cable to the UMB OUT port at the back of the Material Station Connect the short Material Station cable to the UMB IN port on the Material Station and the other...

Страница 15: ...and the other to the double power entry port of the Material Station Connect the power cable to the Material Station and the other end to a power outlet 3 4 Welcome setup To perform the setup steps t...

Страница 16: ...rint core and sliding it into the print head until you hear a click Do not touch the contact points on the back of the print core with your fingers Make sure you keep the print core completely vertica...

Страница 17: ...w 1 Unpack the material and cut off the end ensuring a short sharp tip 2 Take the material guide and hold it with the outer part towards you 3 Place the spool on the material guide with the material i...

Страница 18: ...thernet To connect to a network select Network setup from the welcome setup list If you want to set up a wireless network connection select Wi Fi setup If you want to use Ethernet or don t want to set...

Страница 19: ...ister your printer and set up your UltiMaker account This allows you to make use of UltiMaker Essentials and UltiMaker Digital Factory for a streamlined cloud based workflow Find more information abou...

Страница 20: ...4 Operation...

Страница 21: ...rt material PVA The UltiMaker S7 supports all UltiMaker materials that are currently available of which most can be printed with the 0 25 0 4 and 0 8 mm print core sizes The CC print cores are availab...

Страница 22: ...rogram to ensure the highest success rate with your UltiMaker 3D printer To benefit from the automatic material switching during a print when a spool runs out it is recommended to have at least two sp...

Страница 23: ...ected to the Digital Factory via network if the printer is connected via LAN or save the file to a USB drive for printing with offline printers Monitor stage The monitor stage utilizes the UltiMaker D...

Страница 24: ...or scraper Carefully insert the spatula or scraper under the print parallel to the build plate and apply some force to remove the print Use a spatula or scraper with rounded edges and wear protective...

Страница 25: ...eezers Similar steps can be used to remove support structures printed with build materials However these structures can be more difficult to remove and leave more scarring on the model 4 7 Change the...

Страница 26: ...the prefeeder grabs the material 7 Wait for the Material Station to detect the material and select Confirm to continue When using a third party material you can select the material type manually 8 Cl...

Страница 27: ...m the prompt on the display to start Alternatively in the Preferences menu go to Maintenance Print head Calibrate XY offset and select Start calibration 2 The UltiMaker S7 will now print a grid patter...

Страница 28: ...nually if needed 1 In the Preferences menu go to Maintenance Print head Calibrate lift switch and select Start calibration 2 Move the lift switch on the side of the print head to point towards you Sel...

Страница 29: ...5 Maintenance...

Страница 30: ...directory of a USB stick 3 Insert the USB stick into the USB port of the printer 4 In the Preferences menu go to Maintenance Update firmware and select the new firmware in the update menu 5 2 Materia...

Страница 31: ...to the print head If the belt tension is too low follow the instructions on the UltiMaker website to correct it Check the quality of the nozzle cover The nozzle cover shields the print cores from col...

Страница 32: ...on sources Ensure good ventilation and avoid inhaling vapor Read the SDS from your IPA supplier to learn more about the risks and safety precautions Do not use other cleaning agents such as acetone pe...

Страница 33: ...6 Troubleshooting...

Страница 34: ...r The display will give a short description of the detected issue along with its unique error code For example This print job is not suitable for this printer Go to ultimaker com ER42 Scan the QR code...

Страница 35: ...ture may cause the print to warp or detach from the build plate Object density The number of walls top and bottom layers and the infill determine the density of the printed object With too few walls t...

Страница 36: ...7 Warranty...

Страница 37: ...se of their profession or business may claim the rights to which they are entitled under the warranty without prejudice to their rights or claims in accordance with the law 7 2 Conditions The UltiMake...

Страница 38: ...d for shipping defective Product s for scrutiny and or repair nor for shipping costs of replacement or repaired Product s back to claimant 7 4 Exclusions This warranty does not apply to and therefore...

Отзывы: