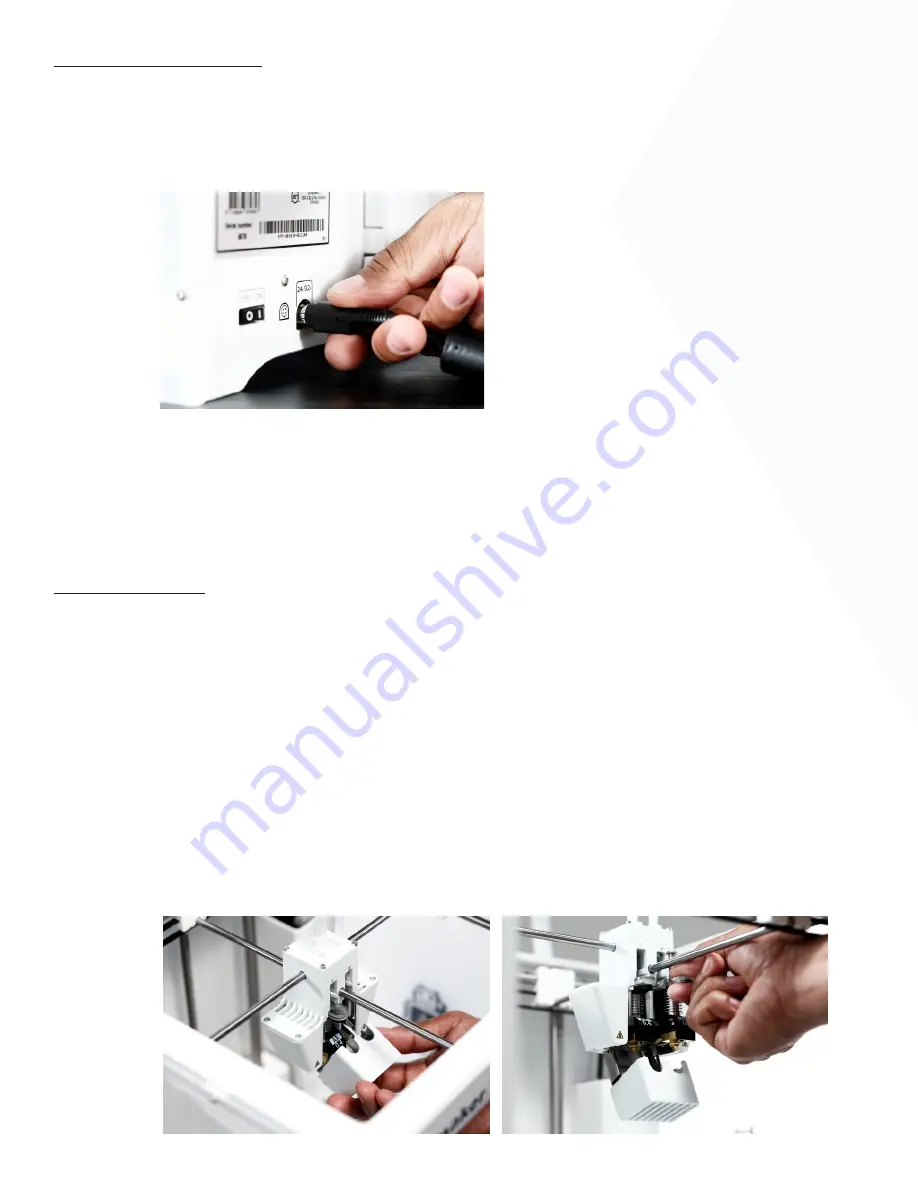
Connecting the power supply
1.
Connect the power cable to the power brick.
2.
Plug the power cable into the wall socket.
3.
Connect the other side of the power supply to the Ultimaker 3. The flat side of the connector
needs to point downwards. Before you push the cable firmly into the port,
you have to pull the sliding mechanism back. When the cord is in the printer you can let go to lock
it into place.
Set up for first use
Once all the accessories are installed, the Ultimaker 3 can be turned on with the power switch at the back. For the
first use the Ultimaker 3 will guide you through a welcome wizard to properly set it up. This setup exists of the
following steps: print core installation, loading materials and WiFi and firmware installation.
Before you continue, it may be wise to explain that you can navigate through the menus by clicking or rotating the
button at the front side. After this you can go through all the menus, while doing what the printer is telling you.
Print core installation
The first step of the welcome wizard is installing the second print core. As you can see one print core (AA) is
already pre-installed in print head slot 1. This means that only the second print core in print head slot 2 has to be
inserted.
If you follow the texts on the display, you will have to take the following steps:
1.
Open the print head fan bracket and press Continue.
2.
The Ultimaker 3 will now automatically detect the print core (AA) that is placed in print head slot 1.
3.
Confirm to continue.
4.
Install the BB print core in print head slot 2 by squeezing the levers of the print core and sliding it
into the print head.
Also explain here that the chip on the back side of the print core should not be touched as this can
cause connection problems later on.
5.
The Ultimaker 3 should now automatically detect the print core (BB) that is placed in print head
slot
2.
6.
Confirm to continue.
7.
Close the print head fan bracket and confirm to proceed with the setup procedure.
6


