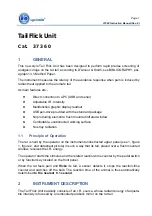

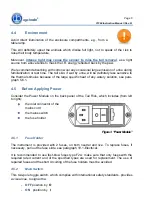
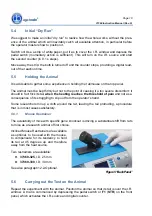


Page 15
37360 Instruction Manual (Rev. 0)
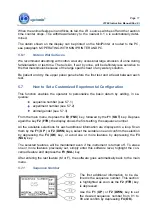
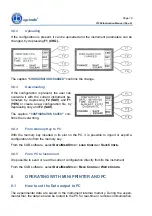
First of all, install the CUB Software, see paragraph 4.7. Then connect the cables as out-
lined in paragraph 4.6-Connections.
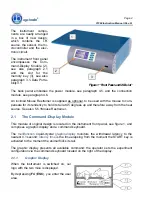
Open the CUB Program and select ‘
FILE
-
CONFIGURATION’
and the type of connection, se-
rial or USB (Help).
It is not necessary to take any further action: the data are always routed to the PC (even
when the PC is not connected).
USB and serial communication between the Tail Flick and the PC is managed by the Ugo
Basile CUB (or Win-DAS) software, see paragraph 3 and software manual.
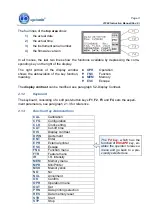
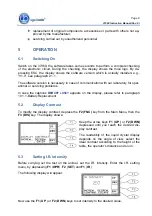
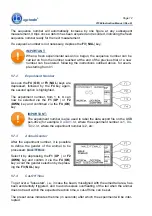
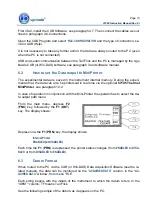
6.2
How to set the Data output to MiniPrinter
The experimental data are saved in the instrument internal memory. During the experi-
mental trial, the data can also be printed-out in real time via the optional
57145
Thermal
MiniPrinter
, see paragraph 12.2.
In case of operation in conjunction with the Mini-Printer the operator has to select the da-
ta output path menu.
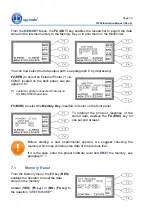
From the main menu, depress
F2
(
FNC
) key, followed by the
F1
(
OUT
)
key. The display shows:
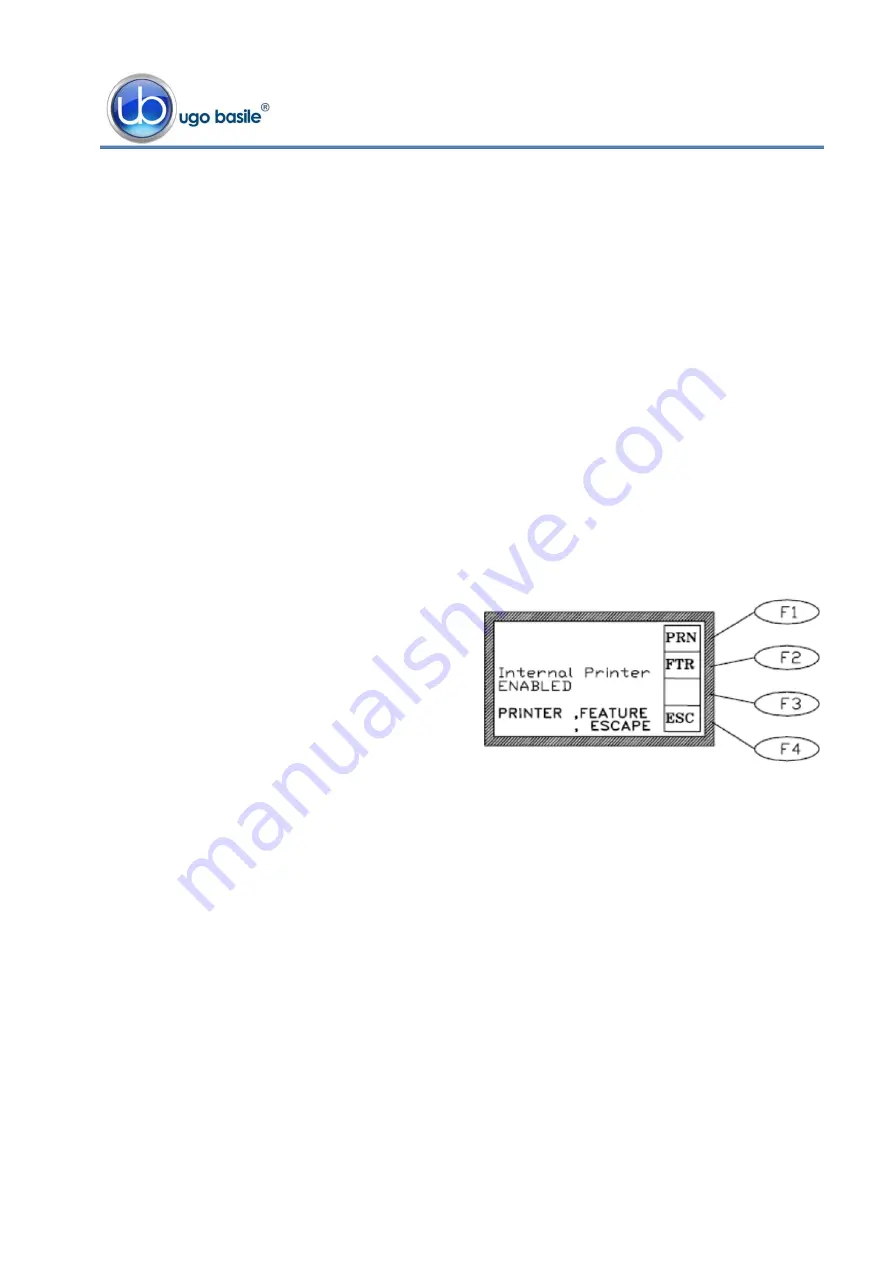
Depress now the
F1
(
PRN
) key, the display shows:
Internal Printer
ENABLED
(or
DISABLED
)
Each time the
F1
(
PRN
) is depressed, the printer status changes (from
ENABLED
to
DISA-
BLED
or from
DISABLED
to
ENABLED
).
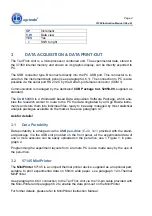
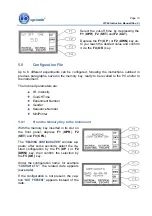
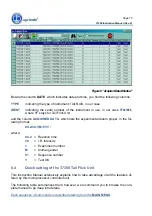
6.3 Datum
Format
When routed to the PC via the CUB (or Win-DAS) Data Acquisition Software (see the re-
lated manual), the data can be monitored on the “
ACQUIRED DATA
” column, in the “
AC-
QUIRED DATA
” window, from menu “
FILE
”.
Each string begins with the initials of the instrument to which the datum refers. In the
“
IDENT
”
column, TF means Tail Flick.
See the following sample of the datum, as it appears on the PC:


