


Navigating the Diagnostic Utility
iSTAR eX Installation and Configuration Guide
6–3
Navigating the Diagnostic Utility
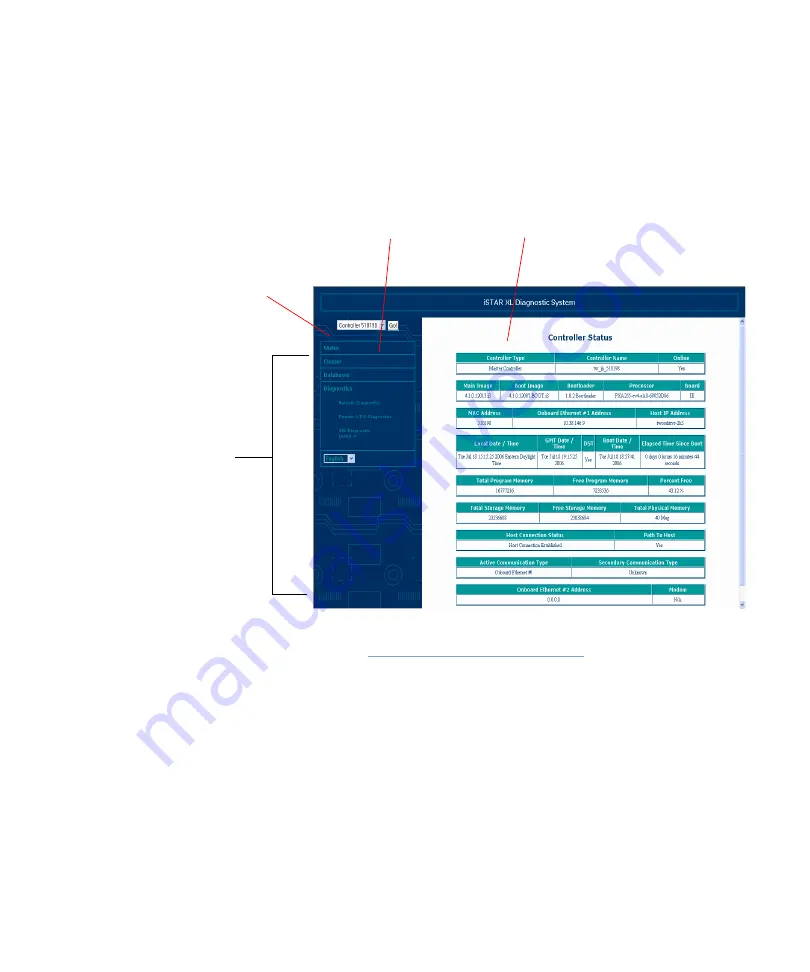
The Diagnostic Utility window is divided into two frames. Use the menu on
the left-side frame, shown in Figure 6.2, to navigate to the other screens. The
selected screen displays in the right-side frame.
Figure 6.2: Diagnostic Utility Frames
The menu in the left-side frame is the entry point to all the other screens. It
remains fixed in the left-side frame while the right-side frame changes
according to the menu selection.
Notice the drop-down list at the top of the menu. The MAC address of the
selected controller appears in the rectangular box. Once connected to a
controller, all of the cluster members associated with that controller are
accessible. Connect to them by selecting them from the drop-down list box.
Click the down arrow to expand the list. The numbers shown in the list
correspond to the associated controllers’ MAC addresses.
Drop-Down
List
Menu
Left-Side Frame
Right-Side Frame
Содержание iSTAR eX
Страница 12: ...Table of Contents xii iSTAR eX Installation and Configuration Guide...
Страница 58: ...Backup and Restore 1 38 iSTAR eX Installation and Configuration Guide...
Страница 146: ...Starting the ICU 5 12 iSTAR eX Installation and Configuration Guide Figure 5 4 ICU Main Window...
Страница 176: ...Downloading Firmware Updates 5 42 iSTAR eX Installation and Configuration Guide Figure 5 19 Monitor Station Controllers...
Страница 200: ...STAR eX Diagnostic Tests 7 10 iSTAR eX Installation and Configuration Guide...
Страница 210: ...A 10 iSTAR eX Installation and Configuration Guide One Wire A B C Figure A 6 One Wire A B C LED control...
Страница 212: ...A 12 iSTAR eX Installation and Configuration Guide...


