Thunder i7520 / Thunder i75 20 R Chapter 3: Board Installation
http://www. tyan.com
26
3.4 – Installing the Memory
Before attempting to install any memory, make sure that the memory you have is compatible
with the motherboard as well as the processor. Check Section 2.2 “Memory Consideration” for
your memory module selection. For this information, please check TYAN ’s web site at:
www.tyan.com
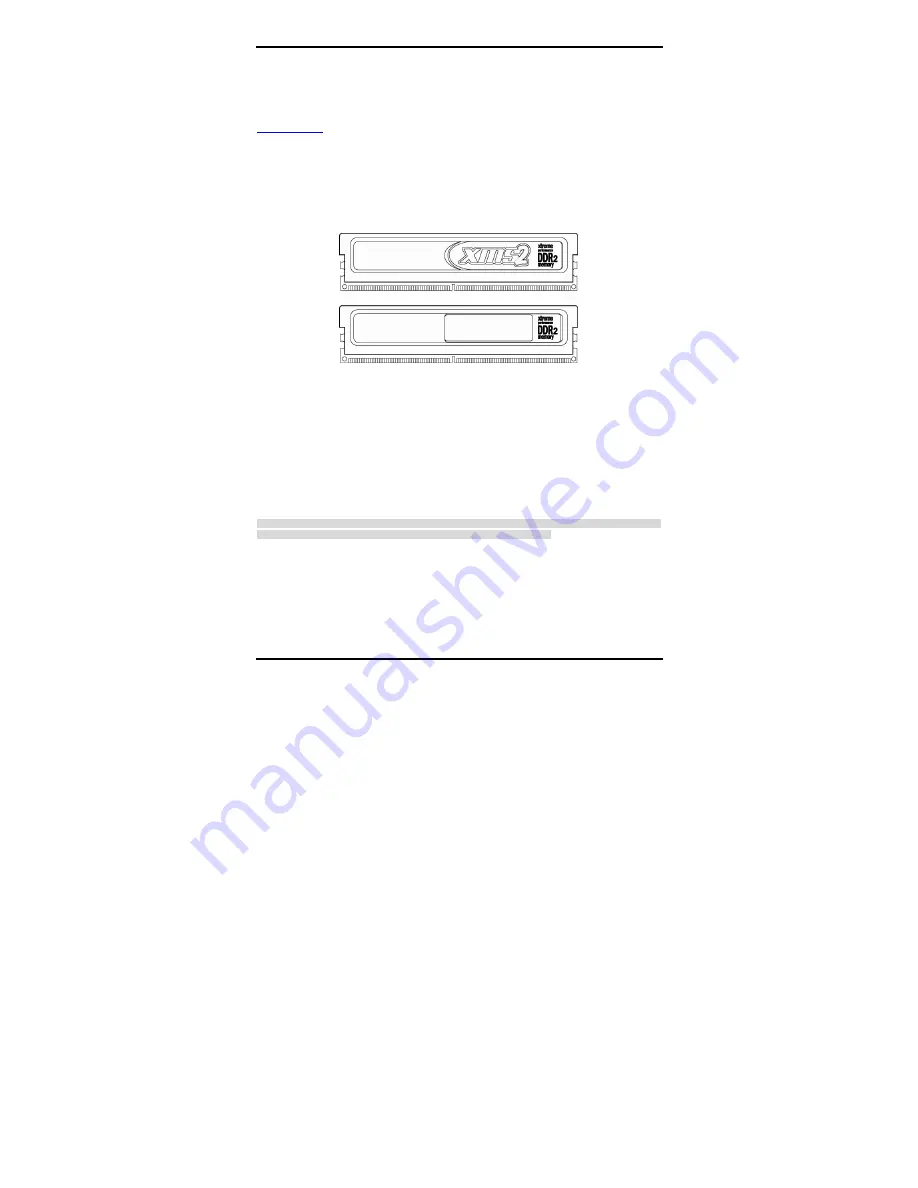
When installing memory modules, make sure the modules align properly with the memory
socket. There should be keys (small indents) on your memory modules that fit according to the
keys in the memory socket. Regi stered DDR2- 400 memory modules and sockets have only
one key, which is slightly near the center of the module/socket. The method of installing
memory modules is detailed in the following diagrams.
Once the memory modules are firmly seated in the socket , two clamps on either side will close
and secure the module into the socket. Sometimes you may need to close the clamps
manually.
To remove the memory module, simply push the clamps outwards until the memory module
pops up. Then simply remove the mod ule.
TIP:
When installing memory, a module may require a considerable amount of force to seat
properly, although this is very rare. To avoid bending and damaging your motherboard, place
it on its anti-static bag and onto a flat surface, and then proceed with memory installation.
Note:
Y o u
MUST
unplug the power connector to the motherboard before performing system
hardware changes, to avoid damaging the board or expansion device


