74
http://www.TYAN.com
3.
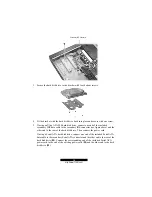
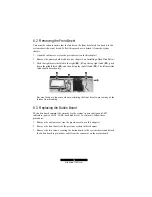
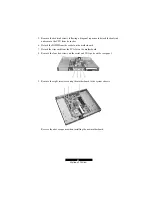
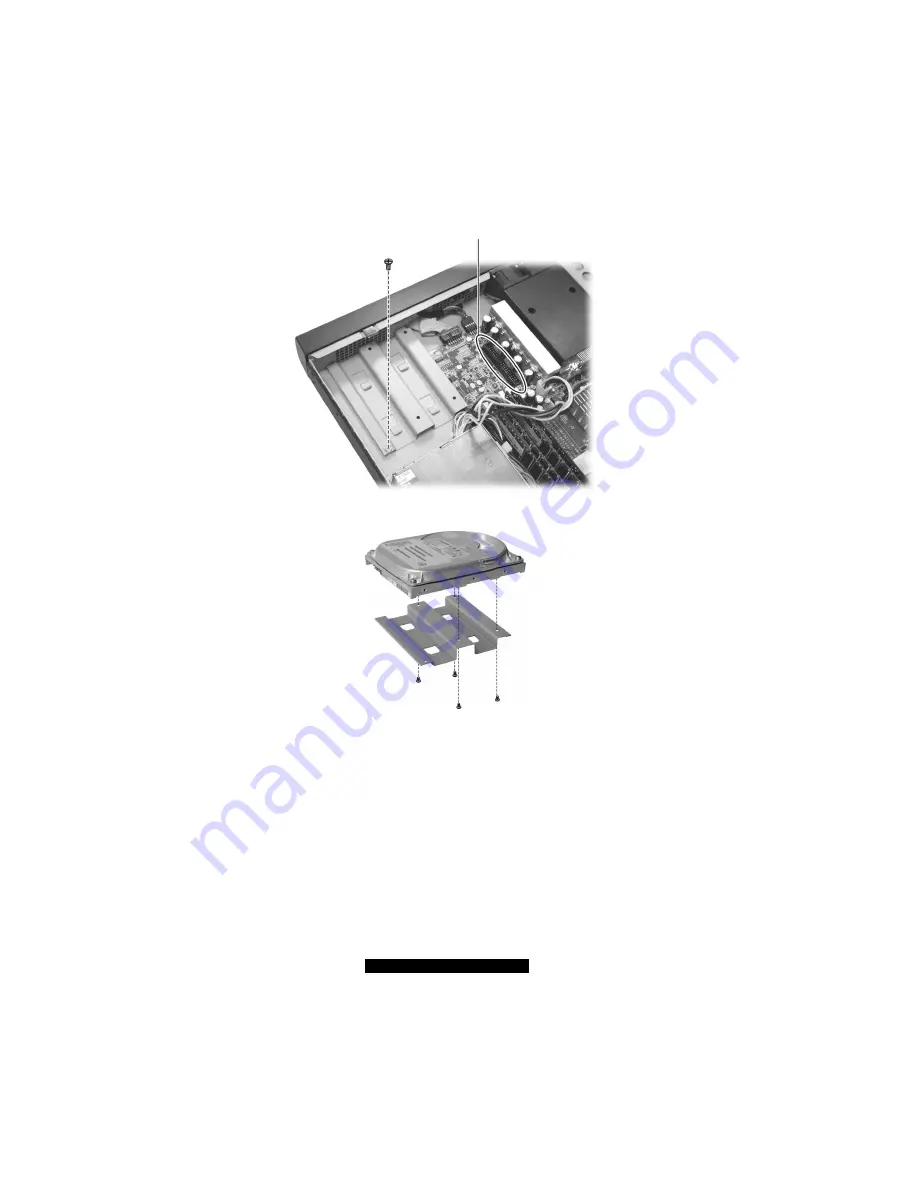
Secure the hard disk drive to the bracket with four bottom screws.
4.
Fit the bracket with the hard disk drive back into place and secure with one screw.
5.
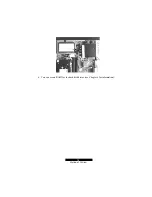
If using an Ultra ATA/100 hard disk drive, connect one end of the included
secondary IDE data cable to the secondary IDE connector (see figure above) and the
other end to the rear of the hard disk drive. Then connect the power cord.
If using a Serial ATA hard disk drive, connect one end of the included Serial ATA
data cable to the secondary Serial ATA connector and the other end to the rear of the
hard disk drive (
Œ
). Connect the corresponding end of the included Serial ATA
power cord to the end of the existing power cord (
•
) and the other end to the hard
disk drive (
Ž
).
Secondary IDE Connector
Содержание B5103G12S2
Страница 6: ......
Страница 12: ......
Страница 40: ......
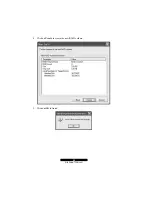
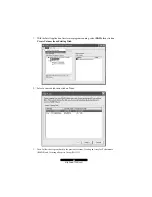
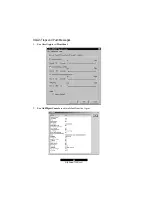
Страница 60: ...60 http www TYAN com 4 Click on Create to create the new RAID volume 5 Click on OK to finish ...
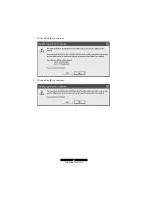
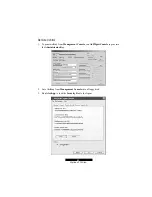
Страница 62: ...62 http www TYAN com 3 Click on Yes Y to continue 4 Click on Yes Y to continue ...
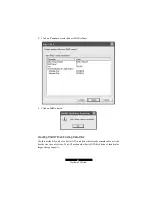
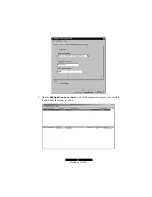
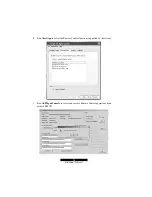
Страница 75: ...75 http www TYAN com 6 You can create RAID for the hard disk drives see Chapter 6 for information ...
Страница 76: ......
Страница 84: ......

