5
3
TESTS
3.1
Installation Tests
The service technician shall perform the following preliminary
checks before operating the autoclave:
a. Leveling Check
Check that the autoclave is leveled.
b. Leakage current test
Check the precise operation of the earth leakage relay.
c. Continuity
Check
Check the continuity of the grounding connection.
d. Safety
Check
Check the safety elements; safety valve and the door locking
mechanisms.
e. Programs Check
Run basic programs of the autoclave and check the operation
sequences, the sterilization parameters etc.
f. Integrity Check
Perform a visual check to verify that there are no dents, scratches,
broken gauges, etc.
g. Validation
Validate the sterilization cycles, taking in consideration the
interface of packaging/goods/autoclave.
After the above steps are performed, the autoclave is ready for operation.
3.2
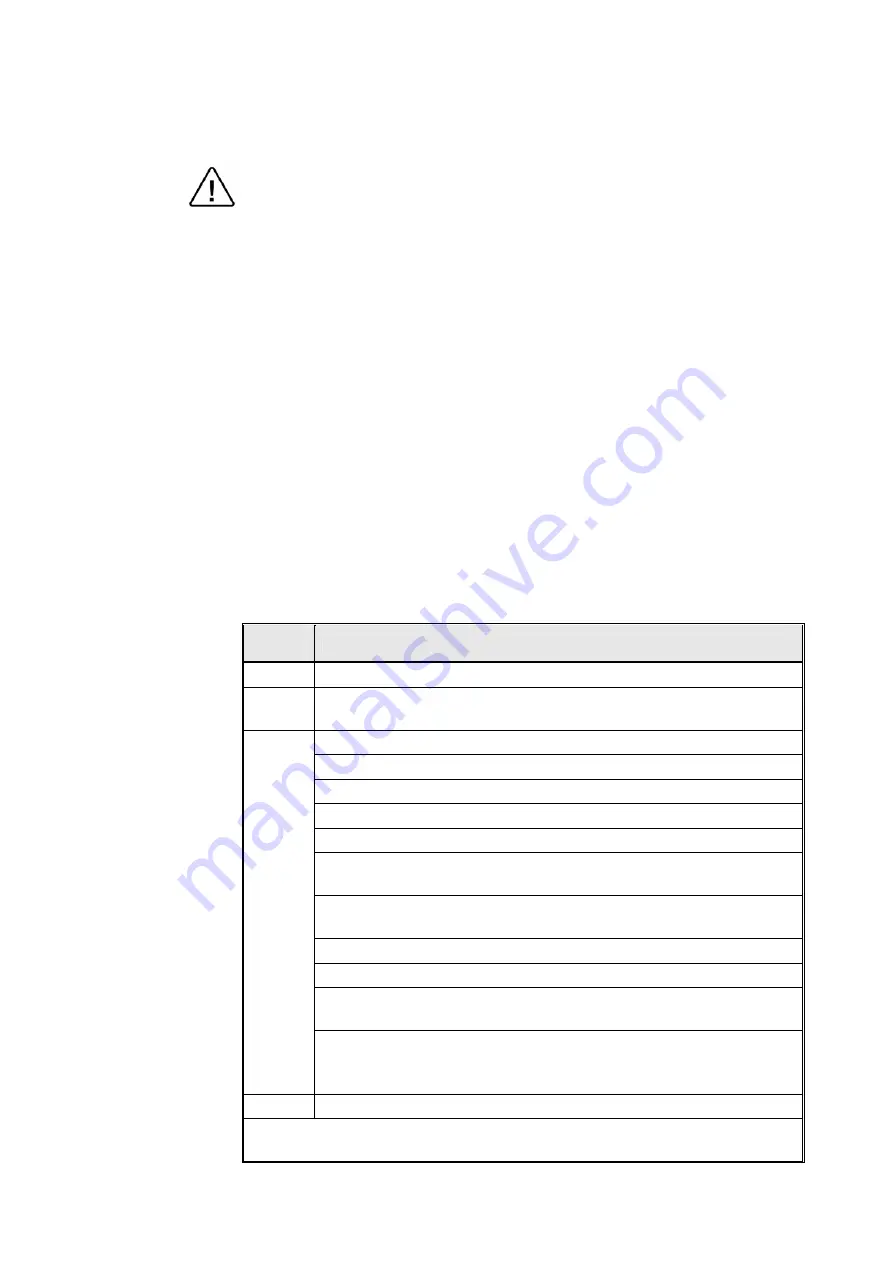
Periodical Tests
ERIOD
TEST
1 months Test the safety valve by operating it.
6 months
Remove
the
autoclave’s
cover,
tighten
the heaters’ screws and
electrical
connections,
valves
and
connectors in the control box.
Check the continuity of the grounding connections.
Check the temperature and pressure calibration.
Perform validation of the autoclave.
Check the precise operation of the earth leakage relay.
Check that the autoclave is leveled.
Check the safety elements; safety valve, safety and cut-off
thermostats door locking mechanisms.
Run basic programs of the autoclave and check the operation
sequences, the sterilization parameters etc.
Check
the
water
reservoir,
piping,
plastic
parts
and electric wires.
Check and tighten the piping joints to avoid leakage.
Check and tighten all screw connections in the control box,
heaters and valves and instrumentation.
Year
Calibrate the temperature and pressure once a year or in
reference to local rules or regulations (refer to the section on
Calibration).
5 years Observe the closing device for excessive wear
Safety
tests
(pressure
vessel,
efficiency,
electrical) shall be performed in
accordance with local rules or regulations, by an authorized inspector.
Содержание 3850 ELVG-D
Страница 43: ...42 AJUNC 3 BOARD...
Страница 53: ...52 VESSEL ASSEMBLY...
Страница 55: ...54 OUTER CABINET ASSEMBLY...
Страница 59: ...58 PIPING DIAGRAM FOR MODELS 1730 E AND EK...
Страница 60: ...59 PIPING DIAGRAM FOR MODELS E AND EK EXCEPT 1730...
Страница 61: ...60 PIPING DIAGRAM FOR MODELS EA AND EKA...
Страница 62: ...61 ELECTRICAL DIAGRAM FOR MODELS 1730 E EK...
Страница 63: ...62 ELECTRICAL DIAGRAM FOR MODELS 2340 2540 E EK...
Страница 64: ...63 ELECTRICAL DIAGRAM FOR MODELS 2340 2540 EA EKA...
Страница 65: ...64 ELECTRICAL DIAGRAM FOR MODEL 3140 E...
Страница 66: ...65 ELECTRICAL DIAGRAM FOR MODELS 3850 3870 E EK...
Страница 67: ...66 ELECTRICAL DIAGRAM FOR MODELS 3850 3870 EA EKA...


