3.9 Operating the Storage Device
3-46
3.9.2
Using the Option Hard Disk
(HD-10)
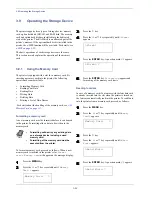
Installing the option hard disk into the printer allows you to
perform the following operations on the hard disk.
•
Reading data
•
Writing data
•
Deleting data
•
Formatting hard disk
•
Printing a list of data names (partitions)
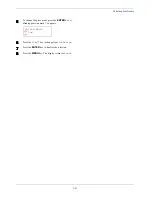
When an option hard disk is inserted into the printer for the
first time, it must be formatted before use. If the option hard
disk is not formatted, the
>Format
menu will automatically
appear on the message display.
The operations of the option hard disk are the same as those
of the memory card. See the relevant sections in
Section 3.9.1
Using the Memory Card on page 3-42
.
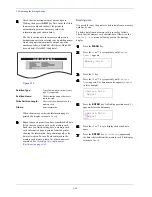
When data is written to the hard disk, the name automatically
given to the corresponding file will be DataH001 (for the 1st
file), DataH002 (for the 2nd file), DataH003 (for the 3rd
file), etc.
3.9.3
Using the RAM Disk
The RAM disk is a memory space shared within the printer
memory that can temporarily store print jobs. The RAM disk
can be used only for electronic sorting. The stored print job
can then be used to print multiple copies of the job reducing
the total amount of time required to print the whole job. It
acts similar to the hard disk except that the data is effective
only during the printer is powered up. By default, the RAM
disk is not activated (
Off
).
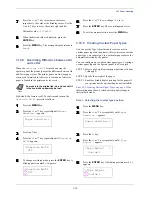
To use the RAM disk, activate and enter the desired size of
the RAM disk in the manner described below. The maximum
RAM disk size can be calculated as follows:
Maximum RAM disk size = Total printer memory -36 MB
For example, if the total memory installed in your printer is
256 MB, you can set 224 MB of RAM disk. If you attempt to
set the RAM disk size beyond this restriction, the printer
automatically round it down so that the size is always 36 MB
less than the total printer memory. Once the RAM disk size is
set, the printer must be reset.
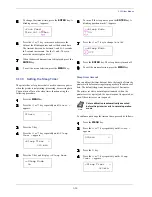
To activate RAM disk in the printer's memory, first you must
set the RAM disk mode to On and set the desired data size
for the RAM disk as descriped in the following section. This
allows you to perform the following operations on the RAM
disk.
•
Reading data
•
Writing data
•
Deleting data
•
Printing a list of data names (partitions)
The operations of the RAM disk are the same as those of the
memory card. See the relevant sections in
Section 3.9.1
Using the Memory Card on page 3-42
. When data is written
to the RAM disk, the name automatically given to the
corresponding file will be DataH001 (for the 1st file),
DataH002 (for the 2nd file), DataH003 (for the 3rd file), etc.
Note
•
The RAM disk can not be used when an
option hard disk is installed.
•
The RAM disk stores data only temporarily.
When the printer is reset or turned off, the
stored data will be erased.
•
The RAM disk is allocated within the
printer's memory available to users. If the
size of the RAM disk is set too large, the
printing speed may decrease or the
memory may become insufficient, causing
a printing error.
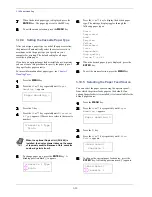
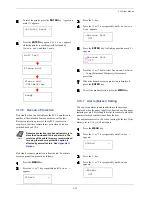
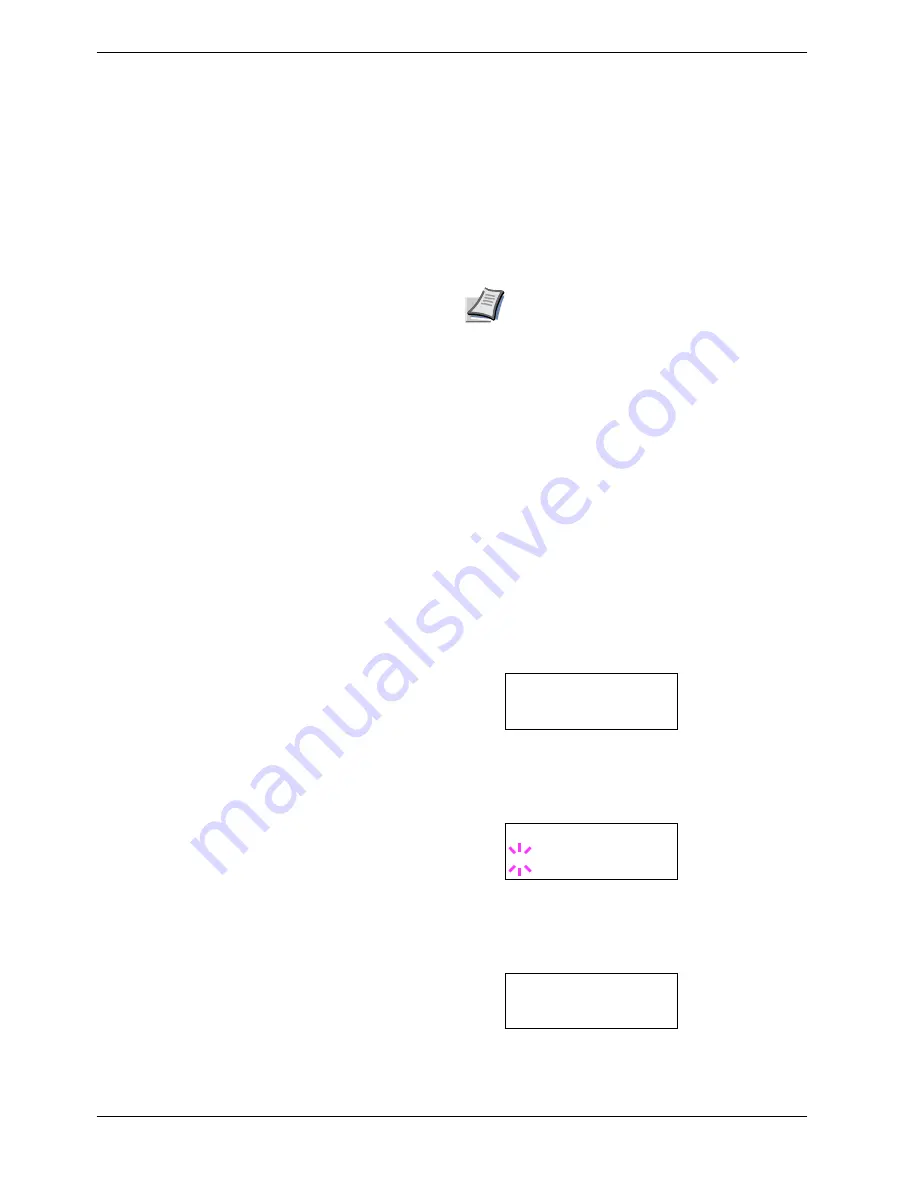
To confirm the RAM disk size or activate the RAM disk,
proceed as follows:
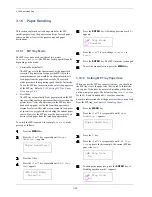
Setting the RAM disk size
1
11
1
Press the
MENU
key.
2
22
2
Press the
U
or
V
key repeatedly until
RAM Disk
Mode
appears.
3
33
3
Press the
ENTER
key. A blinking question mark (
?
)
appears. Press the
U
or
V
key to select
On
. Press the
ENTER
key.
4
44
4
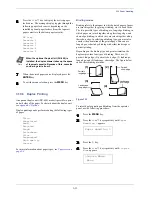
Press the
Z
key. Press the
U
or
V
key repeatedly
until
>RAM Disk Size
appears. The data size also
appears.
RAM Disk Mode
Off
RAM Disk Mode
? On
>RAM Disk Size
0119 MByte
Содержание CLP 4526
Страница 1: ...Instruction Handbook CLP 4526 Colour Printer ...
Страница 16: ...xv ...
Страница 20: ...Contents xix ...
Страница 40: ...2 4 Special Paper 2 12 ...
Страница 56: ...3 3 Menu Map and Status Pages 3 16 Figure 3 3 MENU MAP ...
Страница 126: ...4 4 Clearing Paper Jams 4 18 ...
Страница 136: ...5 3 Cleaning the Printer 5 10 ...
Страница 149: ...Appendix C Technical Specifications The technical specification may be changed for improvement purpose ...
Страница 156: ...UTAX GmbH Ohechaussee 235 22848 Norderstedt Germany ...

