25
orientation setting will not have any effect.) Note:
T.photo™
preserves the original aspect ratio of all
images and does not stretch them to fill the entire screen.
To set the Orientation function:
1.
Select
Orientation
from the
Settings
menu.
2. Use
LEFT
or
RIGHT
to highlight either “Landscape”
or
“Portrait.”
3. Press
OK
or
to confirm the new orientation.
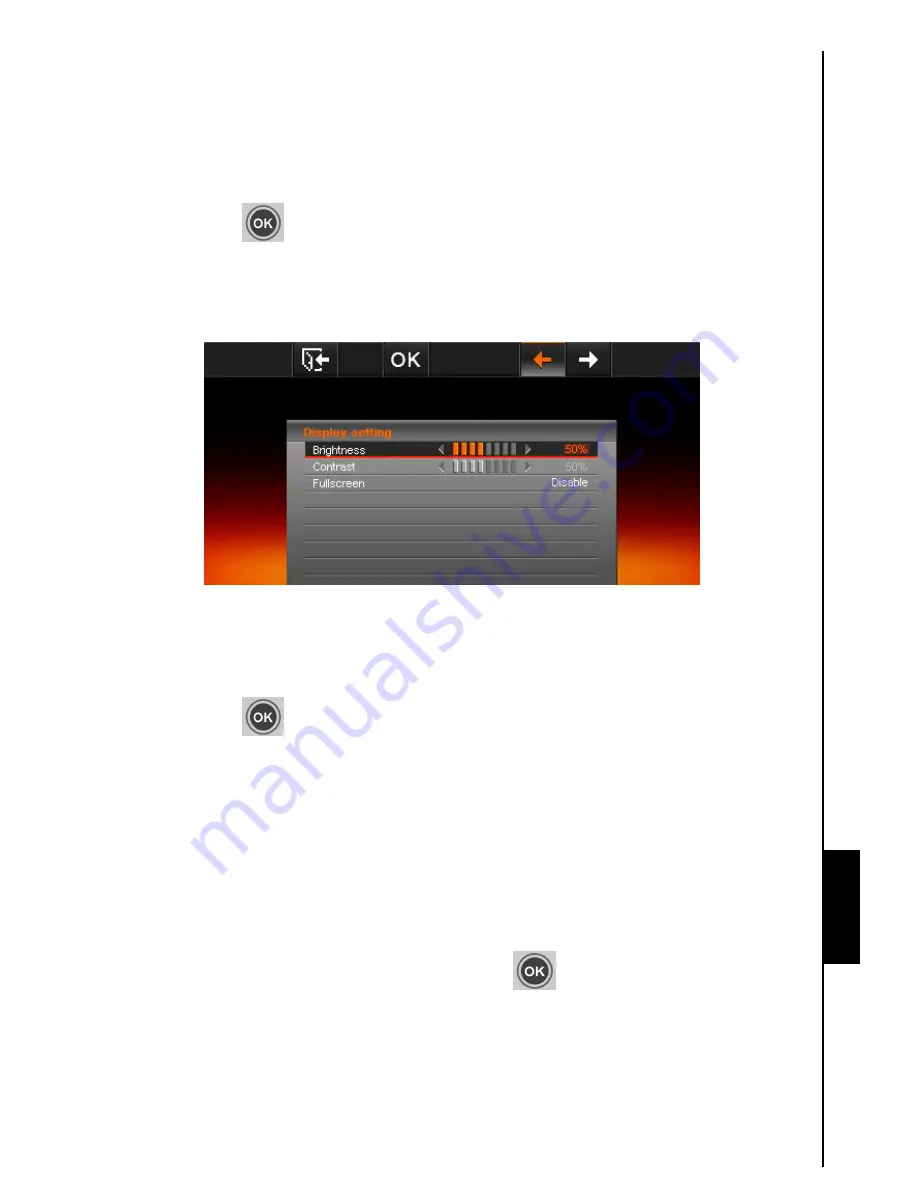
Display
Use this function to adjust brightness and contrast of the screen.
Figure 27. Display settings
To adjust display settings:
1. Select
Display
from the Settings
menu to open the Display settings, and use the
UP
and
DOWN
buttons to highlight “brightness”, “contrast” and “fullscreen.”
2. Press
OK
or
to modify the selected item.
a.
Brightness
: Press
LEFT
or
RIGHT
to fine-tune the brightness of the screen.
b.
Contrast
: Press
LEFT
or
RIGHT
to make adjustments to the screen’s contrast.
c.
Fullscreen
: Press
UP
or
DOWN
to enable/disable. If disabled,
T.photo™
will preserve the
original photo aspect ratio showed in the screen. If enabled,
T.photo™
will enlarge the
photo to fit the screen, while preserving the original aspect ratio. Depending on its
dimensions, some parts of the photo may not be displayed in fullscreen mode. Note:
fullscreen is only applied on horizontal photos displayed in landscape orientation or vertical
photos displayed in portrait orientation.
3. After making your adjustments, press the
OK
button
to save.
Restore defaults
This function is available if you want to reset your
T.photo™
’s
settings. Note: All settings that have been
changed will return to the factory defaults.
Settings
Setting
Setting
Settings


