22
the one you want to modify.
b. Use
the
UP
or
DOWN
buttons to adjust the minute or hour value that you selected. The time
format can be either “24H” or “AM/PM,” which can be set in “
Options
” -> “
12H/24H
”.
c. After setting the desired alarm time, press
OK
or
to save.
2.
Alarm on/off:
Enable or disable the alarm.
3.
Alarm sounds:
Select the alarm sound you want to be played from a choice of five default alarm
sounds or your custom “My Alarm” sound (can be any song you want). The “My Alarm” sound can
be chosen in:
Home
->
Music
->
Options
-> “
Set as My Alarm
.”
4.
12H/24H:
Switch the time display style between 12-Hour (AM/PM) and 24-Hour. This setting
affects all time displayed in
T.photo
™ (alarm, system time, auto on/off).
5.
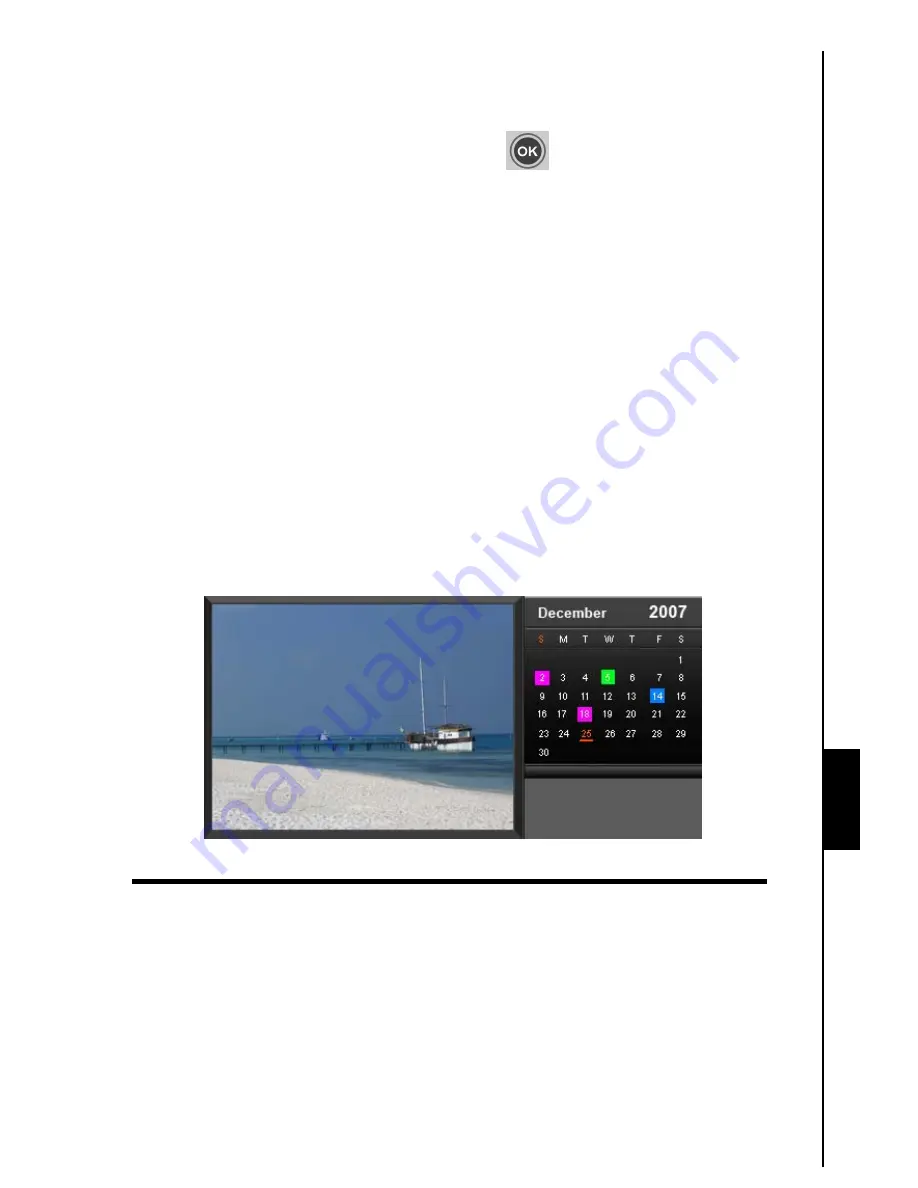
Important Dates:
You can earmark your important dates on the calendar screen. Follow the steps
below to highlight important dates on the calendar:
a. Select
Important Dates
from the Options menu.
b. Move the cursor on the desired date and press
OK
to mark that day.
c. Four mark types are available and are represented by different colors: None, Birthday, Party,
and Date. Choose one and press
OK
to confirm.
6.
Picture Display Mode:
Change the way pictures are shown next to the calendar: Still Picture
(single photo) or Slideshow. Slideshow in clock and calendar mode will play all pictures in the
selected media. The calendar still picture can be chosen in:
Home
->
Photo View
->
Options
->
“
Set as Clock and Calendar Picture
.”
Figure 24: Mark important dates
Clock


