


68
Chapter 11
Administrate Your Network
3
Select
Enable SNTP
.
4
Enter the IP address or domain name of
Time Server 1
,
Time Server 2
or
Time Server
3
, and the router will get the time from the NTP Server automatically. In addition, the
router has some common built-in NTP Servers that will synchronize automatically
once it connects to the internet.
5
Select your local time zone from the
Time Zone
drop-down list.
6
Click
Save
.
7
After setting the system time, you can set
Daylight Saving Time
according to your
needs. Select the check box to enable
Daylight Saving Time
, set the start and end
time and then click
Save
.
11 3 Back Up and Restore Configuration Settings
The configuration settings are stored as a configuration file in the router. You can back
up the configuration file to your computer for future use and restore the modem router
to a previous settings from the backup file when needed. Moreover, if needed you can
erase the current settings and reset the modem router to the default factory settings.
To back up configuration settings
1
Visit
http://tplinkmodem.net
, and log in with the password you set for the router.
2
Click
Advanced
>
System Tools
>
Backup & Restore
page.
3
Click
Backup
to save a copy of the current settings to your local computer. A conf.
bin file will be stored to your computer.
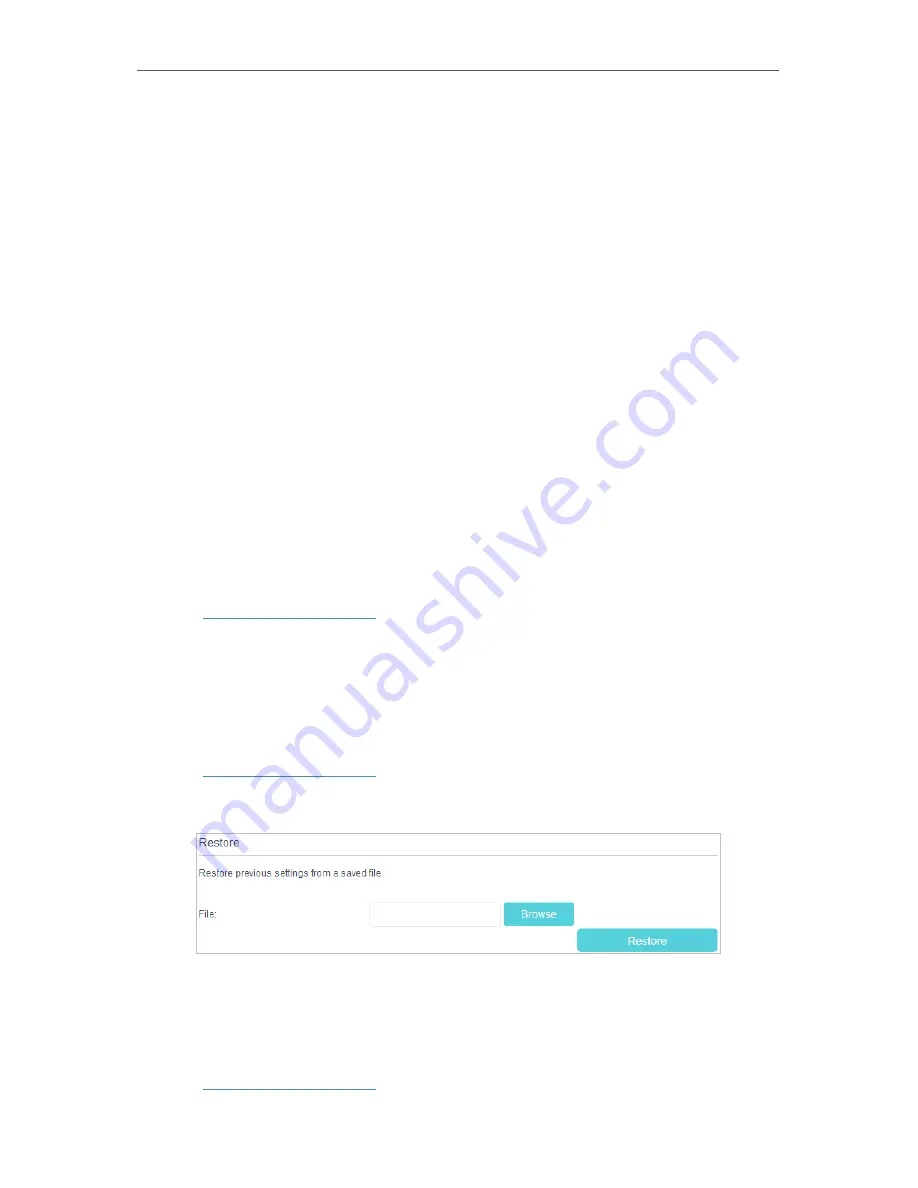
To restore configuration settings
1
Visit
http://tplinkmodem.net
, and log in with the password you set for the router.
2
Click
Advanced
>
System Tools
>
Backup & Restore
page.
3
Click
Browse
to locate the previous backup configuration file, and click
Restore.
4
Wait for the restoring and then the modem router will automatically reboot.
To reset the modem router to factory default settings
1
Visit
http://tplinkmodem.net
, and log in with the password you set for the router.


