❍
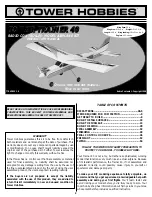
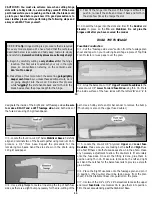
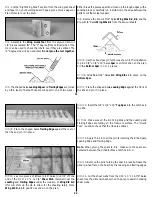
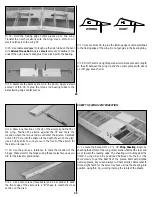
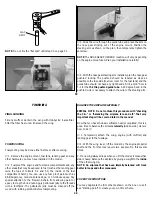
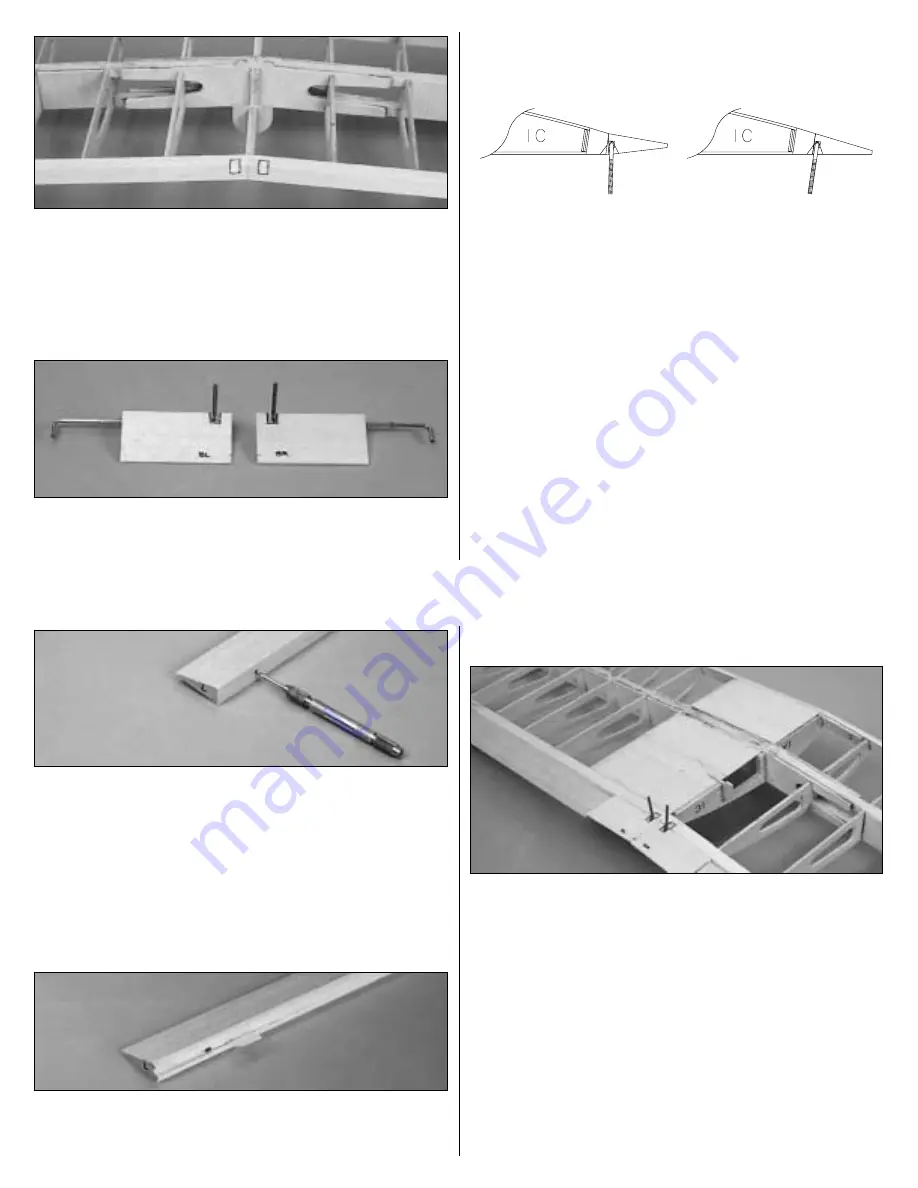
14. Hold the trailing edge center pieces up to the wing.
Transfer the notch locations onto the wing. Use a knife to cut
small notches into the wing TE.
❍
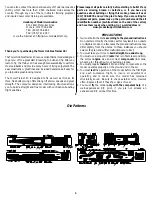
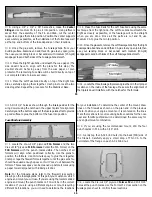
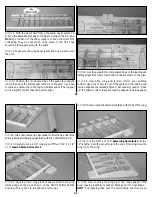
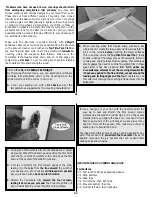
15. Use coarse sandpaper to rough up the nylon tube on the bent
wire Aileron Torque Rod. Apply a small amount of Vaseline to the
ends of the nylon tube to keep glue from wicking into the bearing.
❍
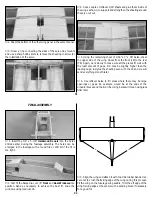
16. Assemble the parts as shown in the photo. Apply a small
amount of thin CA to glue the torque rod bearing tubes to the
balsa trailing edge center pieces.
❍
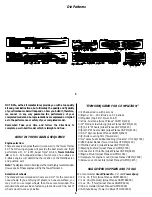
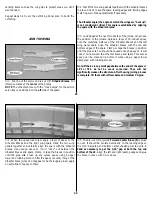
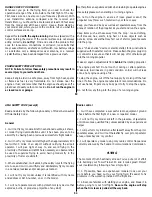
17. Use medium CA to glue the trailing edge center assemblies
to the trailing edge of the wing. Do not get glue in the bearing tube.
❍
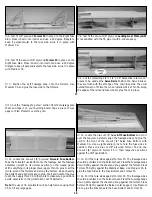
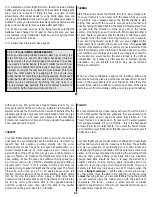
18. Trim the left and right tapered aileron stock pieces to length
so they fit between the wing tip and the center pieces with about
a 1/16" gap at each end.
WRONG
RIGHT
29
❍
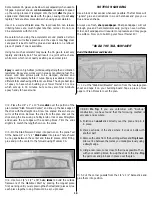
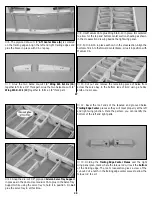
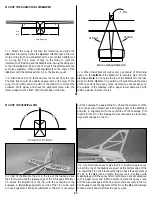
19. Draw a center line on the LE of the ailerons and the TE of
the wing. Position the aileron against the TE and mark the
location where the torque rod would enter the aileron. Carefully
drill a 3/32" hole into the aileron to the depth shown on the plan.
Use a hobby knife to cut a groove in the front of the aileron for
the aileron torque rod.
❍
20. Use the plan as a reference to mark the location of the
hinges. Make slots for the hinges using the same technique as you
did for the Elevator and Rudder.
❍
21. Use a razor plane (if available) and a bar sander to sand
the front edge of the ailerons to a “V” shape to match the cross
section on the plan.
SHEET THE WING CENTER SECTION
❍
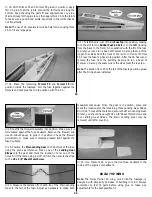
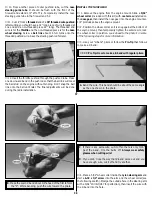
1. Locate the balsa 1/16" x 3" x 36" Wing Sheeting. Begin by
sheeting the bottom of the wing center section. Start at the rear, and
work toward the leading edge. The sheeting will butt against the
first R-3 wing rib and be positioned halfway onto the R-1 ribs.
Work slowly to get the best fit of the pieces. Start with slightly
oversize pieces, as you can always cut them smaller. Remember to
trim a slight notch for the servo tray brace. Glue the sheeting into
position using thin CA, wicking it along the joints of the sheets.
30

