


❍
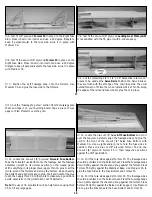
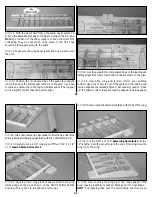
2. Sheet the bottom of the other wing panel in the same manner.
❍
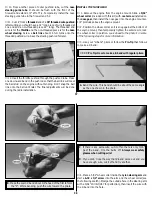
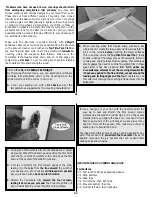
3. Draw a line connecting the sides of the servo tray mounts
and use a sharp hobby knife to remove the sheeting to allow for
the installation of the servo.
❍
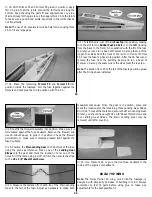
4. Cut a couple of leftover 1/16" sheets and glue them inside of
the wing as shown, to support and strengthen the sheeting around
the servo cut out.
❍
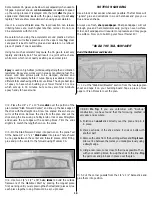
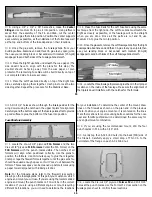
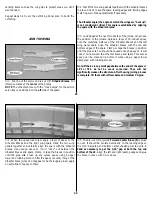
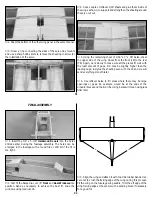
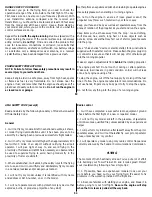
5. Using the remaining sheet of 1/16" x 3" x 36" balsa, sheet
the upper side of the wing. Sheet from the front (LE) to the rear
(TE). Again, work slowly to make sure all the pieces fit well with
the least amount of gaps. R-3 may be slightly higher than the
leading edge. Just glue the sheeting even with the LE and we will
sand everything smooth later.
❍
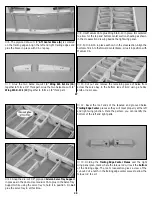
6. Use leftover balsa to fill areas where there may be large
openings or gaps. An example would be at the ends of the
dihedral braces and the R-3 ribs. Using balsa will mean using less
filler later.
31
FINAL ASSEMBLY
❍
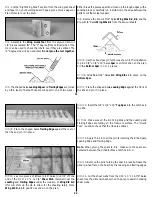
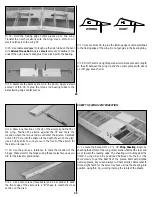
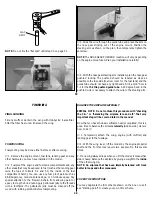
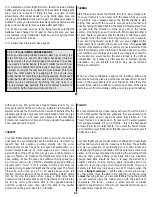
1. Insert the 1/4" x 5-1/8" Hardwood Dowels into the holes
drilled earlier during the fuselage assembly. The holes can be
enlarged in the fuselage with a round file or drill bit if the fit is
too tight.
❍
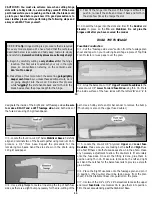
2. Test fit the balsa die-cut 1/8" Front and Rear Windows into
position. Sand as necessary to achieve the best fit. Glue the
windows using medium CA.
❍
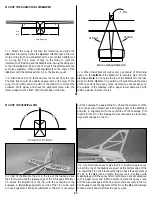
3. Align the wing and attach it with two #64 rubber bands. Use
care not to crush the trailing edge of the wing during this process.
Fit the wing on the fuselage wing saddle. Trim the aft edge of the
wing trailing edge at the center with a sanding block if necessary
for a good fit.
A
A
32


