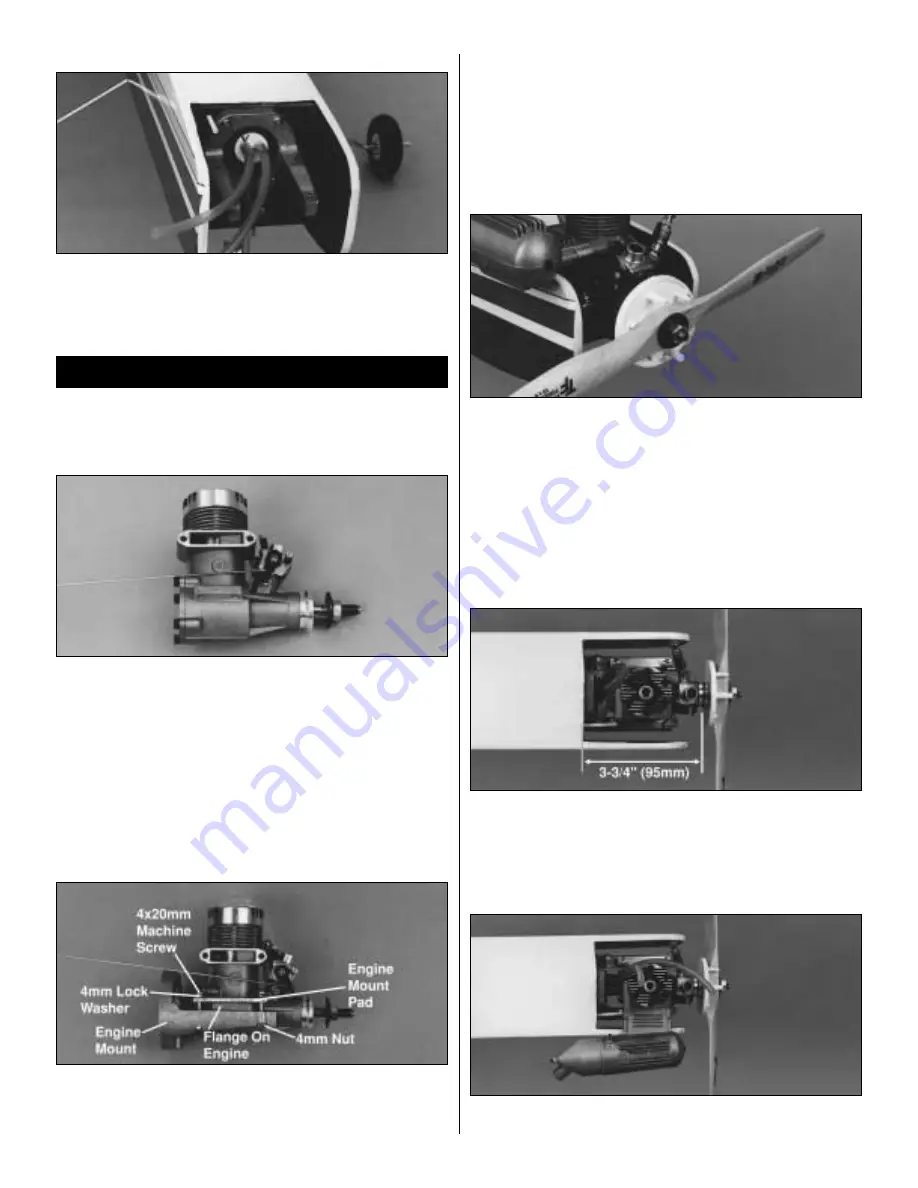
ATTACH THE FUEL LINES
❍
5. Cut two pieces of fuel tubing (not included) 5" (127mm) in
length. Attach these to the plastic tubes that are on the fuel tank. You
may need to hold the tank in position with one hand while installing
the tubes with the other.
Note: It may be necessary to attach the carburetor to your particular
engine. Follow the manufacturer’s instructions for this procedure.
INSTALL THE THROTTLE PUSHROD
❍
1. Attach the “Z” bend into the inside hole of the carburetor
control arm. Make sure that the “Z” bend does not interfere with any
parts of the engine.
The engine in your airplane is mounted slightly different from that of
most R/C aircraft. This is done to allow the use of many different
types of engines. It also allows a “no-drill” approach to ease the
installation.
Read through the procedure and understand all the steps
before actually performing them.
MOUNTING THE ENGINE
Note: The engine and mount have been removed from the aircraft for
photography. Do not remove the engine mount from the aircraft.
❍
2. The engine is “sandwiched” between the engine mount and the
engine mount pads. Slide the throttle pushrod into the pushrod tube
in the fuselage and rest the engine on the mount. Slide a 4mm lock
washer onto a 4 x 20mm machine screw. Repeat this process for the
remaining screws and washers. Pass the screws through the engine
mount pads. The screws then go through the mount, passing in front
of and behind the engine mounting flange. The pads will be resting
on the top of the engine’s mounting flanges. The 4mm nuts are then
placed into the recesses on the bottom of the engine mount. Start the
screws, but do not tighten them at this time. We still need to align
the engine!
ATTACH THE PROPELLER TO THE ENGINE
❍
3. Install the spinner backplate, propeller, propeller washer and
the propeller nut onto the engine. Turn the propeller counterclockwise
until it is against the smallest pins on the backplate. Keep the propeller
horizontal when the engine is against its compression (the point at
which you feel resistance when you turn the crankshaft counterclockwise).
This is a good habit to get into when installing propellers onto model
airplanes. If the engine quits during flight, the propeller will stop
horizontally, therefore reducing the chance of propeller breakage if
you are forced to land on rough terrain. Use an adjustable wrench
(not a pliers) to securely tighten the propeller nut.
ALIGNING THE ENGINE
❍
4. Measure the distance from the spinner backplate to the firewall.
It should be 3-3/4" (95mm) on both sides. Adjust the engine if needed
and tighten the screws evenly to secure the engine to the mount.
INSTALL THE MUFFLER
❍
5. Following the engine manufacturer‘s instructions, install the
muffler to the engine.
ENGINE INSTALLATION
12


