13
❏
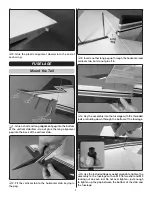
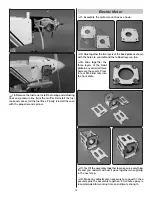
10. Replace the cowl on the fuselage and mount the
spinner with a propeller. Insert 3/32" [2.5mm] balsa shims
between the cowl and the spinner and tightly tape the cowl
to the spinner making sure they are aligned.
❏
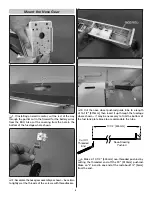
11. Mark two cowl screw holes on both sides of the cowl
1" [25mm] ahead of the lines you marked earlier.
❏
12. Drill 3/32" [2.4mm] holes at the marks through the
cowl and into the fuselage.
❏
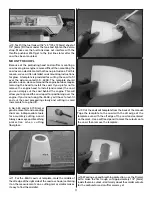
13. Enlarge the holes
in the cowl only
with a 1/8" [3.2mm]
drill. Wipe away all the ink lines with a small paper towel
square dampened with denatured alcohol and mount the
cowl with four M3 x 10 screws.
❏
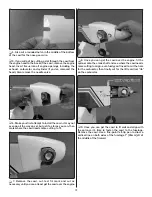
14. Now that the cowl is mounted you can see where
more trimming may be required for a perfect fit around the
engine, carburetor, etc. Mark the cowl where additional
trimming is required. Also cut holes for the muffler screws
and attach the muffler (cutting the cowl where necessary
to accommodate these parts).
❏
15. Remove the cowl and trim as necessary. Finally, install
the needle valve, then mount the cowl. The needle valve is
close enough to the cowl that you can press on the cowl
over it to make a dimple indicating where to begin cutting
for the needle valve, or you can mark the inside of the cowl
with a pencil.
❏
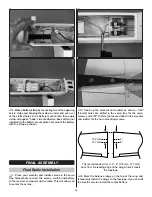
16. Trim the cowl as necessary to allow access to the
needle valve. Also cut holes in the cowl for the fueling line
from the fuel tank, for the pressure line from the muffler and
for the muffler screws.
❏
17. Once all the holes are cut in the cowl, smooth the
rough-cut edges and remove any loose fibers with 320-grit,
then 400-grit sandpaper.
Содержание KAOSARF .60/EP
Страница 23: ...23 NOTES ...
Страница 24: ...TOWA2058 2015 Tower Hobbies A subsidiary of Hobbico Inc ...


