Call Router Administrator
Tab Choices
42
Call Router Installation Guide 03/09
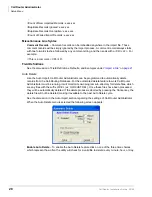
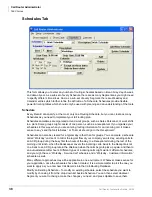
Modify a Calendar – In the calendar drop-down box, select the calendar you want to modify. The
existing dates specified will be displayed in the Dates section. If this is a new calendar, this area
will be blank.
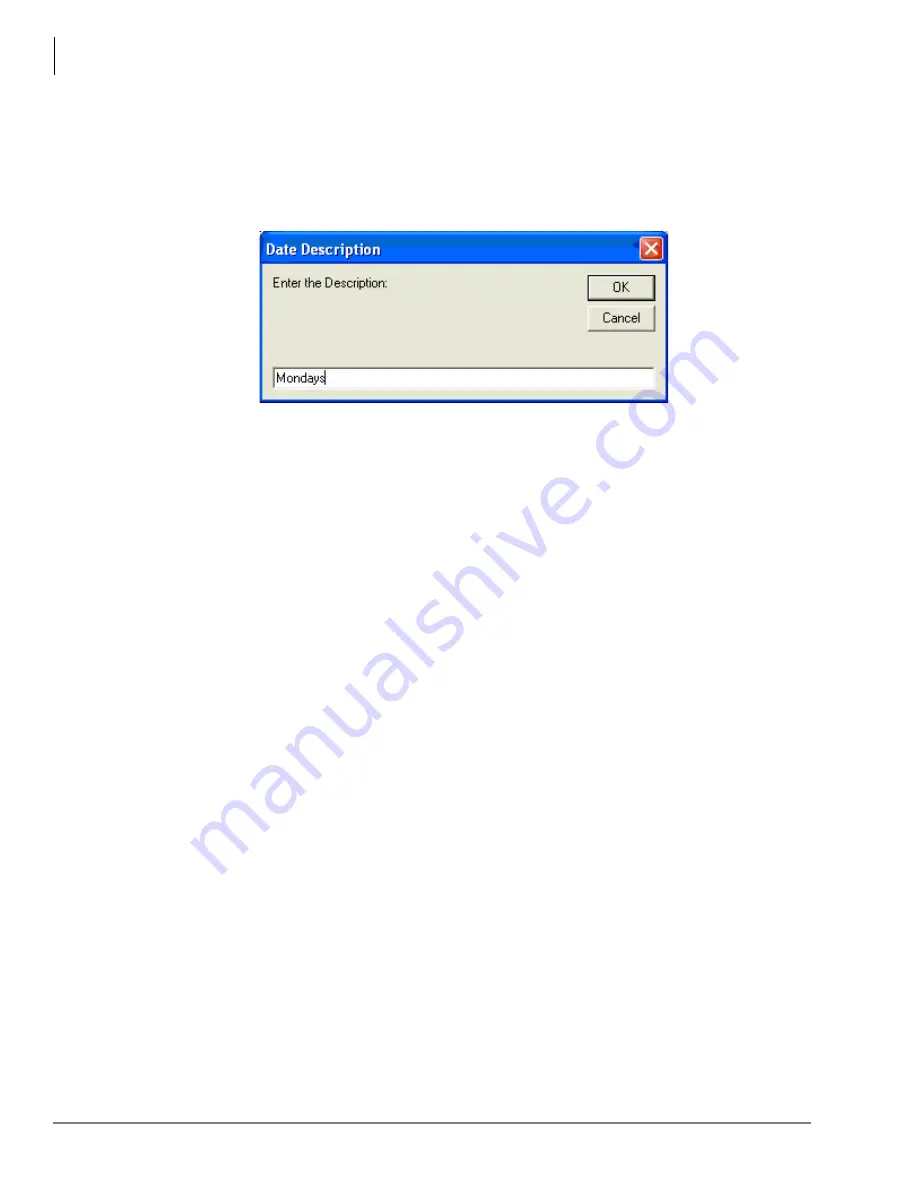
To add a new date, click the Add button. A dialogue box will appear to enter the Description. Enter
a name that suits the entry you are making and click on OK.
Now, you can modify the empty record by clicking the Change button. Selecting the Change button
will allow you to edit the Begin Date information, because that is the column highlighted on the
Dates form.
On the little calendar, find the beginning date for the entry you are making by scrolling through the
years, months, and days. Click it so that it is highlighted, and press Update. The date you have
selected will now be written in the Begin Date column for this entry.
To edit the End Date or Description, highlight one of those columns and click Change.
Repeat these steps until you have all the dates entered and labeled for this calendar that you
want. If you only want to specify one date rather than a range of dates, enter that date in the Begin
Date column and leave the End Date column blank.
Deleting a Date – To delete a date, highlight any of the three columns for that date and click the
Delete button. The program will ask you to verify that this is really what you want to do. If you
answer yes, the entry will be deleted.

