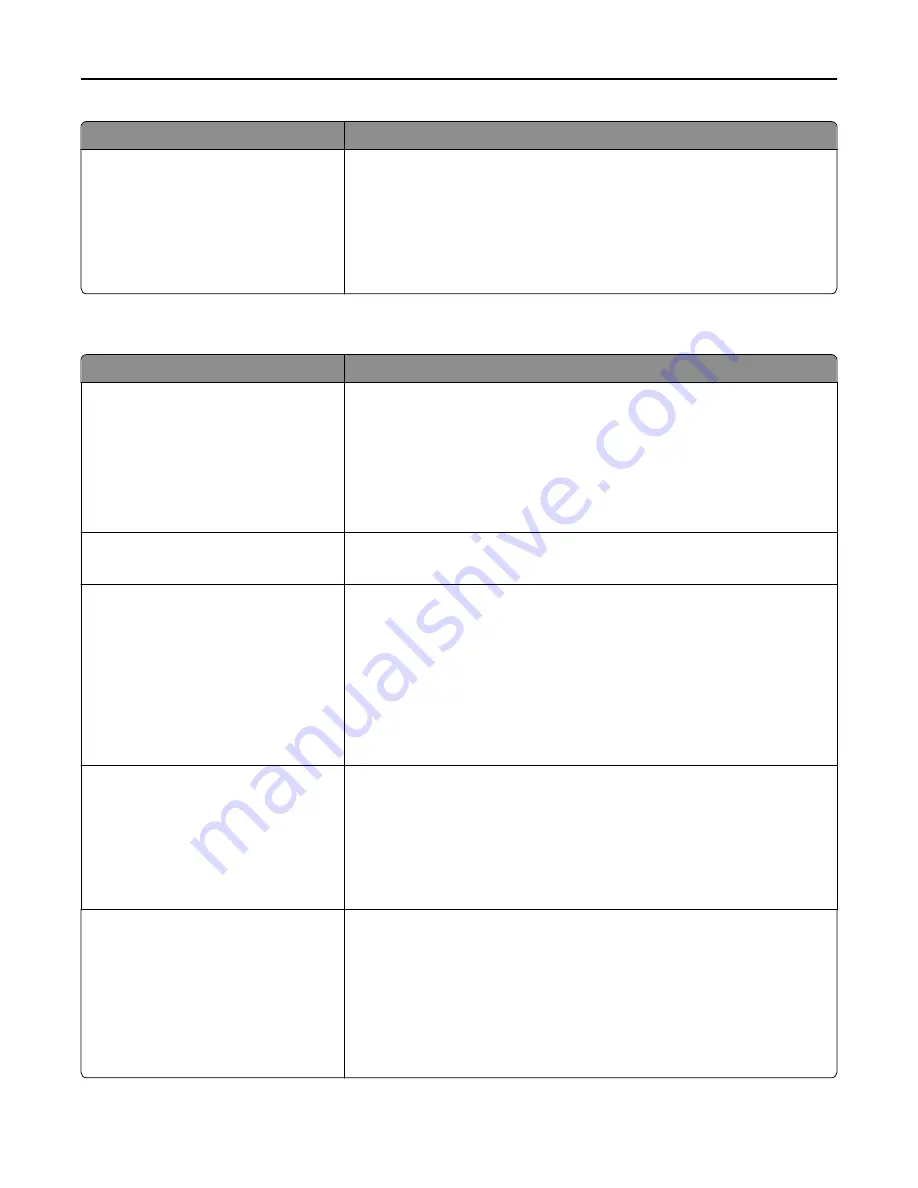
Use
To
Image Smoothing
On
Off
Enhance the contrast and sharpness of low
‑
resolution images and smoothen
their color transitions.
Notes:
•
Off is the factory default setting.
•
Image Smoothing has no effect on images that are 300 dpi or higher in
resolution.
PCL Emul menu
Use
To
Font Source
Resident
Download
All
Specify the set of fonts used in the Font Name menu.
Notes:
•
“Resident” is the factory default setting. It shows the factory default set
of fonts downloaded in the RAM.
•
“Download” shows all the fonts downloaded in the RAM.
•
“All” shows all fonts available to any option.
Font Name
Courier 10
Identify a specific font and where it is stored.
Note:
Courier 10 is the factory default setting.
Symbol Set
10U PC
‑
8
12U PC
‑
850
Specify the symbol set for each font name.
Notes:
•
10U PC
‑
8 is the U.S. factory default setting. 12U PC
‑
850 is the
international factory default setting.
•
A symbol set is a set of alphabetical and numeric characters, punctuation,
and special symbols. Symbol sets support the different languages or
specific programs, such as math symbols for scientific text. Only the
supported symbol sets are shown.
PCL Emulation Settings
Point Size
1.00–1008.00
Change the point size for scalable typographic fonts.
Notes:
•
12 is the factory default setting.
•
Point size refers to the height of the characters in the font. One point
equals approximately 0.014 of an inch. This can be increased or decreased
in 0.25
‑
point increments.
PCL Emulation Settings
Pitch
0.08–100.00
Specify the font pitch for scalable monospaced fonts.
Notes:
•
10 is the factory default setting.
•
Pitch refers to the number of fixed
‑
space characters per inch (cpi). This
can be increased or decreased in 0.01
‑
cpi increments.
•
For non
‑
scalable monospaced fonts, the pitch appears on the display but
cannot be changed.
Understanding the printer menus
106
Содержание eS305CP
Страница 5: ...Notices 203 Product information 203 Edition notice 203 Power consumption 206 Index 213 Contents 5 ...
Страница 125: ...2 Open the top door 3 Remove the toner cartridges Maintaining the printer 125 ...
Страница 130: ...16 Insert the waste toner bottle 17 Insert the right side cover Maintaining the printer 130 ...
Страница 134: ...2 Open the top door 3 Remove the toner cartridges Maintaining the printer 134 ...
Страница 138: ...14 Insert the waste toner bottle 15 Insert the right side cover Maintaining the printer 138 ...


