9
Getting started
Wired Setup
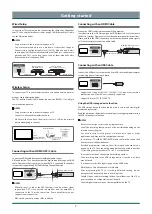
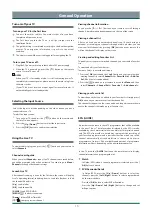
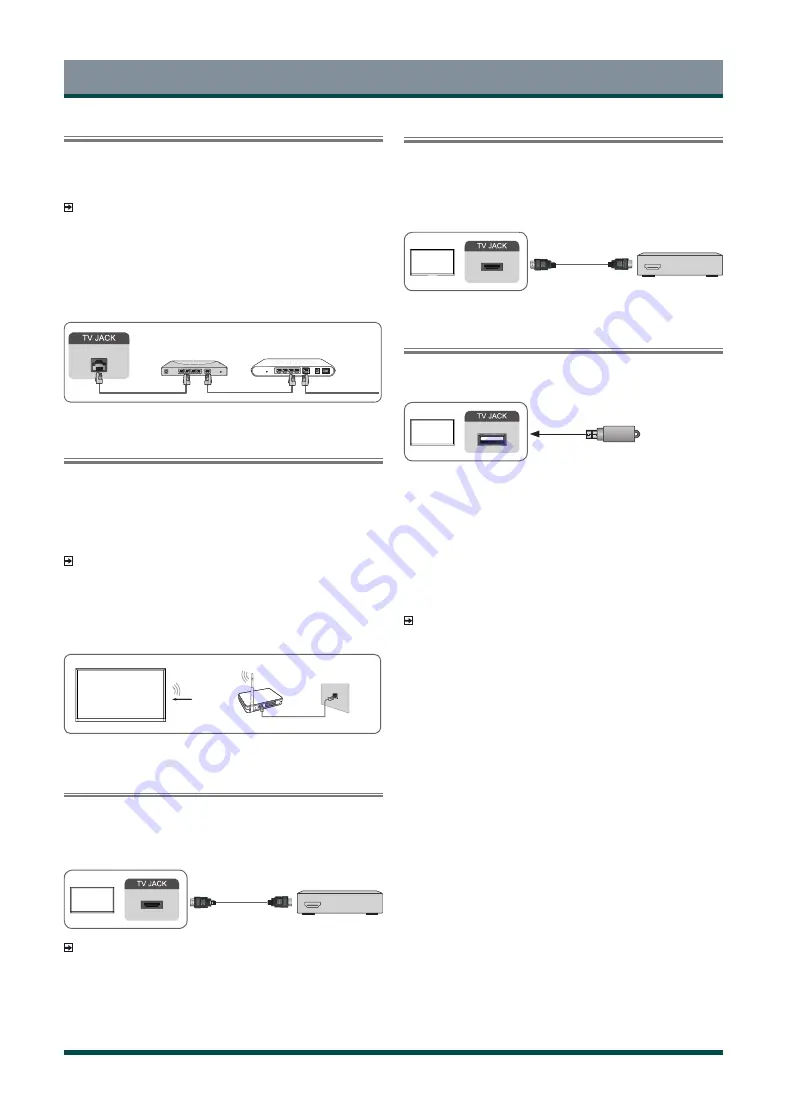
Connect your TV to your network by connecting the LAN port on the back of
your TV to an external modem or router using a LAN (Ethernet/Cat 5) cable.
See the illustration below.
NOTES
•
You get access to the Internet through your TV.
•
You are recommended to use a modem or router that supports
Dynamic Host Configuration Protocol (DHCP). Modems and routers
that support DHCP automatically provide the IP address, subnet mask,
gateway, and DNS, so you don’t have to enter them manually. Most
home networks already have DHCP.
LAN
Modem Cable
LAN Cable
LAN Cable
External Modem
(ADSL / VDSL / Cable TV)
IP Sharer (Router)
(with DHCP server)
Wireless Setup
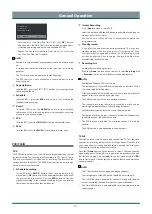
To connect your TV to your wireless network, you need a wireless router or
modem. See the illustration below.
The TV’s built-in Wireless LAN Adapter supports the IEEE802.11 ac/a/b/g/n
communication protocols.
NOTES
•
You get access to the Internet through your TV.
•
Connect to an available wireless network.
•
Make sure that you have the wireless router’s SSID and password
before attempting to connect.
Wireless Adapter
built-in the TV set
LAN Cable
Wireless Router
The LAN Port
on the Wall
(not provided)
Connecting with an HDMI (ARC) Cable
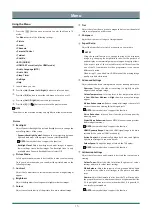
Connect an HDMI cable from an external digital audio system.
ARC enables the TV to directly output the digital sound through an HDMI
cable. Please note that it works only when the TV is connected to the audio
receiver that supports the ARC (Audio Return Channel) function.
HDMI cable (not included)
Audio Amplifier/Speaker
HDMI
ARC
HDMI
NOTES
•
When this port is used as the ARC function, it can be used as signal
input when DVD is connected to amplifier and the amplifier is
connected to the TV at the same time. (Some amplifiers may not
support series connection.)
•
ARC work by auto as per input ARC condition.
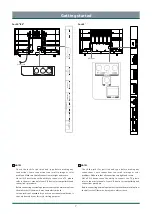
Connecting with an HDMI Cable
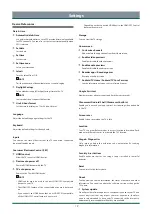
Connect an HDMI cable from an external A/V equipment.
Some devices such as DVD player require HDMI signal to be set to output in
the device’s settings. Please consult your device user manual for instructions.
Please note that the HDMI connector provides both video and audio signals,
so it’s not necessary to connect an audio cable.
DVD/Blu-Ray/AV receiver
/Set-top Box
HDMI cable (not included)
HDMI
HDMI
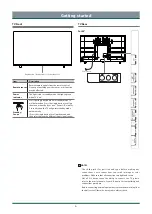
Connecting with an USB Cable
Connect the USB devices such as hard drives, USB sticks and digital cameras
for browsing photos, listening to music.
USB
•
Support the U disk 4G, 8G, 16G, 32G, 64G, 128G and other common
market size, and 8T hard drive is currently supported.
•
Support format: NTFS, FAT32, EXT4.
Using the USB storage device function
The USB storage device function can be used to record and view digital
broadcast programmes.
Read the precautions below before recording or viewing programmes using
the USB storage device function.
NOTES
•
Be sure to select the correct country/region for use.
Use of the recording function may not be possible depending on the
selected country/region.
Use with incorrect settings may violate certain laws or other
regulations, and may result in criminal punishment.
In such cases, TOSHIBA CORPORATION and the Toshiba Group shall
bear no responsibility whatsoever.
•
Recorded programmes saved on the USB storage device can only be
viewed on this TV. They cannot be viewed when connected to another
TV (including the same model of TV), a PC, or other device.
•
You cannot watch one channel while recording another.
•
If the recording time to the USB storage device is too short, no data
may be saved.
•
You cannot record video input signals on the USB device.
•
Not all types of broadcast may be recordable.
•
After programing the TV to record digital broadcasting, do not
disconnect the power plug before recording starts.
•
Should video or audio recording fail due to malfunction of the TV or
poor reception, no compensation shall be paid.
•
Certain digital cameras may not be compatible with the TV.

