Setup
Loose Parts
Use the chart below to verify that all parts have been shipped.
Procedure
Description
Qty.
Use
1
No parts required
–
Remove the aerator from the crating
Hitch pin
2
2
Lynch pin
2
Connect lower link arms (Hitch pins and
lynch pins are shipped installed on the
SR54 and SR54-S Aerators)
Hydraulic top link
1
Hydraulic hose, 3–1/2 feet
1
Hydraulic hose, 2–1/2 feet
1
Extension bracket
2
Rotational bracket
1
3
Hose quick couplings
2
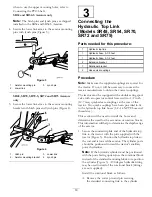
Connect Hydraulic Top Link (Models
SR48, SR54, SR70, SR72 and SR75)
Spring loaded top link
1
Link pin
3
4
Lynch pin
3
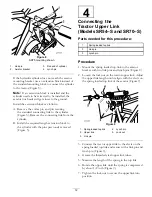
Connect Upper Link (Models SR54–S
and SR70–S)
5
No parts required
–
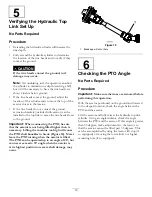
Verify the top link set up
6
No parts required
–
Checking the PTO angle
7
PTO shaft
1
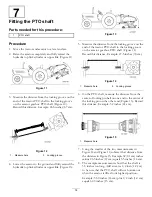
Fitting the PTO shaft
8
PTO Shield
1
Install the PTO Shield
Pin (supplied with PTO shaft)
1
9
Nut (supplied with PTO shaft)
1
Connect PTO Shaft
10
No parts required
–
Adjusting Sway Links
11
Level (not supplied)
1
Level Aerator Side-to-Side
12
Tines
A/R
Install the Tines
13
No parts required
–
Set the tine depth
Rear guard
1
Screw, 3/8 x 3–1/4 inch
4
Flat washer, .438 x 1.00 inch
12
Lock nut
4
14
End cap
2
Install the rear guard
Lock plate
2
Tap bolt
2
15
Retaining ring
2
Install the latch lock
16
No parts required
–
Remove Storage Stands
17
No parts required
–
Remove Storage Stands
8


