22
Equalizing Cables
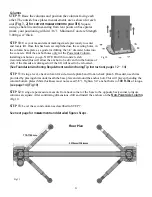
STEP 14:
After the columns have been securely fastened. Raise the both lifting carriages to second safety lock
position. (
Double check to make sure carriage is secure before routing cable.)
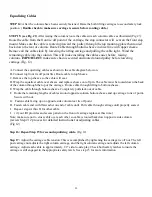
STEP 15: (see Fig. #2
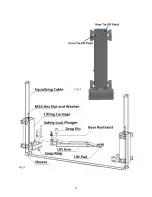
) After raising the columns route the cables in each column cables as illustrated (Fig #?).
Route
the cable from the front tie off point of the carriage, the stop connector will seat on the front stop
mount. Make sure the cable is routed up toward the pulley through the top mounting plate then routed
back down the rear of column. Route Cable through bottom sheave in direct line with upper sheave.
Remove all the cable slack by lowering the lifting carriage and pulling the cable tight. Wind the
remaining cable into the column. This will make installing the cables easier before raising
columns.
IMPORTANT:
make sure chain is secured and routed around pulley before lowering
carriage.(Fig. 12)
A. Connect the equalizing cables as shown in the cable diagram below on.
B. Connect top front tie off point first. Route cable to top Sheave.
C. Remove the top sheave so the cable will seat.
D. Wrap the equalizer cable over sheave and replace sheave on roll pin. The cable must be routed down the back
of the column through the top of the carriage. Route cable through lifting to bottom sheave.
E. Wrap the cable through bottom sheave. Completely pull slack out of cable.
F. Route the remaining lengths of cables around opposite column bottom sheave and up carriage to tie of point
.
Secure with nut.
G. Fasten cable facing up on opposite side column rear tie off point.
H. Fasten cable end with flat washer on end of cable until. Pull cable through carriage until properly seated.
I. Repeat steps A thru H for other cable.
J. ( if your lift provides and access panel on the front of carriage replace at this time.)
Note: make sure not to cross cable over each other so cable is routed back down opposite side column.
(review Step# 12 process for detailed instructions for adjusting cables.
(Fig 12)
Step 16: Repeat Step 15 for second equalizing cable.
(Fig 12)
Step 17:
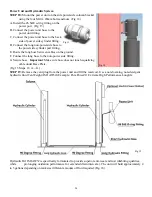
Adjust the carriage cable tension. This is accomplished by tightening the carriage tie off nut. The left
post carriage nut adjusts the right column carriage, and the right column carriage nut adjusts the left column
carriage. Adjust each cable to approximately 1/2” side-to-side play. Check both safety latches to insure the
carriage is still engaged in the appropriate safety latch. See step 15 for more information.
Содержание QJY240C
Страница 9: ...9...
Страница 23: ...23 Fig 12 Fig 12...
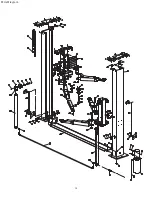
Страница 32: ...34 Parts Diagram...
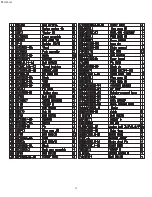
Страница 33: ...35 Parts List...
Страница 34: ...36 COMPANY INFO BACK PAGE...

