17
COMPONENTS
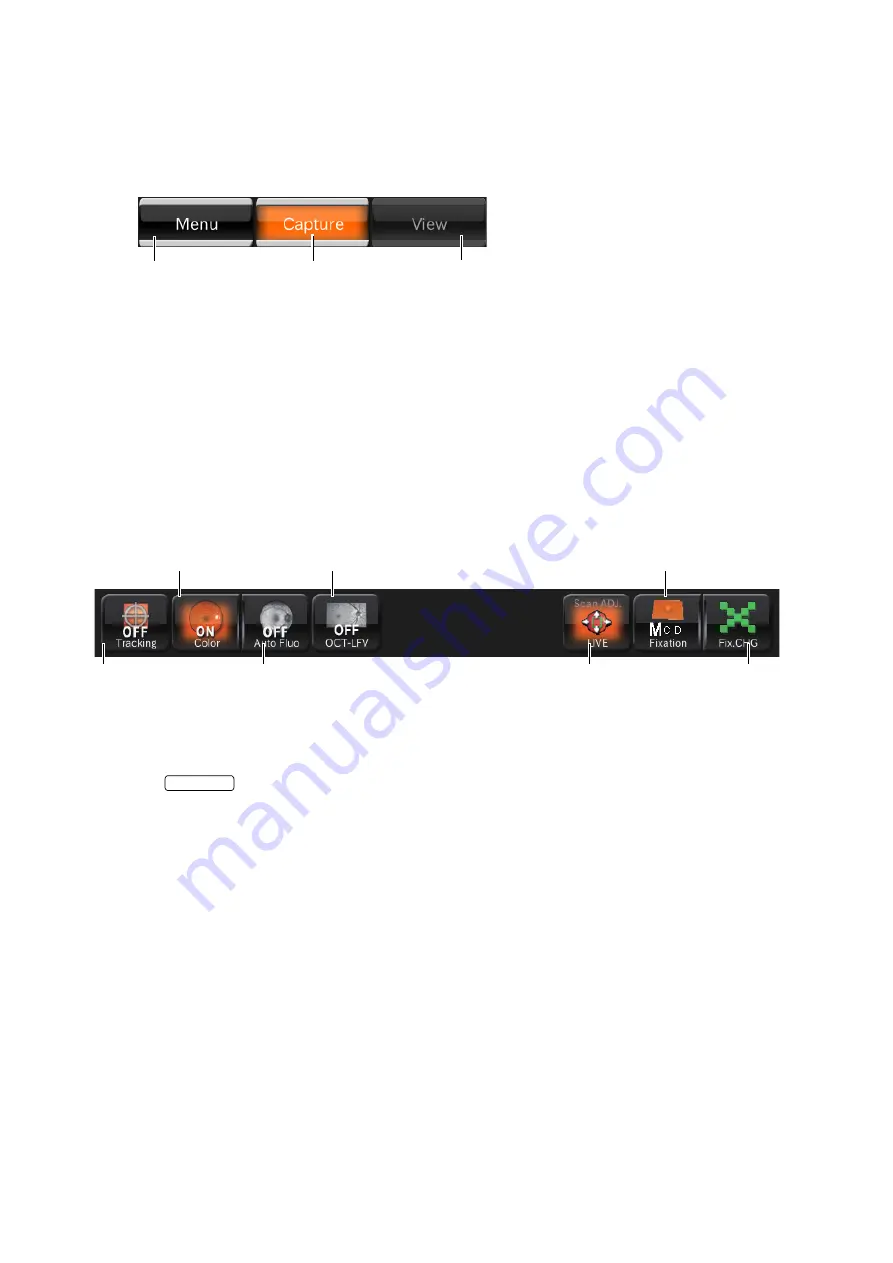
Area 1
Area1 displays the operation mode buttons.You can change to each mode.
The current operation mode is highlighted in orange. The mode that cannot be selected according to
the current status is displayed in gray unclearly. The mode cannot be selected even if you touch the
button in this status.
Area 2
In Area 2, set or change the internal fixation target and adjust the scan position.
Set or change data with the buttons.
•
Tracking button
<"Line" scan/"Radial" scan/"5 Line Cross" scan>
Set the
button to "ON". The system searches the position specified by the scan position
adjustment mode according to IR image.
In Follow-up photography, the tracking button is always ON and this status cannot be changed. The
system searches the same position as the base line according to IR image.
•
Color fundus photography button:
Displays the color fundus photography status (ON/OFF). You can change ON/OFF of color fundus
photography.
•
FAF photography button:
(Only in DRI OCT-1 Model Triton plus)
Displays the FAF photography status (ON/OFF). You can change ON/OFF of FAF photography.
•
OCT-LFV image button:
You can set whether the OCT-LFV image should be displayed on the live image. When "ON" is
selected for "ON/OFF" after selecting "Setting menu"
→
"Page 2"
→
"OCT·FLV"
→
"ON/OFF", the
tomogram is optimized and then "OFF" is changed to "ON" automatically. So the OCT-LFV image is
displayed.
Menu button
: Returns to the photography icon selection screen.
Capture mode button
: Shifts to the photography screen to take a picture.
Preview mode button
: It is displayed by highlight during a preview.
Menu button
Capture mode button
Preview mode button
Internal fixation target
position selector button
Scan position
button
Tracking
button
Internal fixation target
shape selector button
Color fundus
photography button
FAF photography
button
OCT-LFV
image button
TRACKING
Содержание DRI OCT-1 Triton
Страница 1: ...USER MANUAL 3D OPTICAL COHERENCE TOMOGRAPHY DRI OCT 1 Model Triton DRI OCT 1 Model Triton plus...
Страница 2: ......
Страница 79: ...77 DETAILS OF THE SETTING MENU 3 Make sure that the icon is added...
Страница 130: ......


