31
❏
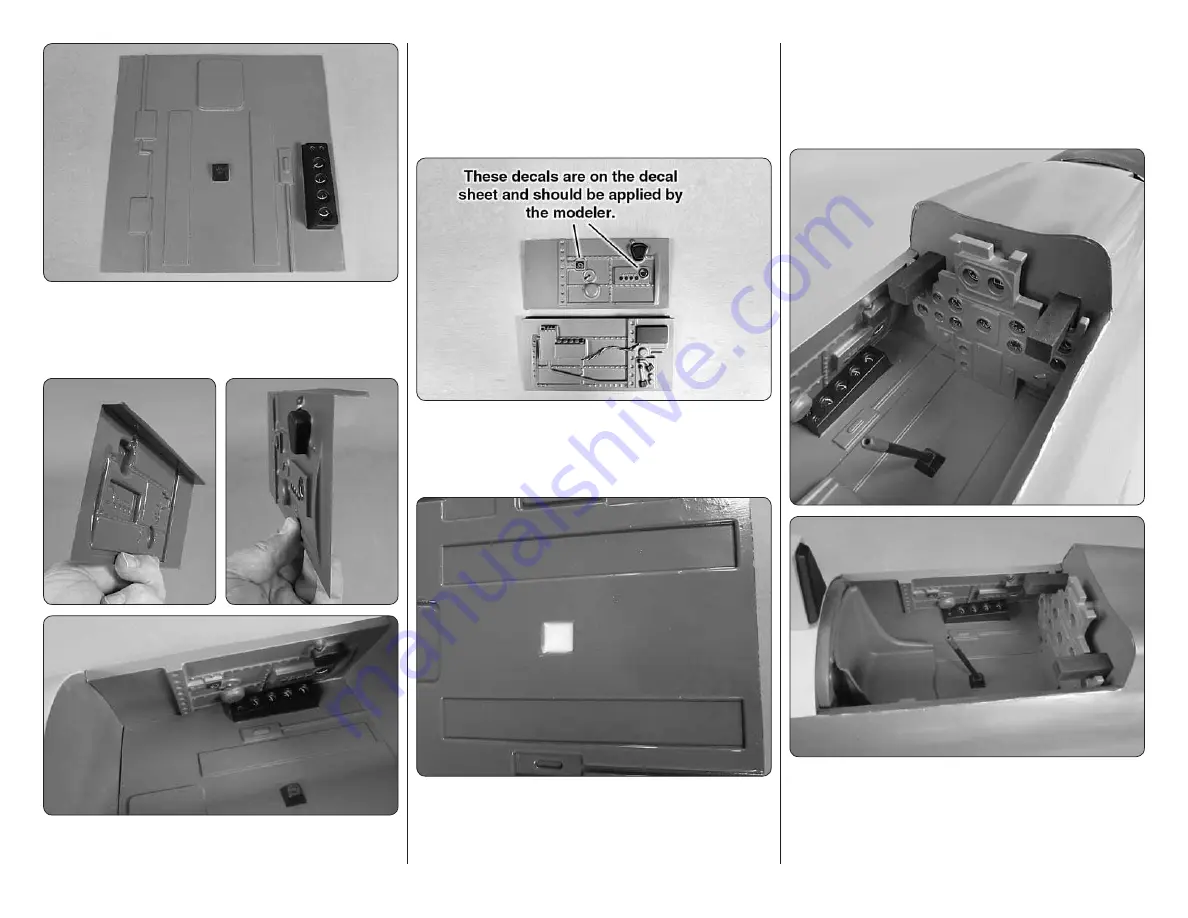
4. Start the installation by cutting the cockpit fl oor
and fi tting it to the fuselage. Do not glue it in place at
this time. You will dry fi t all of the components before
permanently installing them.
❏
5. Cut the cockpit side as shown, leaving the edge on
the top of the side panels. Fit the side panels in place,
cutting material from the bottom of the panels until the
top edge fi ts over the fuselage.
❏
6. Cut the back panel of the cockpit to fi t. When you
are satisfi ed with the fi t of all the components, remove
them from the fuselage.
❏
7. If you wish to do any additional detailing this would
be the time to do it. We painted a few of the radio boxes,
knobs and levers as well as adding some fi ne wire for
additional detail.
❏
8. Mix a small amount of epoxy mixed with micro
balloons. On the underside of the cockpit fl oor, fi ll the
void that the fl ight stick will mount to. Allow the mixture
to harden.
❏
9. Once the glue has hardened drill a 3/16" hole
through the top of the area you fi lled with the epoxy
and micro balloons. You will now have a solid area for
gluing the fl ight control stick to. Do not glue the control
stick in at this time.
❏
10. Glue all of the components into place in the cockpit.
Use the following photos as a guide; glue everything
in place except the control stick. When gluing the seat
to the cockpit fl oor, be sure roughen the bottom of the
seat and the fl oor where the seat will be glued.
Содержание GIANT SCALE GOLD EDITION ZERO
Страница 39: ...OS GT60 Mounting Pattern Top of Firewall 78 44 mm 66 48 mm...
Страница 40: ......


