1OPK$CUG +PUVTWEVKQP /CPWCN
%QPPGEVKQPU
Video Inputs
8 x BNC camera inputs
Video Outputs
1 x BNC monitor output
1 x BNC live video switcher
Alarm Inputs
8 (1 per camera) relay inputs
Alarm Output
1 x relay output
Serial A (In/Out)
RS232 Slow serial
B (In/Out)
RS422 Fast serial
)GPGTCN
Menu
On-screen menus with context sensitive
Help facility
Menu Language
English
Password
4 user-definable levels
Timer
Monday - Sunday programmable
Dimensions (mm)
206 (H) x 113 (W) x 70 (D)
Dimensions Packed (mm)
270 (H) x 210 (W) x 105 (D)
Weight
0.97 kg
Weight Packed
1.85 kg
Power
7.5V-12V DC, 2A PSU (100V - 240V)
Power Consumption
1.85A Recording, LCD monitor enabled
1.42A Not recording, LCD monitor
enabled, 1.20A Recording, LCD monitor
disabled, 0.79A Not recording, LCD
monitor disabled
Operating Range
+5°C to +40°C, 20% to 80% RH (non-
condensing)
Storage Range
-40°C to +65°C
EMC
EN50081-1 and EN50082-1 (CE)
Environmental
Indoor use at altitudes up to 2,000 m
Case Material
Impact resistant polystyrene (UL94MB)
Protection
IP20
Warranty
12 months
Supplied Accessories
PSU, IEC mains lead, instruction manual
#NCTO EQPPGEVKQPU YC[ N&O V[RG EQPPGEVQT
Pins 1 - 8
Alarm inputs 1 - 8
Pins 11-13
Ground
Pins 9, 10
Relay output 1 (currently used as alarm out)
Pins 14, 15
Relay output 2 (currently unused)
Timespace Technology are constantly updating and improving products
and reserve the right to alter specifications at any time without notice.
1OPK$CUG +PUVTWEVKQP /CPWCN
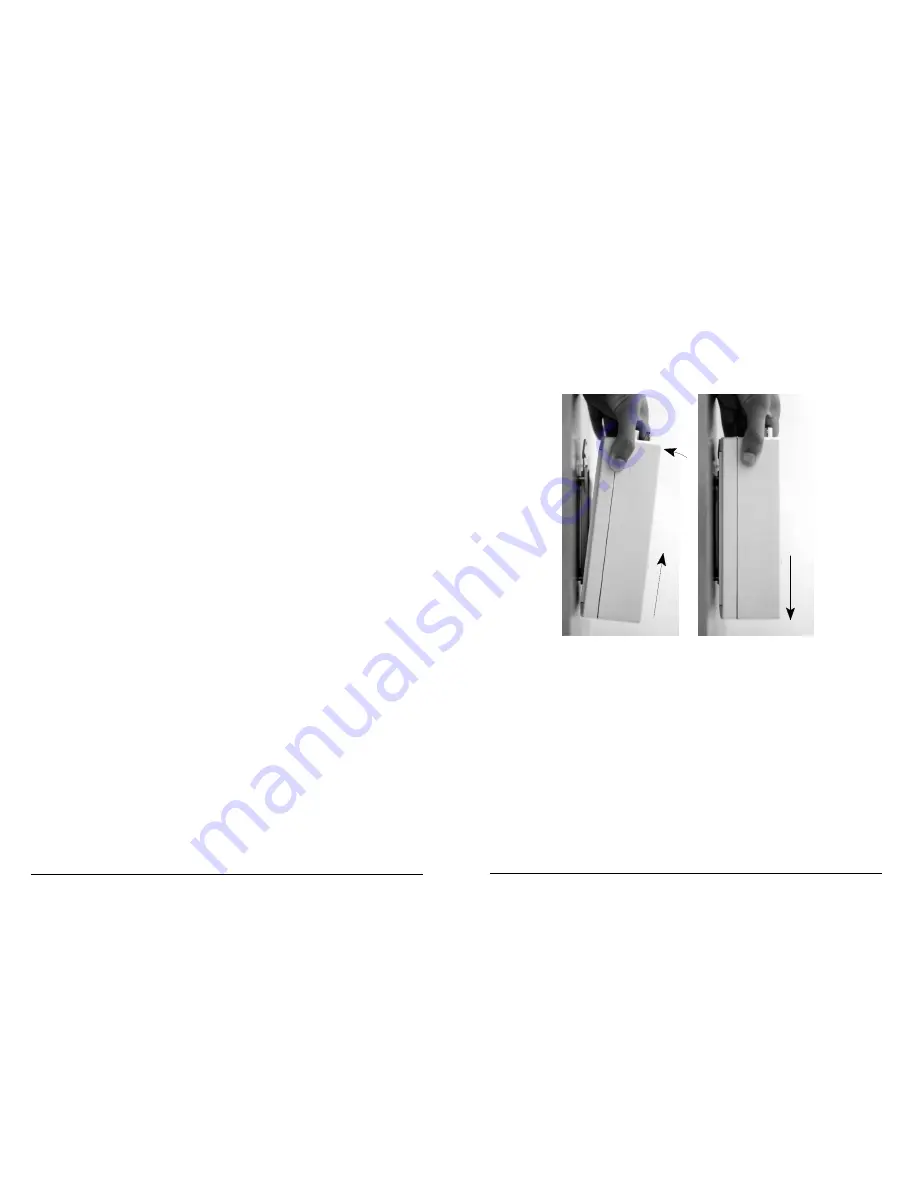
#VVCEJKPIVJG7PKVVQVJG/QWPVKPI%NKR
First fix the mounting clip provided with the OmniBase unit to the wall or
enclosure where it is to be located. Mounting clips are also provided ready -
attached to the table stand. The following steps indicate how to attach the
OmniBase unit to the mounting clip.
Pull the unit up, ensuring the bottom tabs of the clip fit into the two slots
on the back of the unit.
Push the unit back, onto the clip.
Push the unit down, and it will click into place.


