10
LEDD3 - FLIM LED Driver User Manual
© 2009 Thorlabs
2
Getting Started
2.1
Unpacking
Inspect the packaging for damage.
If the shipping container seems to be damaged, keep it until you have inspected the
contents and you have inspected the LEDD3 mechanically and electrically.
Verify that you have received the following items:
1. 1 LEDD3 (main unit and LED head)
2. 1 Power cord, connector according to ordering country
3. 1 Power supply 12V / 3.75A
4. 1 USB cable
5. 1 Operation manual
6. 1 Applications and driver CD
2.2
Preparation
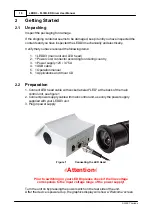
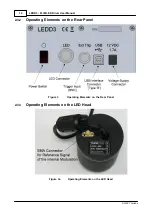
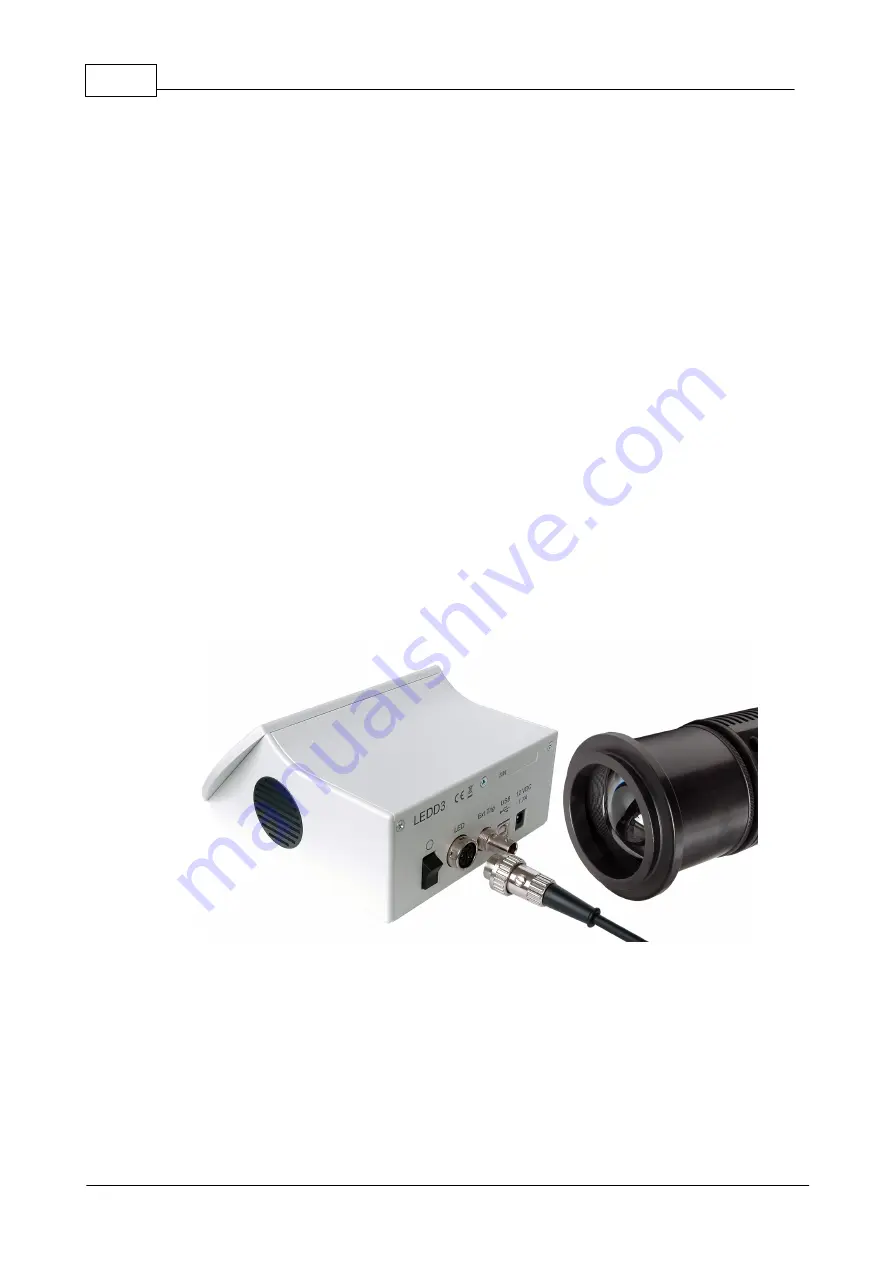
1. Connect LED head cable with socket labeled "LED" at the back of the main
control unit, see figure 1
2. Connect power supply cable with main control unit, use only the power supply
supplied with your LEDD3 unit
3. Plug in power supply
Figure 1
Connecting the LED Head
G
Attention
G
Prior to switching on your LEDD3 please check if the line voltage
corresponds to the input voltage range of the power supply!
Turn the unit on by pressing the power switch on the rear side of the unit.
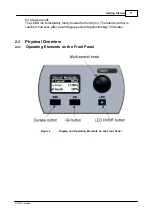
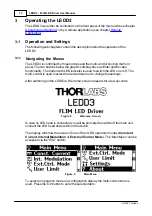
After the device is powered up, the graphics display will show a 'Welcome' screen
Содержание LEDD3 Series
Страница 2: ...Version Date 1 2 03 03 2009 2009 Thorlabs 2009 Thorlabs ...
Страница 6: ...General Information LEDD3 FLIM LED Driver User Manual Part I ...
Страница 11: ...Getting Started LEDD3 FLIM LED Driver User Manual Part II ...
Страница 15: ...Operating the LEDD3 LEDD3 FLIM LED Driver User Manual Part III ...
Страница 35: ...Computer Interface LEDD3 FLIM LED Driver User Manual Part IV ...
Страница 42: ...Maintenance and Repair LEDD3 FLIM LED Driver User Manual Part V ...
Страница 45: ...Appendix LEDD3 FLIM LED Driver User Manual Part VI ...
Страница 53: ...51 Appendix 2009 Thorlabs Figure 47 Phase Difference of LEDD3 630 ...
Страница 55: ...Listings LEDD3 FLIM LED Driver User Manual Part VII ...
Страница 59: ...Application Note LEDD3 FLIM LED Driver User Manual Part VIII ...
Страница 62: ......


