108
Chapter 3: System Administration
Windows XP SP2
•
To set up the Printer Server in Windows XP SP2, follow the steps below:
Connect the USB printer to one of the USB ports (preferably the rear USB ports; front USB
1.
ports can be used for external HDD enclosures).
Go to Start > Printers and Faxes.
2.
Click on File > Add Printer.
3.
The Add Printer Wizard appears on your screen. Click Next.
4.
Select the “A network printer, or a printer attached to another computer” option.
5.
Select “Connect to a printer on the Internet or on a home or office network”, and enter “http://
6.
Thecus IP storage IP_ADDRESS:631/printers/usb-printer” into the URL field.
Your Windows system will ask you to install drivers for your printer. Select the correct driver
7.
for your printer.
Your Windows system will ask you if you want to set this printer as “Default Printer”. Select Yes
8.
and all your print jobs will be submitted to this printer by default. Click Next.
Click Finish.
9.
�ote that if a multi�function (all�in�one) printer is attached to the Thecus
IP Storage, usually only the printing and fax functions will work. �ther
features, such as scanning, will probably not function.
Windows Vista
•
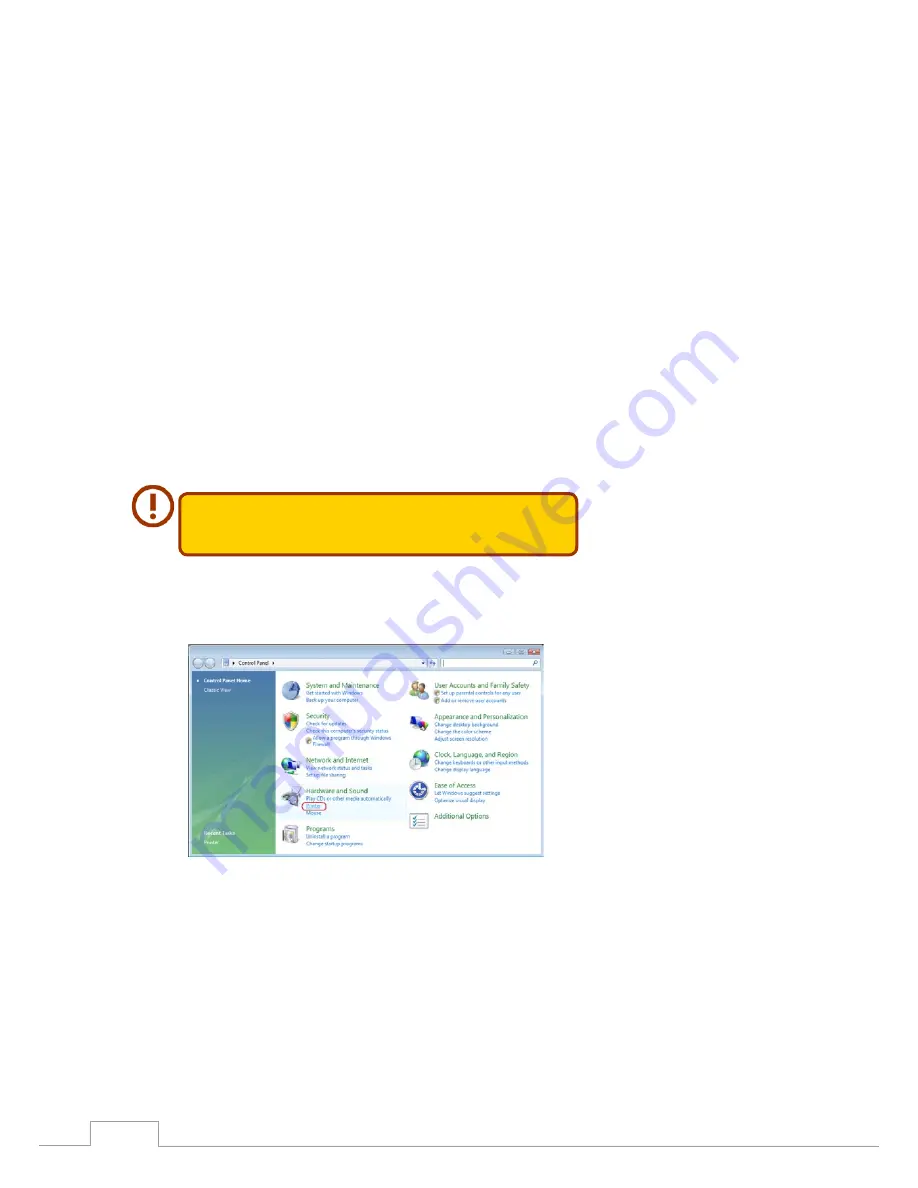
To set up the Printer Server in Windows Vista, follow the steps below:
Open Printer Folder from the Control Panel.
1.
Click the right mouse button in anywhere on the Printers folder and then select Add Printer.
2.
Содержание N2520 series
Страница 1: ... User s Manual N2520 N2560 N4520 N4560 Series v6 2 ...
Страница 22: ...16 Chapter 3 System Administration ...
Страница 98: ...92 Chapter 3 System Administration Folder to Folder Folder to external device External device to Folder ...
Страница 101: ...95 Chapter 3 System Administration Next fill in the task name and related settings ...
Страница 117: ...111 Chapter 3 System Administration Done Click Finish 999 ...


