


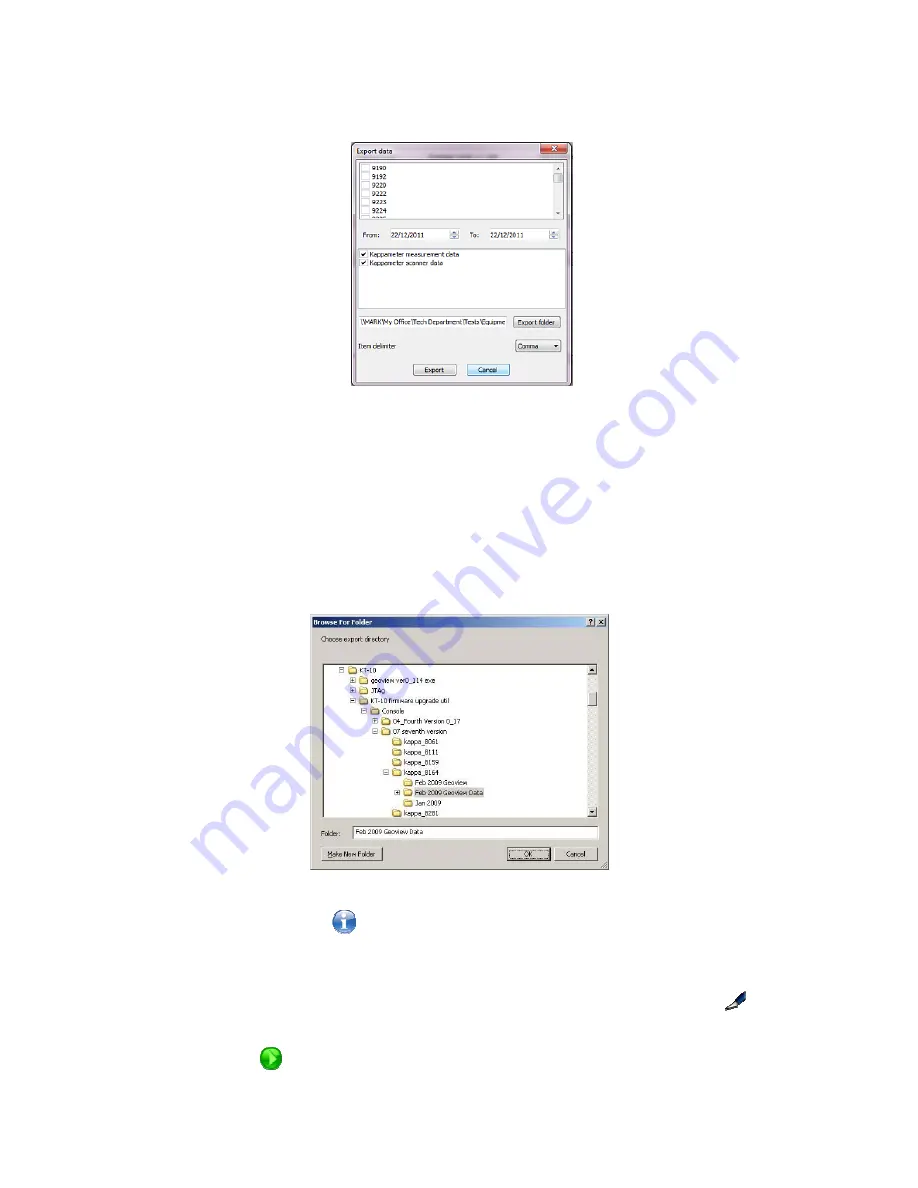
Figure 71: Data Export
A list of units in the database will be presented with a check box beside each unit serial
number, populate the box for each unit the data is to be exported from. Then select a date
range, if desired, and choose the folder location for the data to be exported too. Make
sure to select your preferred delimiter. When selecting the export folder button a
windows explorer window will open to choose the location, seen in
Figure 72
. Select a
location and then press
OK
then the
Export
button to complete the task.
Figure 72: Data Export Location Window
The final icon on this row
is used to add notes or information to the day. These will
be displayed directly to the right of this icon when populated.
Over on the right hand side of the window you will notice two more icons. This
icon
is used to edit the custom fields in the database for the record that has been highlighted in
the display. This
icon is used to play the voice notes associated with a data record.
70


