background image

CTD-ES and CTD-ER Technical Manual 

page 44 


EAR-Controlled Technology Subject to Restrictions Contained on the Cover Page.


Do NOT use high pressure or you may damage softer surfaces. 
Always dry the system before placing it in the storage case to avoid fungus or mold growth. 


After cleaning the instrument, check it carefully for signs of damage. Check the bulkhead con-

nector for looseness or other signs of damage. Check the pins of the bulkhead connector. They 

should be kept clean at all times. Clean the connector pins and sockets with an alcohol wipe, 

and when reconnecting, lubricate the rubber portion of the pins with an O-ring quality silicone 

based lubricant.  

Oil Fill Procedure and Capillary Tube Installation 

The pressure sensor used in your instrument is exposed to ambient pressure through a pressure 

port and an oil-filled capillary. The oil provides the required pressure coupling and is an electri-

cal insulator that prevents corrosion due to the dissimilar material compositions of the trans-

ducer and instrument housing. 
Included with your instrument is a capillary tube installation kit. The following procedure will 

provide guidance to allow you to install the capillary onto the instrument. 
Should you require further assistance please do not hesitate to contact Teledyne RD Instru-

ments and ask to speak to a customer service representative. 
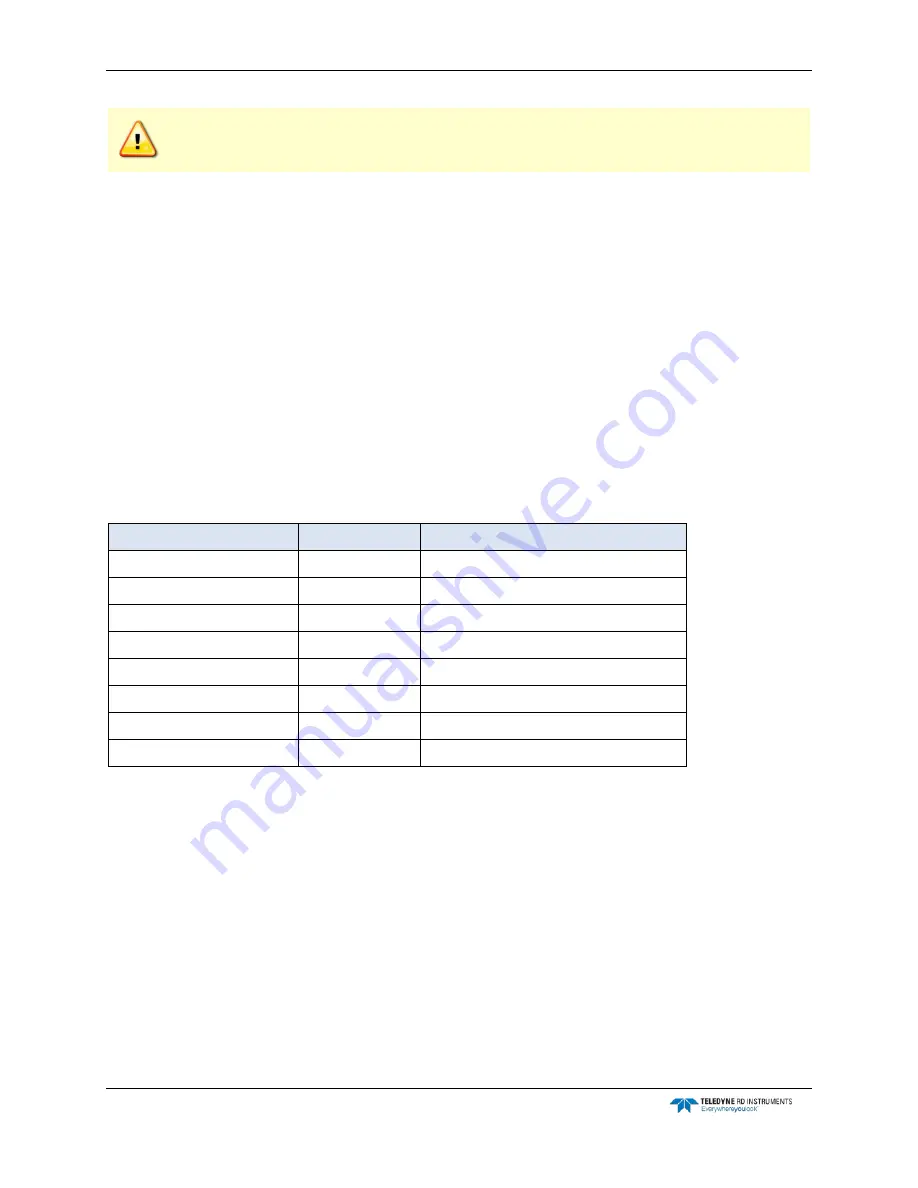
The following parts should be included in your kit: 

Part Number 

Quantity 

Description 

1400-65361 

Nalgene Bottle 

5400-7510A653 

Syringe 

5400-TS19X1 

Needle 

NY-200-1-2ST 

Capillary Body Assembly 

A150-045 

Capillary Tube 

1605-378372 

1 ounce 

Oil, Dow Corning 200 CTS 

97F-6003-00 

Needle Cover 

AN2005001 

Oil Fill Procedure 


Should you require additional parts from this kit please contact a Teledyne RD Instruments 

sales representative. Please have the part number on hand to acquire price and delivery infor-

mation.  

Содержание Citadel CTD-ER

Страница 1: ...proval from the appropriate U S Government agency before being exported from the United States or provided to any foreign person Diversion contrary to U S law is prohibited CTD ES CTD ER High Accuracy...

Страница 2: ...EAR Controlled Technology Subject to Restrictions Contained on the Cover Page...

Страница 3: ...etting the Local Time and Date 21 Saving the CTD E Configuration to a File 21 Configuring the CTD E from a Saved File 22 Printing the Configuration File 24 Acquiring Displaying and Saving Data in Real...

Страница 4: ...Figure 4 The Configuration COM Setup Dialog Box 15 Figure 5 The Main Window after Checking the CTD ES 17 Figure 6 The Configure CTD E Dialog Box 18 Figure 7 The DC Channel Setup Dialog Box 20 Figure...

Страница 5: ...ill Procedure and Capillary Tube Assembly Updated Outline Installation Drawings Updated TRDI website address to http www teledynemarine com rdi June 2014 Corrected how to request a Return Material Aut...

Страница 6: ...EAR Controlled Technology Subject to Restrictions Contained on the Cover Page NOTES...

Страница 7: ...arly up to six DC input channels can be selected for output of the optional sensor data The measured and calculated parameter data are output in calibrated ASCII physical units the DC channels as coun...

Страница 8: ...igh Speed UART Serial Port recommended Minimum display resolution of 1024 x 768 256 color higher recommended CD ROM Drive Mouse or other pointing device Pull Down Menus Like most programs CTDAcq uses...

Страница 9: ...rdicsadmin teledyne com Web http www teledynemarine com rdi For all your customer service needs including our emergency 24 7 technical support call 1 858 842 2700 Self Service Customer Portal Use our...

Страница 10: ...ES are shown in Figure 1 A single bulkhead con nector on the lower end cap provides either RS 232 or RS 485 communications and inputs ex ternal power The conductivity temperature and pressure sensors...

Страница 11: ...time of order CTD E part numbers use a seven field code 111 22 3 444444 5555 6666 7 Field 1 Field 2 Field 3 Field 4 Field 5 Field 6 Field 7 Family Conductivity Temperature Depth Inductive Technology...

Страница 12: ...Sample rate 1 83 2 58 3 03 4 08 and 4 50 S sec selectable Resolution 18 bits DC channels 6 unipolar 0 5 0 VDC 1 22 mV resolution 12 bits Communication interface RS 232 or RS 485 Baud rate 300 1200 960...

Страница 13: ...e Sensor type Platinum thermometer Range 2 32 C Accuracy 0 002 C Stability 0 0005 C month Resolution 0 0001 C Response 150 msec Pressure Sensor type Precision micro machined silicon transducer Range C...

Страница 14: ...CTD ES and CTD ER Technical Manual page 8 EAR Controlled Technology Subject to Restrictions Contained on the Cover Page Outline Installation Drawings...

Страница 15: ...CTD ES and CTD ER Technical Manual 95F 6001 00 February 2017 page 9 EAR Controlled Technology Subject to Restrictions Contained on the Cover Page...

Страница 16: ...NDIX B Changing the Baud Rate for instructions on how to change the baud rate Unpacking the CTD E Before unpacking the CTD E check the shipping container for signs of external damage If the container...

Страница 17: ...arting CTDAcq The CTD E is configured using the CTDAcq software which must be installed on the computer to which the instrument will be connected Installing CTDAcq To install CTDAcq 1 Insert the CTD D...

Страница 18: ...may not work properly with the instrument RS 485 Interface Systems ordered with an RS485 are capable only of RS485 communication and will require use of an external RS485 RS232 converter for communica...

Страница 19: ...connect a CTD E with an RS 232 interface to your computer 1 Disconnect the dummy connector from the bulkhead connector on the instrument and con nect the test cable 2 Connect the DB25 to DB9 serial po...

Страница 20: ...nnector on the instrument and con nect the test cable 2 Connect the DB25 connector of the test cable to the DB25 input connector on the converter box 3 Connect the DB25 output connector of the convert...

Страница 21: ...pens 2 Choose Communications Setup The Configuration COM Setup dialog box shown in Figure 4 opens Figure 4 The Configuration COM Setup Dialog Box 3 Select the new serial port in the Communications Por...

Страница 22: ...addition CTDAcq checks the instrument s address and verifies the serial port to which it is connected To check a CTD E 1 Connect the CTD E to your computer and power supply 2 Choose Start Programs RD...

Страница 23: ...you first become famil iar with the instrument s operating modes See Acquiring Displaying and Saving Data in Real Time for information on the CTD E operating modes Configuring the CTD E requires that...

Страница 24: ...Configure The dialog box opens with the settings of the connected instrument shown NOTE If the instrument has not been checked since starting CTDAcq the Configure item in the Configure menu is grayed...

Страница 25: ...l parameters you want to output select the corresponding check boxes and clear the check boxes for those you do not The DC Channels are selected with check boxes in the DC Channels area of the Configu...

Страница 26: ...heck box in the Configure CTD E dialog box Selecting to Average Collected Data The data that are output by the CTD E can be averaged over a specified number of scans where a scan is a single sample of...

Страница 27: ...ext box and a date in month day and year mm dd yyyy format in the Date text box Then click OK to save the new time and date and close the Enter Local Time and Date dialog box Click Cancel to close the...

Страница 28: ...ialog box or click Cancel to close the dialog box without saving the settings Configuring the CTD E from a Saved File CTDAcq allows you to open a CTD E configuration file a file with extension cfg tha...

Страница 29: ...it may be in a different folder than the one shown In this case click the arrow in the Look in drop down list box and select the folder in which the file is located 2 Click the file you want to open...

Страница 30: ...ontained on the Cover Page Printing the Configuration File To print a CTD E configuration file choose File Print Configuration select the printer to use and then click OK An example of a printed CTD E...

Страница 31: ...and print the graphs Real Time Operating Modes There are three real time data acquisition operating modes Profile mode where data are continuously acquired displayed and saved in real time at the sel...

Страница 32: ...ing checked and the model number serial number firmware version and calibration date of the instrument are displayed in the Instrument Identification Window 4 If required configure the instrument as d...

Страница 33: ...ame text box enter the name of the file in which to save the data The extension dat is added automatically as are c00 and hdr for the calibration and header files which are saved with the data file 9...

Страница 34: ...OK or Cancel the information initially displayed in the Cast Information window is saved to the header file 13 Repeat Steps 6 through 12 for as many up and down casts as required 14 To close the CTDAc...

Страница 35: ...required configure the instrument as described in Configuring the CTD E 5 Choose File Tow Acquisition The CTDAcq Acquisition window for towed acquisitions shown in Figure 14 opens 6 Choose File Run Th...

Страница 36: ...window is saved to the header file Acquiring Real Time Data in Run Continuous Mode Data acquired in Run Continuous mode are displayed in a digital display one scan at a time The displayed data include...

Страница 37: ...Continuous Mode Window 10 To stop displaying and saving data click Close Resetting and Firing a Water Sampler A water sampler can be reset and fired from the CTDAcq Acquisition window while acquiring...

Страница 38: ...also include the cast graph Both graphics displays can be set up before or during data acquisition Before you can set up the graphics displays the CTD E must be checked as described in Check ing the C...

Страница 39: ...nable check box enter the number of scans that are displayed between Auto Zoom updates in the Update Rate text box 6 Select the Grid Lines check box if you want to display a grid overlay on the graph...

Страница 40: ...boxes for the Y axis parameter selected 10 In the X Axis 1 area of the Graph Setup dialog box enter a label for X Axis 1 in the Label text box 11 Click the arrow in the Parameter drop down list box an...

Страница 41: ...the Cast Graph Along with displaying plots of the selected parameter data you can list the data by choosing Display Listing The data are listed in separate columns in a separate window under the grap...

Страница 42: ...s again The Coordinates window can be moved anywhere on the screen In Figure 17 the window is shown in the lower left corner To move the Coordinates window place the mouse pointer on the window s titl...

Страница 43: ...were entered in the DC Channel Setup dialog box See Selecting the Parameters to be Output for instructions on how to select the Primary Channel and DC Channel parameters and APPENDIX A Measured and C...

Страница 44: ...graphs CTDAcq displays them as shown in Figure 20 which includes pressure plots of conductivity temperature pressure and calculated sound velocity Displaying the Cast Graph in the Towed Acquisition Gr...

Страница 45: ...he cast graph in the Towed Acquisition graphics display click and hold the left mouse button while drawing a box around the area you want to zoom in on and then release the mouse button Note The cast...

Страница 46: ...Towed Acquisition graphics display To print the cast graph from the Cast graphics display without previewing choose File Print from the Towed Acquisition graphics display choose File Print Cast Graph...

Страница 47: ...int the graph To preview and print a pressure graph 1 Choose File Print Preview Pressure Graphs The Print Pressure Graph Setup dialog box opens 2 Select the pressure graph to print and then click Prin...

Страница 48: ...ument is opened Damaged O rings should never be used Connector Inspect for damage and replace as required Damaged connectors should never be used Conductivity Sensor Fill with oil prior to each deploy...

Страница 49: ...ument after each use To remove foreign matter and biofouling 1 Remove soft bodied marine growth or foreign matter with soapy water Waterless hand cleaners remove most petroleum based fouling If there...

Страница 50: ...lary The oil provides the required pressure coupling and is an electri cal insulator that prevents corrosion due to the dissimilar material compositions of the trans ducer and instrument housing Inclu...

Страница 51: ...vity pointed up Step 2 Assemble the syringe and insert a small amount of oil from the Nalgene bottle into the syringe Fill the pressure port cavity to the top with the oil Step 3 Thread the capillary...

Страница 52: ...ave an absorbent paper towel on hand to clean up any overflow that you may have Step 5 Using hands only tighten the assembly onto the end cap to four inch pounds HAND TIGHTEN ONLY MAXIMUM 4 INCH POUND...

Страница 53: ...bbreviation in the Parameter drop down list box of the Graph Setup dialog box shown in Figure 16 and in the Color Parame ter drop down list box in each of the Pressure Graph Setup dialog boxes where o...

Страница 54: ...ngle sample of all the selected parameters Adiabatic Temperature Gradient ATG The water adiabatic temperature gradient in C dbar Pot POT The water temperature without the effects of pres sure in C Den...

Страница 55: ...rate of the CTD E and the computer s serial port 1 Choose Start Programs RD Instruments CTDAcq CTDAcq starts and the CTDAcq Main window opens 2 Choose Communications Communications Window The Communi...

Страница 56: ...ext step the CTD E will not be able to communicate with your computer 9 Click OK to save the new baud rate selection and close the Configuration COM Setup dialog box or click Cancel to close the dialo...

Страница 57: ...shows the bulkhead connector pin orientation as viewed from the face Figure 23 Bulkhead Connector Face View Female Table 4 Computer Connections Bulkhead Connector Computer DB9 Connector PIN COLOR LAB...

Страница 58: ...gtail that mates with the CTD E bulkhead connector See Table 3 for the pigtail part number Figure 24 shows the pin orientation of the pigtail connector Table 6 shows the test cable wiring Figure 24 Pi...

Страница 59: ...stomer All products supplied by TRDI that are designed for use under hydrostatic loading have been certified by actual pressure testing prior to ship ment Any damage that occurs as a direct result of...

Страница 60: ...__________________________ on or about _______________________________ that they are returned without having been advanced in value or improved in condition by any process of man ufacture or any other...

Страница 61: ...232 8976 Step 4 Urgent shipments Send the following information by fax or telephone to TRDI Attention Customer Service Administration Fax 1 858 842 2822 Phone 1 858 842 2700 Detailed descriptions of w...

Страница 62: ...ipped as part of a consolidated cargo shipment to save money Mark the package s as follows To Teledyne RD Instruments Inc RMA Number 2A Les Nertieres 5 Avenue Hector Pintus 06610 La Gaude France Step...

Отзывы: