A C C E S S 2 4 1 - F X O / 2 4 1 / 2 1 1 / 2 1 1 N V O I P G A T E W A Y U S E R G U I D E
MN100129 Rev E
30
Advanced Configuration via the Web
If you need to change the default configuration of your Gateway, proceed as follows.
•
Connect a PC to one of LAN ports on the rear panel of the unit.
•
Open the Web browser on the PC.
•
In the Web browser's address field, type 192.168.100.1 (the default LAN IP address of
the unit) to open the home page of the unit.
•
To update a setting, proceed as described in the following sections. Enter the required
settings on the appropriate Web pages and then save the changes by clicking on the
Save
button at the bottom of each page.
•
Once all settings have been saved, select the
Reset
option on the left-hand side of the
Web page to reset the VoIP Gateway and effectuate the new settings.
WAN Configuration
To change the W AN mode from DHCP default configuration to fixed IP configuration, or to
assign a different fixe d IP address, pe rform as follows:
1. Configure the PC to dynamically acquire an IP address (DHCP) or set it to a fixed IP
address in the subnet 192.168.100.xxx.
2. Enter the IP address of the unit into the PC Web browser. (The default LAN IP address is
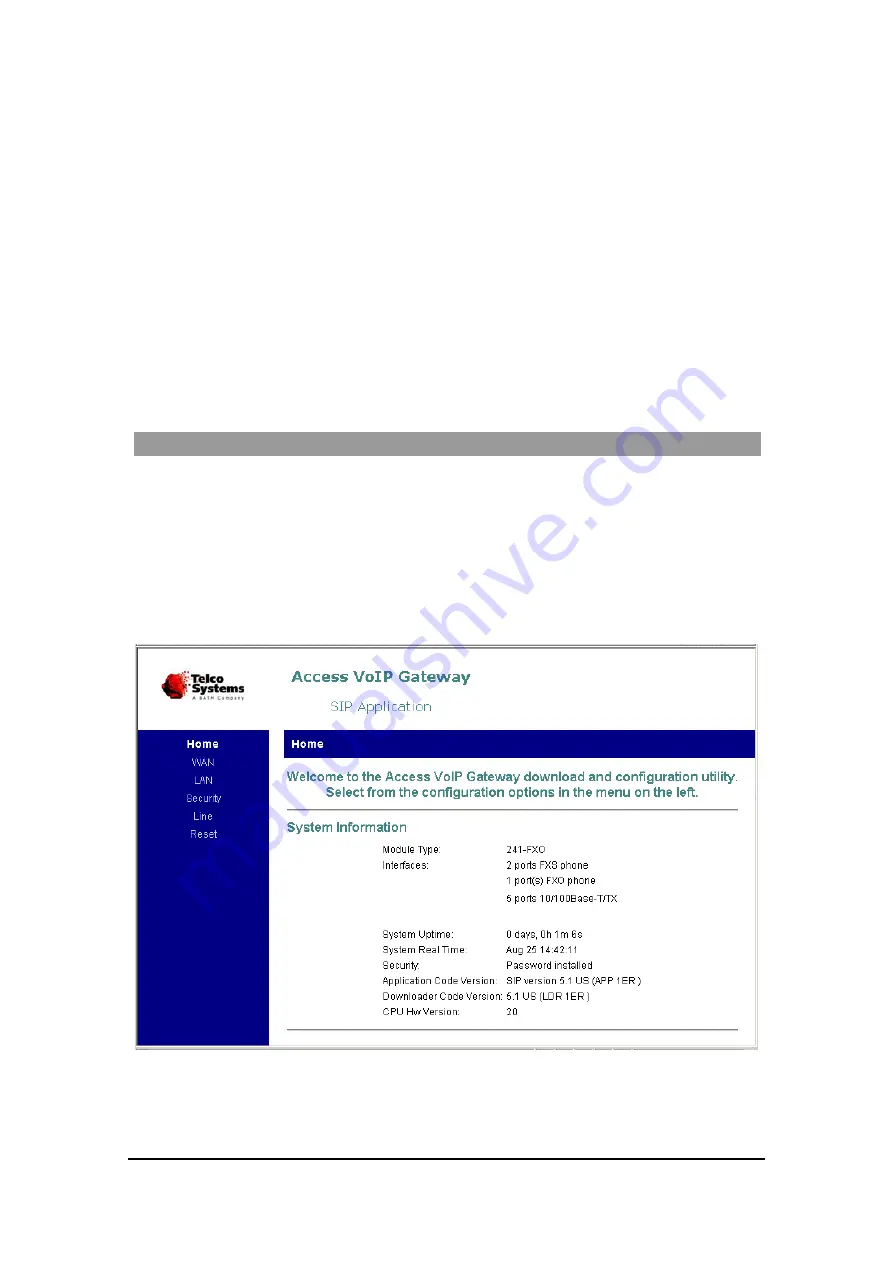
192.168.100.1). The Access VoIP Gateway home page appears (Figure 5).
Figure 5: Example Access VoIP Gateway Home Page
4. In the vertical menu bar on the left, select
WAN
.


