


www.tekvox.com
4K PTZ Camera
79068-4K-12 User Manual
4. Network Connection
4.1 Connecting Mode
Direct Connection: Connect the camera via network cable to the PC’s external Internet access.
Internet Connection Mode: Connect the camera to the Internet via router or switch so that users can
login to the device via web browser.
Note: Please do not put the power and network cables in places where they can be easily touched to
prevent disruptions to the video quality/unstable signal transmission due to poor contact of cables.
The computer must have the network segment which the camera IP address belongs to. The device
will not be accessible without the segment. (i.e. if the camera default IP address is 192.168.5.163,
then segment 5 must be added in the computer). The specific steps are shown below:
First, open the window of “Local Area Connection Properties” on the computer, and select the
“Internet protocol version 4 (TCP/IPv4)” as shown by picture below. Double click the property
“Internet protocol version 4 (TCP/IPv4)” to enter into the Internet Protocol Version 4 (TCP/IPv4)
Properties window. Select “Advanced” to enter into the Advanced TCP/IP Setting, and add IP and
subnet mask in the IP browser as shown below. Click “Confirm” to finish adding the IP segment.
Users can add the corresponding network segment according to the revised IP address of the
camera.
Note: The IP address to be added cannot be the same as another computer or device. The existence of
this IP address needs to be verified before adding.
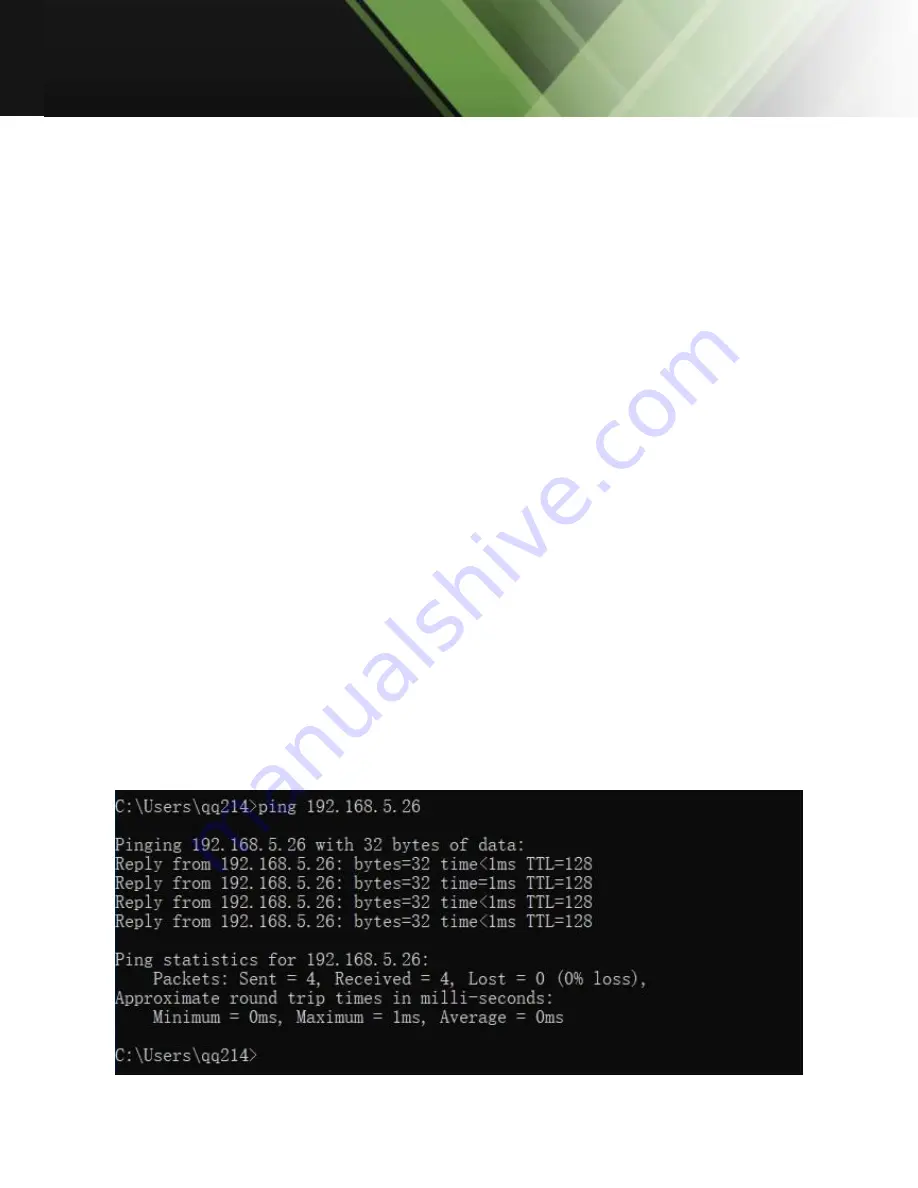
To verify whether the network segment has been successfully added, click “Start” and select
“Operation” to input cmd, then click “OK” and open DOS command window. Type “ping 192.168.5.26”
and press the Enter key to display information shown below, which means that adding the network
segment has succeeded.


