AALTO CONTROL WMU USER GUIDE
VOT97, Rev 1.1, 1.3.2017
15
5.
Tap APPLY, and approve the changes by tapping OK.
6.
Tap < in the right upper corner of the screen to return to Install view
2. 6.
Using Action tab (REPORTS view)
From the Action tab, you can set luminaires to BLINK state, remove the luminaires from the system
and all locations, or set the Exit lights OFF or ON. Note that switching an Exit light OFF or ON must be
enabled from SETTINGS -> User, and can be done only when logged in as an administrator user.
To use these actions, first create a Luminaires list in LOCATIONS view, as desribed earlier, then go
to REPORTS, choose Action, select the luminaires to be targeted, and tap the corresponding button
(BLINK or REMOVE).
Using the BLINK function, will make the selected luminaires blink for 1-5 minutes, depending of the
system layout and luminaire model.
Using the REMOVE function will delete the selected luminaires from the system. This cannot be
undone.
2. 7.
Using History tab to create a test log (REPORTS view)
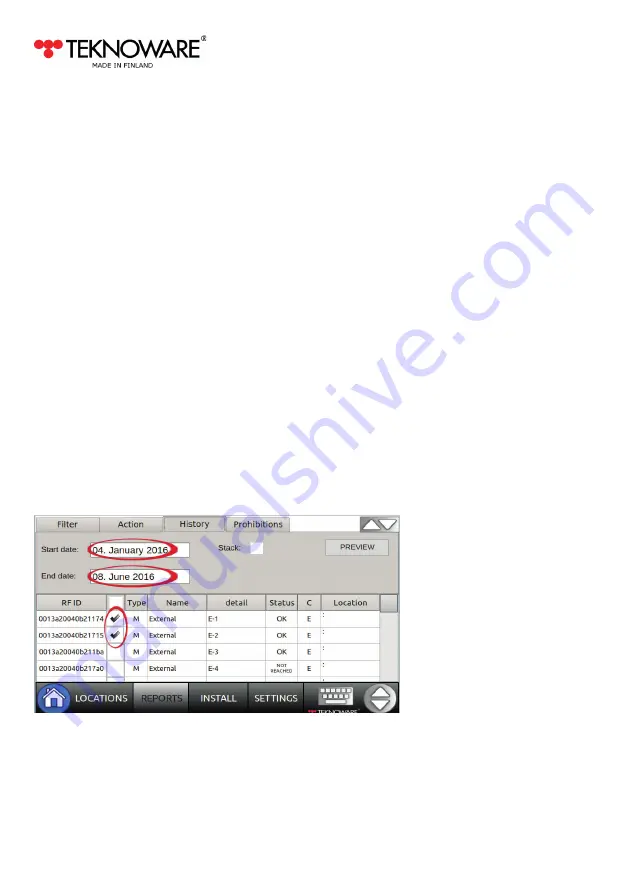
In the History tab, you can view the test history of the luminaires, and export the history log to a CSV
file. To do so:
1.
Create a Luminaires List to REPORTS view, as described in
Chapter 2. 2
.
2.
Go to REPORTS, and tap the History tab. Select the luminaires you wish to include to the
History report.


