50
5.
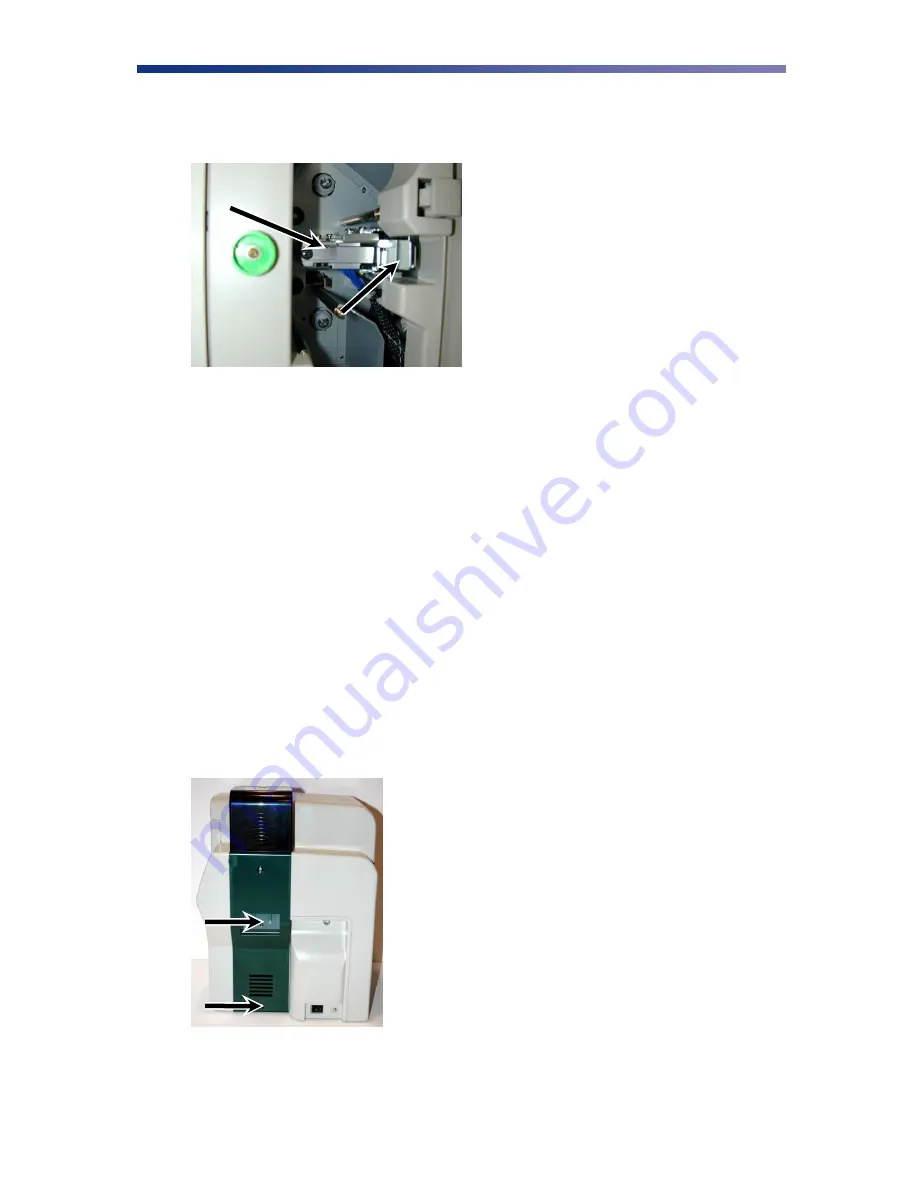
Press the metal latch to release the print head and gently slide the print head toward the
front of the printer.
6.
Gently remove the pin connector from the bottom of the print head. Because the print
head is very sensitive to static voltage, hold it by the frame only and be careful not to
touch the contact pins.
7.
Affix the connector to the new print head and reinstall in reverse order.
8.
Insert the floppy disk that came with the print head. This data must be loaded to the print
head before using the printer to ensure the best print quality.
9.
Use the firmware update utility as outlined in Chapter 3.8. When prompted for the
update file, be sure to select the file from the floppy disk or sub-directory on your hard
drive where the file is located.
D-3 Replacing the Fan Filter
The fan filter should be replaced every 6 months to ensure proper air flow and should not be
washed with water. Please see your Nisca reseller for the replacement part.
1.
Turn off the power to the printer. Remove the two screws on the side panel under the
card hopper using a phillips screwdriver.
Figure D-6: Release print head
Figure D-7: Remove phillips screws


