TANDBERG Maestro MXP
134
Picture Layout
The Advanced Picture Layout is related to the Layout button on the remote control and it can be
used at any time to change the screen layout. For wide screen systems POP mode is
recommended. You will get optimized picture layouts for wide screen by pressing the Layout
button on the remote.
Picture in
Picture (PIP)
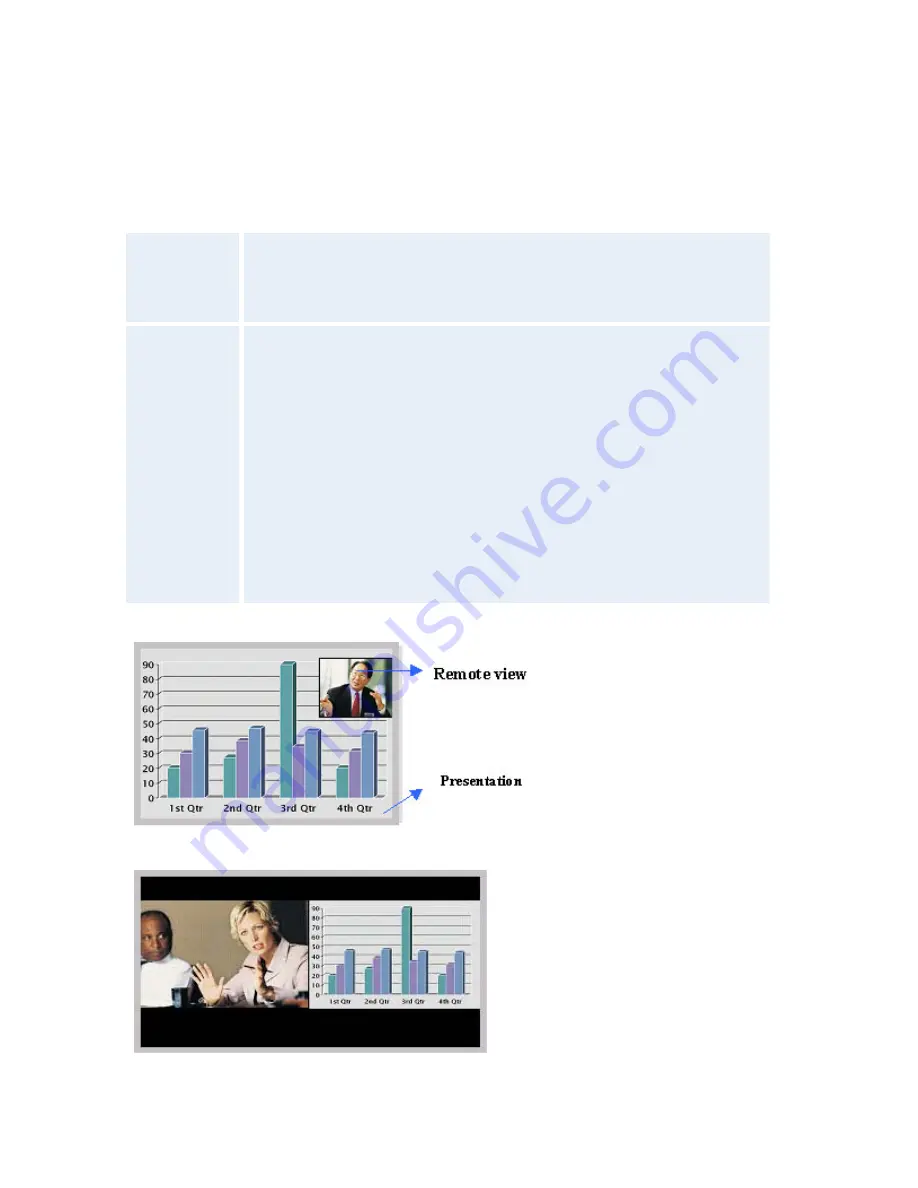
Pressing the Layout button on the remote will result in an extra picture in
smaller view (Picture in Picture). Press the Layout button to move it around
in the corners of the screen and finally hide it. Pressing and holding Layout
for 1 second will hide the small picture directly from any position.
Picture
outside
Picture
(POP)
Press the Layout button to see the images side-by-side, e.g. 1+1 layout,
where the far end and near end are displayed as images of equal size, see
figure below.
Press the Layout button once more to change to 1+2 layout. The far end
image will be displayed as the main video, with the near end, usually the
user of the system, as a smaller image in the upper right corner. If Duo
Stream is used, the Dual Stream image is displayed as the main image and
the far end and near end as smaller images to the right, see figure below for
an example.
Press the Layout button again to get the 1+3 layout.
The next time the Layout button is pressed, the normal full screen view of
the far end is displayed. Pressing and holding
Layout
for 1 second will
always bring you back to full screen.
Example of Picture in Picture.
Example of 1+1 Side-by-Side view (wide screen).
Содержание Maestro MXP
Страница 24: ...TANDBERG Maestro MXP 24 Figure 3 ...
Страница 26: ...TANDBERG Maestro MXP 26 6 PC Connect cable from DVI I in PC from the Codec to PC ...
Страница 53: ...General Use 53 ...
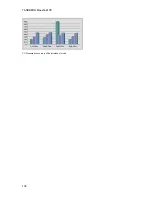
Страница 138: ...TANDBERG Maestro MXP 138 PC Presentation shown in Wide stretched mode ...
Страница 194: ...TANDBERG Maestro MXP 194 Voice Switched mode ...
Страница 196: ...TANDBERG Maestro MXP 196 4 7 Security Security contains the settings Encryption Encryption Mode Passwords ...
Страница 240: ...TANDBERG Maestro MXP 240 All signals are electrically according to RS232 Cable length max 5 meter X21 ...
Страница 247: ...Peripheral Equipment 247 ...
Страница 253: ...Peripheral Equipment 253 ...
Страница 280: ...TANDBERG Maestro MXP 280 Dimensions Front view Side view Rear view Underside view ...
Страница 287: ...Glossary 287 Figure 1 3 Enter the Release key in the Release Key field and press the Install Software button ...
Страница 291: ...Glossary 291 6 16 Appendix 16 Declaration of Conformity ...


