ENGLISH
OPERATION MANUAL
SYNQ
®
13/139
DMC1000
o
Submenu 6– JOG WHEEL (24) pulse rate:
default setting is 1024ms. If your DJ-software
does not respond well, you can change the setting to 512ms
Turn the JOG WHEEL (24) to select the desired setting:
Pulse = 1024:
default jog wheel resolution
Pulse = 512:
reduced jog wheel resolution
o
Submenu 7 – MIDI message display:
you can select if the MIDI I/O messages should
appear on the display or not. This can be helpful while making MIDI configuration files.
Turn the JOG WHEEL (24) to select the desired setting:
I/O = Hide :
don’t show MIDI messages that are sent / received
I/O = DIS. :
show MIDI messages that are sent / received
o
Submenu 8 – MIDI edit ON/OFF:
in the menu “B. MIDI NOTE Edit” you can adapt the
MIDI-commands that are send/received. In this submenu you can select if the adapted
MIDI-commands are used or not.
Turn the JOG WHEEL (24) to select the desired setting:
Edit = ON :
the adapted MIDI-commands are used in the MIDI-
communication.
Edit = OFF :
the default MIDI-commands are used in the MIDI-
communication. Your adapted MIDI-commands are ignored.
o
Submenu 9 – Name :
this is the hardware ID, used to recognize each player on your
computer.
Turn the JOG WHEEL (24) to select the desired setting:
Name = DMC1K
DMC1KH :
seven possible names can be selected.
C. MIDI NOTE Edit:
the default MIDI commands of this player (see MIDI-map) are fully editable. So if you
want to assign a different MIDI command to one or more controls, you are free to do so. On the left side
is the original MIDI command, on the right side you can set the new MIDI command.
Turn the TRACK knob (19) to select the MIDI command you want to change (left side)
Turn the JOG WHEEL (24) to select the new MIDI command (right side)
D. MIDI LED Edit
: the default MIDI commands to control the lights on the unit (see MIDI Map) are also fully
editable. So if you want to assign a different MIDI command to one or more lights, you are free to do so.
On the left side is the original MIDI command, on the right side you can set the new MIDI command.
Turn the TRACK knob (19) to select the MIDI command you want to change (left side)
Turn the JOG WHEEL (24) to select the new MIDI command (right side)
E. Firmware version / upgrading:
use this option to check and/or upgrade the firmware versions.
Turn the TRACK knob (19) to select the 4 firmware parts:
o
CON: xx:
shows the version of the control firmware
o
SER: xx:
shows the version of the servo firmware
o
BUF: xx:
shows the version of the buffer firmware
o
DSP: xx:
shows the version of the DSP firmware
o
Upgrade:
blinks when the unit is ready to check if there are new firmware versions
available. See “FIRMWARE UPGRADING” for more information.
F. Load defaults:
as you already noted this unit is highly configurable but that means also that you can
mess up a lot of settings as well. If you really messed up things, you can still reload the default setting!
While “Enter Load” is blinking in the display: press the TRACK knob (19) to load the defaults.
G. Exit & Save:
if you want your changes to the setup menu to be permanently saved (also after switching
the unit off) you MUST use this option!
Press the TRACK knob (19) : the display shows “Saving” and exits the setup menu.
FIRMWARE UPGRADING
We strongly suggest to register your player on our website (www.synq-audio.com/register/) so we can inform
you if new firmware updates are available. Upgrading firmware should always be done very carefully!
Download the file containing the upgrade file(s)
Read the instructions and follow them strictly, otherwise you could damage your equipment…
Put the files on an EMPTY
(important!)
USB-stick.
Press the ENTER button (17) for about 3seconds to enter the setup menu.
Use the FOLDER knob (18) to browse to menu option “
E. Version
”.
Turn the TRACK knob (19) until the display shows “Upgrade”.
Use the SOURCE SELECT button (11) to select USB1 input (10).
ENGLISH
OPERATION MANUAL
SYNQ
®
14/139
DMC1000
Insert the USB-stick with firmware files in USB1-input (10)
Upgrading will start automatically:
WAIT (!)
until the upgrading process is finished.
NEVER
turn the
player off while upgrading the software!!!
If the display asks you to turn off the unit: turn the unit off, wait 3seconds and turn it back on.
Check if the software version corresponds to the version marked in the readme file that came with the
update.
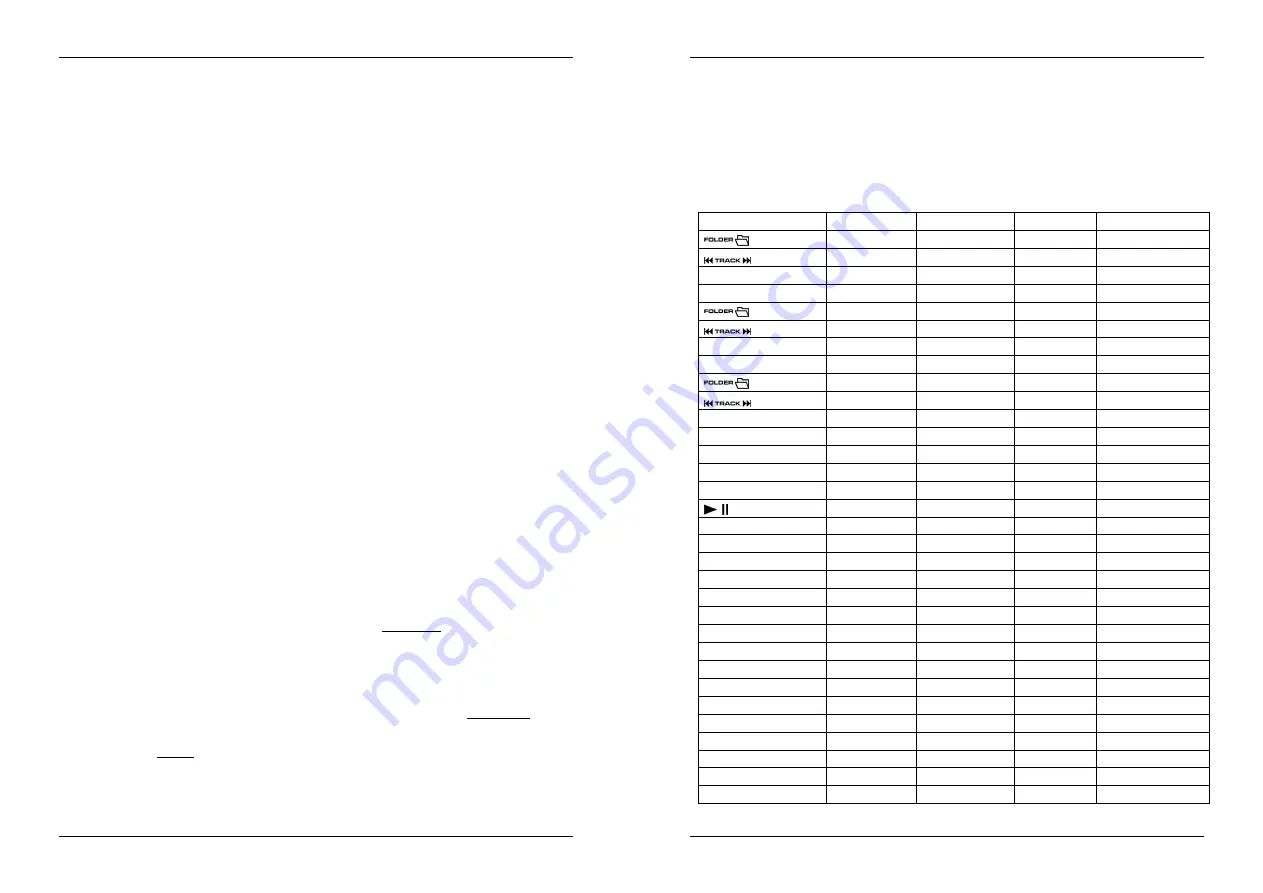
MIDI MAP (default settings)
To improve compatibility these default settings can be adapted by the user at any moment.
SW name
Type
MIDI
MIDI2(Hold SHIFT)
Remarks
SW/ENC
2B/31
6A/70
CC TYPE = RELATIVE
SW/ENC
25/33
64/72
CC TYPE = RELATIVE
JOG
SW/ENC
13/35
52/74
CC TYPE = RELATIVE
CW/CCW
31/32
70/71
CC TYPE = NOTE
CW/CCW
33/34
72/73
CC TYPE = NOTE
JOG
CW/CCW
35/36
74/75
CC TYPE = NOTE
ENC/CENTER
31/0F
70/4E
CC TYPE = ABSOLUTE
ENC/CENTER
33/15
72/54
CC TYPE = ABSOLUTE
Pitch Slider
VR/CENTER
PITCHBEND/18
76/57
START
VR
27
66
BRAKE
VR
2D
6C
SW/LED
02/02
41/02
CUE
SW/LED
2E/2E
6D/2E
DATABASE
SW/LED
10/10
4F/10
FX SYNC
SW/LED
11/11
50/11
HOLD
SW/LED
0B/0B
4A/0B
FX RATIO
SW/LED
2F/2F
6E/2F
ECHO
SW/LED
05/05
44/05
FLANG.
SW/LED
29/29
68/29
FILTER
SW/LED
23/23
62/23
LOOP
SW/LED
30/30
6F/30
IN
SW/LED
04/04
43/04
OUT
SW/LED
17/17
56/17
RELOOP
SW/LED
1D/1D
5C/1D
REV
SW/LED
0A/0A
49/0A
DELETE CUE
SW/LED
08/08
47/08
RECORD CUE
SW/LED
0E/0E
4D/0E
SAVE TRACK
SW/LED
2C/2C
6B/2C


