3
On the Ghost.exe menu, click GhostCasting, then select one of the following:
Connect to the session using Multicasting
Multicast
Connect to the session using direct broadcasting
Direct Broadcast
Connect to the session using Unicasting
Unicasting
4
In the GhostCast Session Name to Join dialog box, type the session name.
5
Click OK.
6
Select the disk from which to take an image.
7
Click OK.
8
Select the partition from which to take an image, if required.
9
Click OK.
10
Select the level of compression that you require.
11
Click Yes to begin.
See
“Running Ghost.exe on a client computer”
on page 115.
Restoring an image file onto client computers
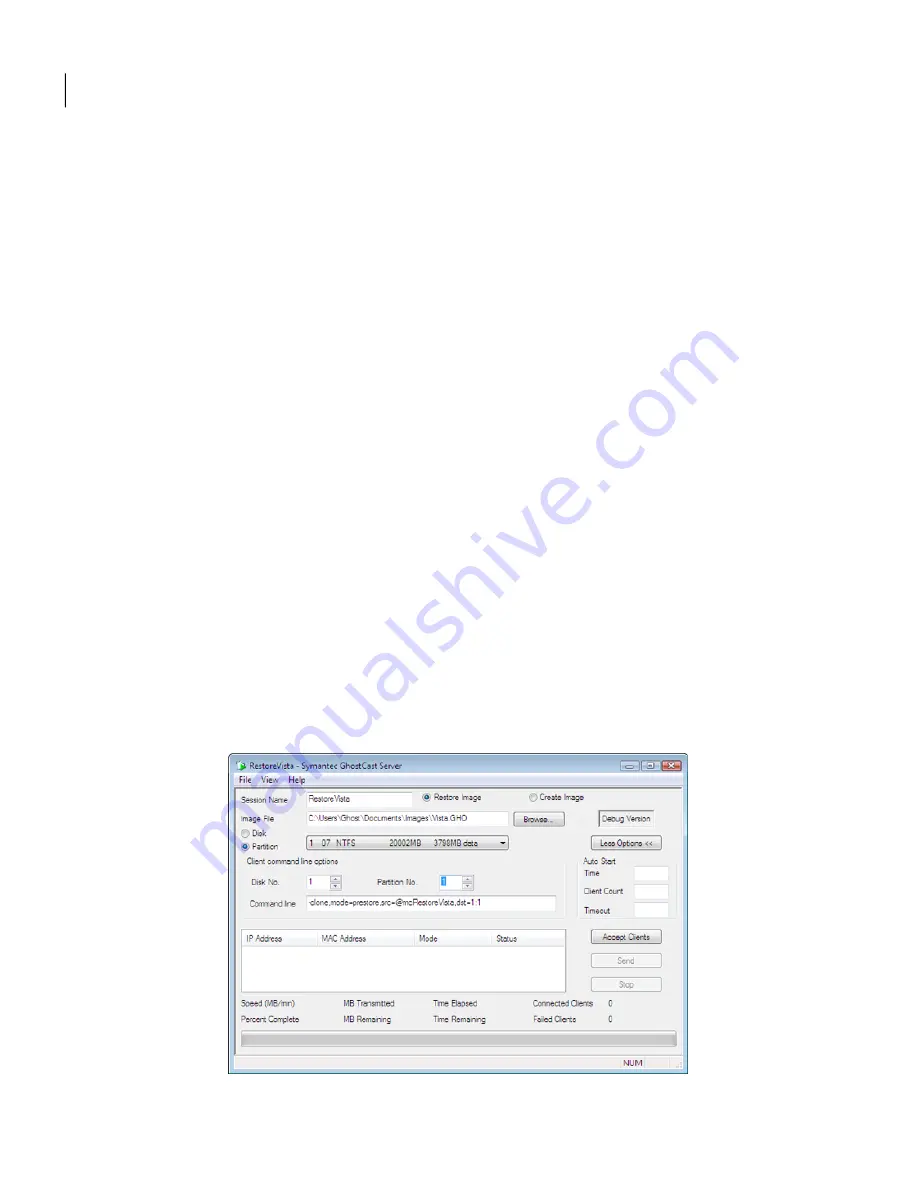
To restore an image file, you must first start a GhostCast session on the GhostCast
Server. Once you create a session, connect the client computers to the GhostCast
session.
Using GhostCasting to create and restore images
Restoring an image file onto client computers
106
Содержание GHOST IMAGING FOUNDATION 7.1
Страница 1: ...Symantec Ghost Imaging Foundation 7 1...
Страница 3: ...Symantec Corporation 20330 Stevens Creek Blvd Cupertino CA 95014 http www symantec com...
Страница 78: ...Managing partitions using GDisk Support for large hard disks 78...
Страница 100: ...Editing registry keys and values using GhRegEdit Using GhRegEdit 100...
Страница 116: ...Using GhostCasting to create and restore images Running Ghost exe on a client computer 116...
Страница 122: ...GhostCasting from the command line GhostCast Server command line options 122...
Страница 130: ...GDisk disk wipe specifications Determining disk size 130...
Страница 166: ...Ghost for Linux Symantec Ghost utility support 166...
Страница 170: ...Configuring firewalls Symantec Ghost port configuration 170...
Страница 180: ...Troubleshooting Problems running Symantec Ghost 180...


