


10
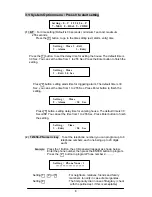
Press 1 to change the Install code menu.
Press 2 to change the Master code menu.
3.2: Sequence Programming Menu
This menu for code learning establishes a link between all sensors/other wireless
devices and the main console. The main console has to learn the code for all
sensors/other wireless devices and set a sequence learning order, as well as assign the
zone for all programmed sensor/accessory devices. The system can be programmed for
up to 63 devices. It is recommended that the sequence learning order number be
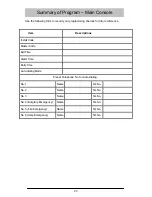
marked on the individual wireless device and recorded in the ‘Summary of Sensors and
Zones Settings”, so that the user can replace/clear the wireless device if it’s required
In the system menu,
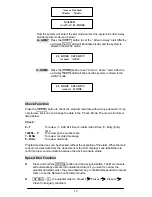
Press 1 to go into the sequential programming mode
(01 sequence learning order)
The method for sensors learning
:
1.
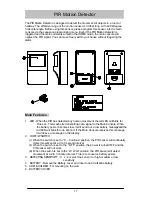
PIR Motion Detector :
Install the Battery and select the Power Switch position from OFF to C
position. PIR sensor LED will light for 1 Sec. This means that the sensor will
transmit a 1sec signal. You can also move in the front of the PIR. It will detect
your movement and transmit a 1 sec signal. The sensor will “learn” into the
main console.
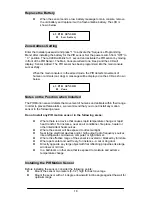
2.
Door / Window Detector :
Install the Battery and let the magnetic switch go from a close position to an
open position. The LED will light for 1 Sec. The sensor will “learn” into the
main console.
3.
Remote Control handset :
Install the Battery and press the PANIC button. The LED will light for 1
Sec. The sensor will “learn” into the main console.
4.
Smoke Detector :
Install the Battery and press the S1 button. The LED will light for 1 Sec.
The sensor will “learn” into the main console.
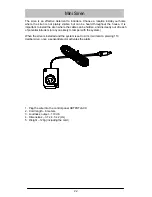
5.
Gas Detector :
Plug-in the AC power and press the TEST button. The LED will light for 2
Sec. The sensor will “learn” into the main console.
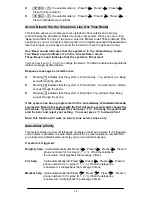
6.
When the sensor is ‘learned” into the main console, it will show the message
listed below. It will automatically advance to the next sequencing learning
order position.
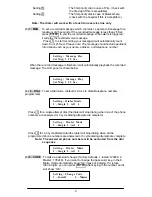
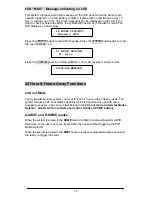
Setting : Change Code
1 – Install
: 1 2 3 4 5
6
Setting : Change code
2 – Master : 1 3 5 2 4 6
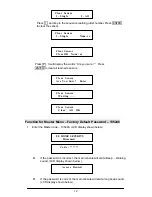
SYS_OPTS: 0-SYS_OPTS
1 – SEQ 2 – REPLAC 3 – CLR
Sequential Pgming
Trigger Sensor 01
Содержание SY4100
Страница 28: ...27...