63
Click for contents
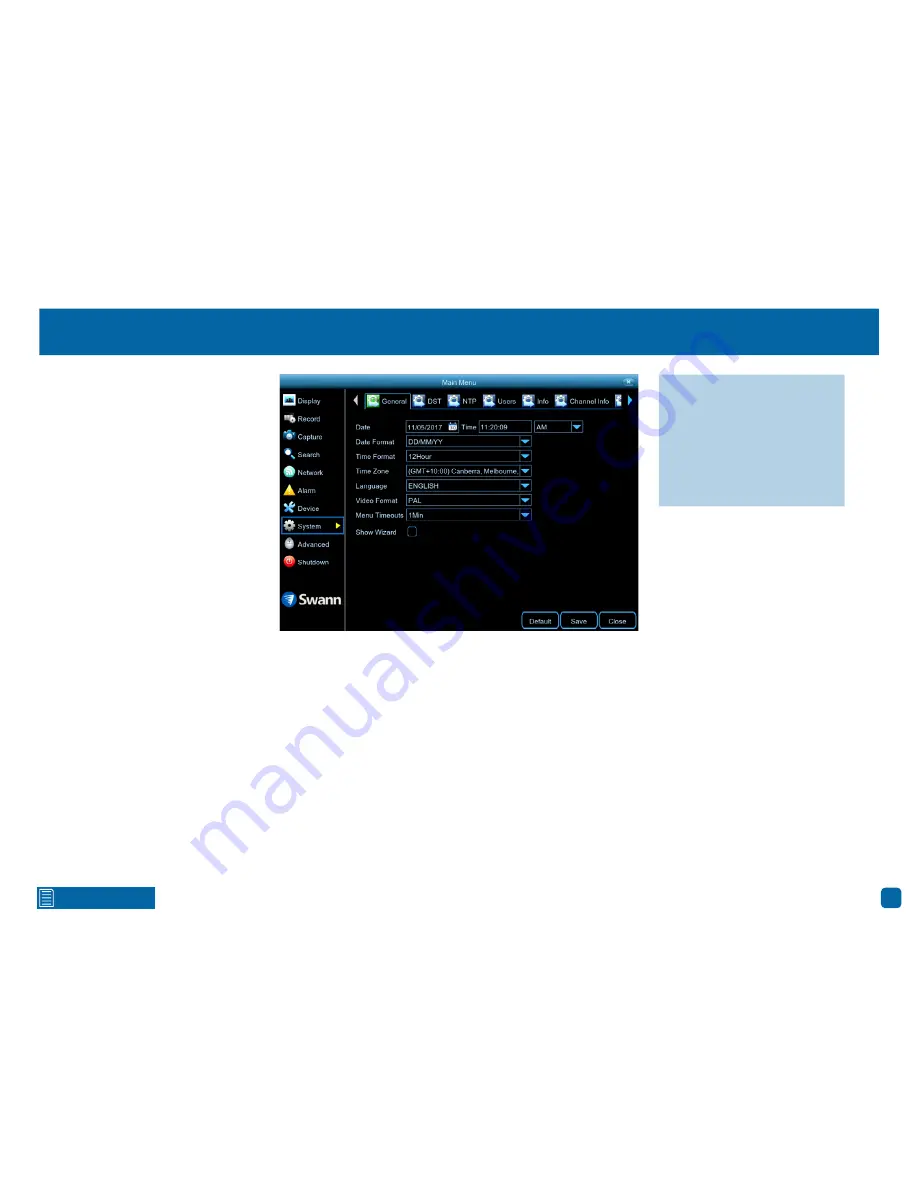
System: General
Date:
Click the calendar icon to change the date.
Time:
Click the dialogue box to change the time. Click the drop down menu
to select AM or PM.
As NTP is enabled by default, the date and time should always remain accu-
rate.
Date Format:
Click the drop down menu to select the preferred date format.
Time Format:
Click the drop down menu to select the preferred time format
(the playback interface will display in 24-hour time only).
Time Zone:
Select a time zone relevant to your region or city.
Language:
Select a language you would like the system menus to be dis-
played in. Multiple languages are available.
Video Format:
Select the correct video standard for your country. USA and
Canada are NTSC. UK, Australia and New Zealand are PAL.
Menu Timeouts:
Click the drop down menu to select the time your NVR will
exit the Main Menu when idle. You can also disable this by selecting “OFF”
(password protection will be temporarily disabled).
Show Wizard:
Click the checkbox if you would like to display the Startup Wiz-
ard each time you turn on or reboot your NVR.
·
Don’t forget to click “Save”
to apply settings.
·
Click the “Default” button to
revert back to default settings.
·
Click the “Close” button to
exit the Main Menu.


