


26
Click for contents
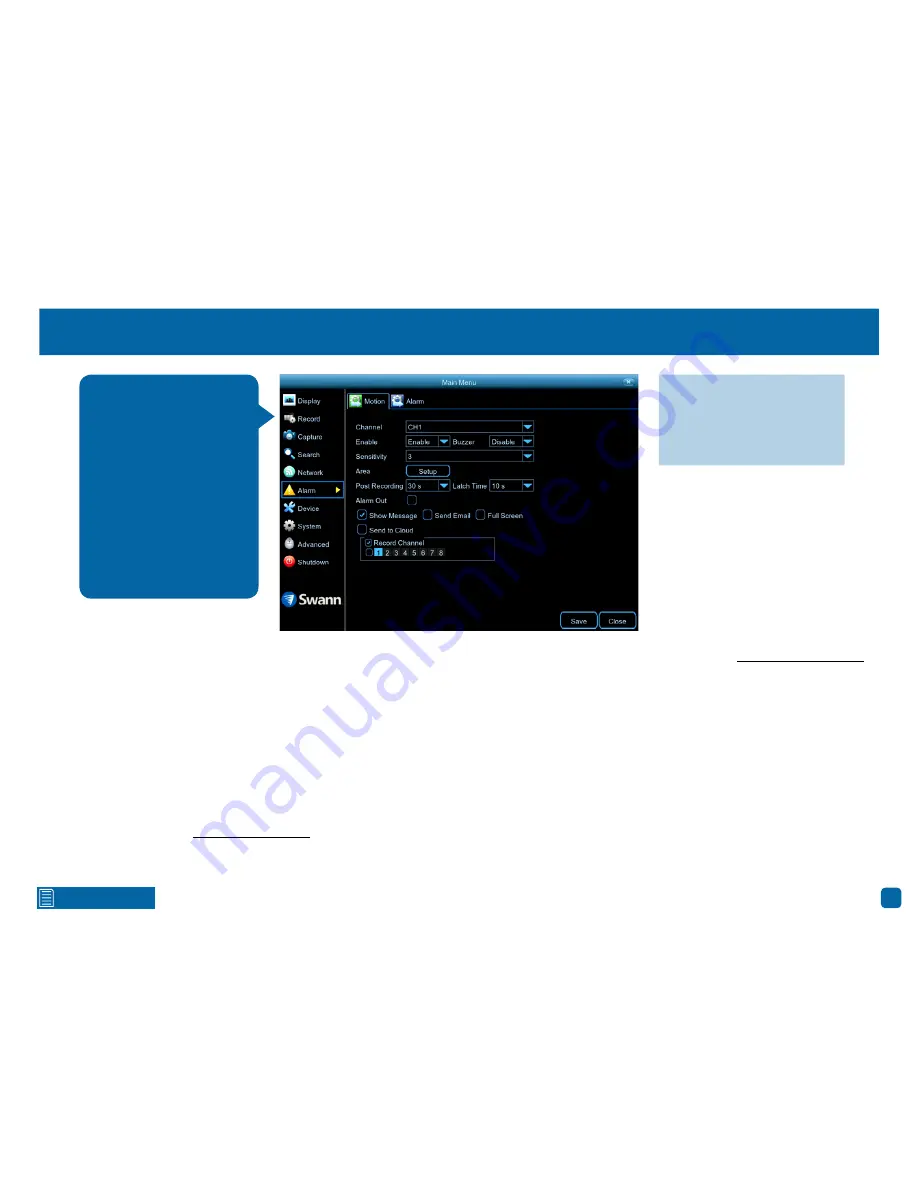
Alarm: Motion
Channel:
Select a camera that you would like to edit.
Enable:
If for some reason motion detection is not required, you have the
option to disable it.
Buzzer:
When motion has been detected, you can enable the NVR’s buzzer to
alert you for a predetermined amount of time.
Sensitivity:
This option allows you to change the sensitivity level. The higher
the number, the more sensitive your NVR will be when detecting motion. For
most instances, the default selection will be suitable, however it’s recom-
mended to conduct a test to see if the sensitivity level is correct for the cam-
era’s location (see page 29 - Motion Detection Tips).
Area:
Click the “Setup” button to change the default motion detection area.
The entire view of the camera is enabled for motion detection, however you
can select certain areas if you wish (see page 28 - Motion Detection Setup).
Post Recording:
This option instructs your NVR to record for a set period of
time after an event has occurred. For most instances, the default selection
will be suitable, however you can change this if you wish.
Latch Time:
If you have an alarm device connected to the alarm output (such
as a siren), you can control how long it will be active for when motion has
been detected. Click the drop down menu and adjust accordingly.
Alarm Out:
Click the checkbox to enable the alarm output when motion has
been detected.
(continued on next page)
When motion has been de-
tected by one or more cam-
eras, your NVR will alert you
to a potential threat at your
home. It does this by send-
ing you an email alert with an
attached snapshot from the
camera to use as a reference
and enabling the NVR’s buzz-
er (if enabled). You also have
the option to copy snapshots
to the cloud via Dropbox.
·
Don’t forget to click “Save”
to apply settings.
·
Click the “Close” button to
exit the Main Menu.


