


48
Click for contents
4.
This button allows you to edit the video by set-
ting mark in and out points on your video which
you can then copy to a USB flash drive. When you
have selected a video to play, press this button at
the mark in point and press it again at the mark
out point. Press the button again to save (a disk
icon will be shown). For the backup type, leave
the default selection or change to AVI or MP4 for
wider playback compatibility on your computer
(we recommend VLC media player software, you
can download a free copy from www.videolan.org).
Insert a USB flash drive to your NVR then click
“Save”. You have the choice of formatting the flash
drive or creating a new folder if required. Click
“OK” to save then click “Close” when finished.
5.
Click this button to mute or unmute the audio.
6.
Click and hold the slider left or right to change
the volume level (the cameras included with your
NVR do not record audio).
Video Type:
Indicates the video type on the time-
line.
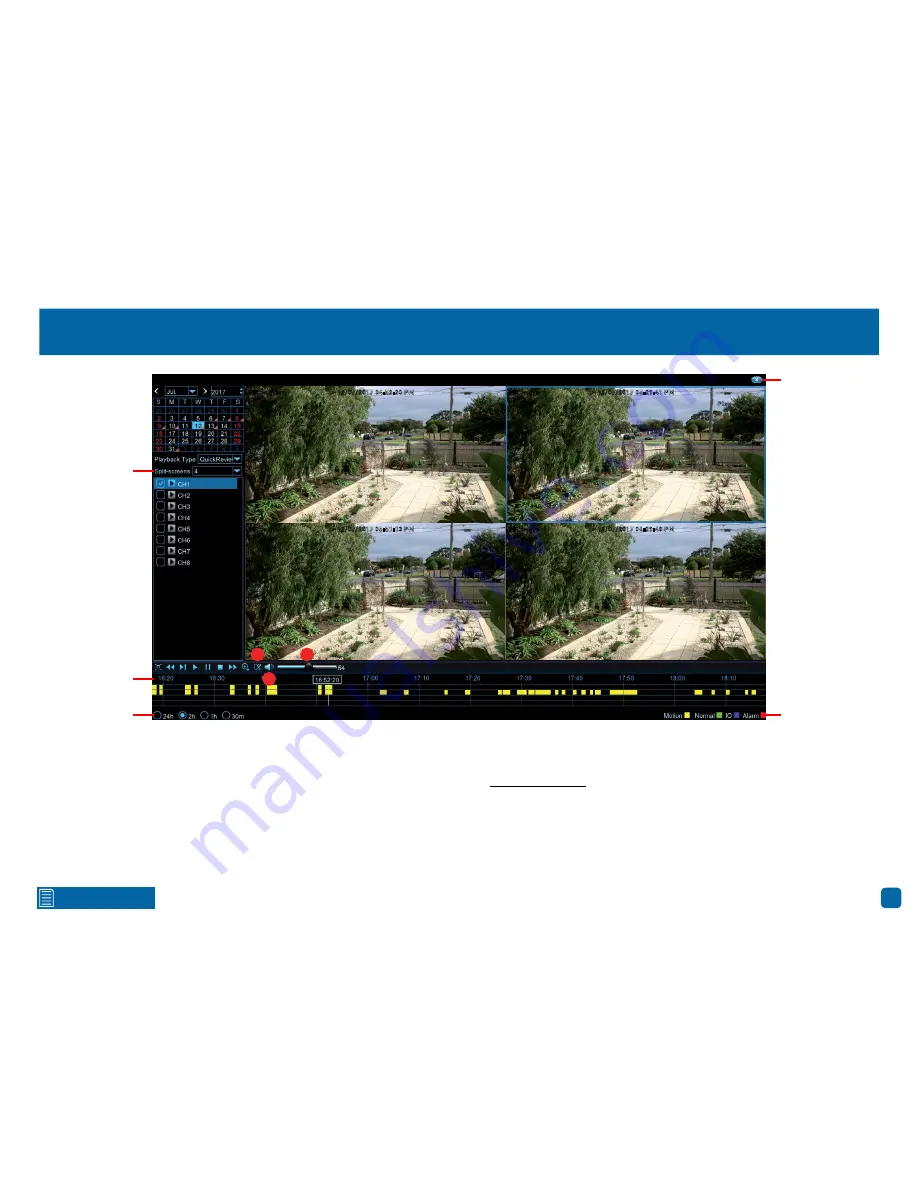
QuickReview Playback
12/07/2017 04:52:20 PM
Front Yard
12/07/2017 05:29:41 PM
Front Yard
Play
12/07/2017 05:51:13 PM
Front Yard
12/07/2017 06:39:48 PM
Front Yard
Click to close
Video Type
Time Period
4
5
6
Timeline
Split-screens


