16
Click for contents
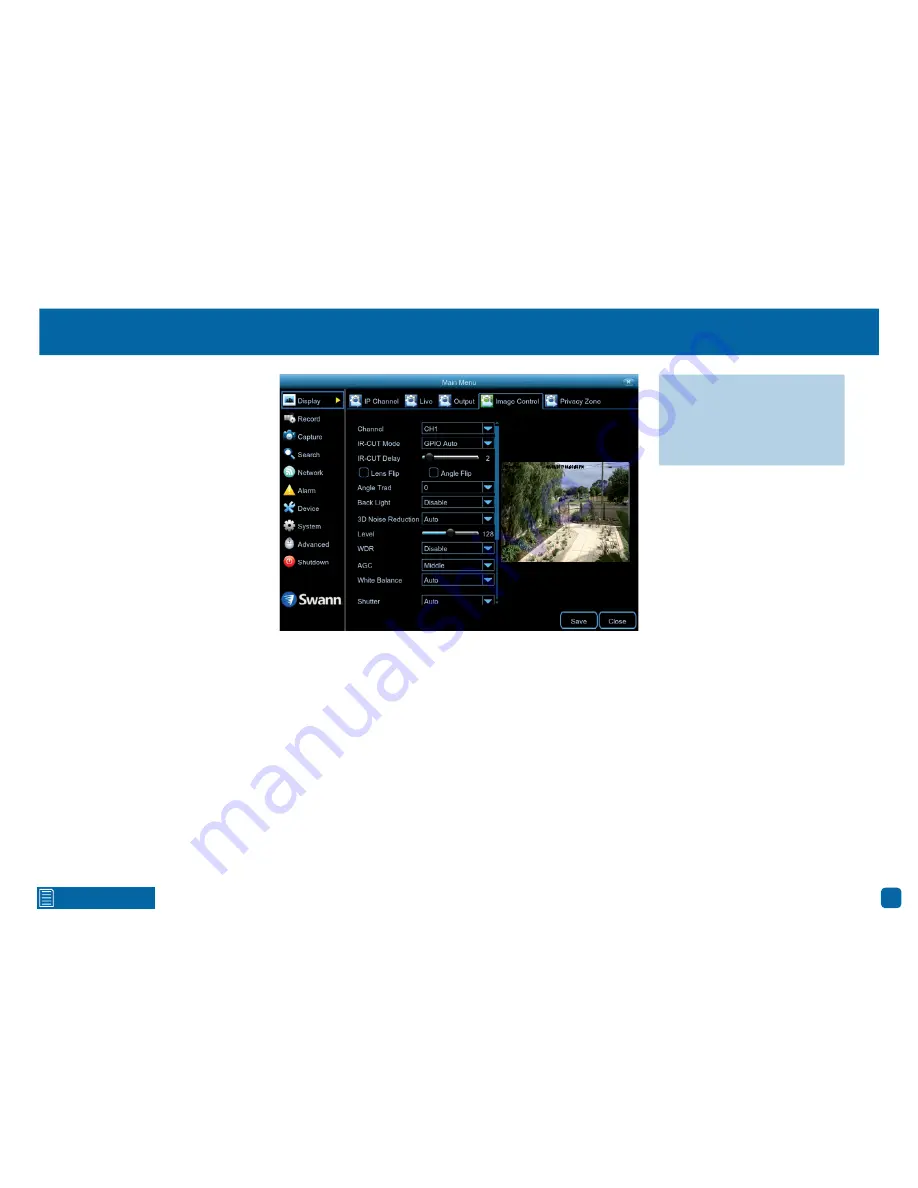
Display: Image Control
White Balance:
This function adjusts for lighting in order to make white ob-
jects appear white in photos. One of the factors that affect correct image re-
production is the light source which illuminates the scene. One of the indi-
cators for an improper white balance setting are dark colors which appear
faded, shifted, or a completely different color altogether. If this is happening,
click the drop down menu and change this to “Manual”. If the colors appear
correctly, leave the default setting. You can also select “Indoor” if the camera
has been mounted inside a place of residence.
Manual:
When selecting this mode, click and hold the red, green and blue
sliders left or right to change.
Shutter:
This function controls the length of time a camera’s shutter is open
and the amount of light reaching the sensor. In low light situations, the shut-
ter needs to stay open longer in order for the sensor to receive enough light.
The default setting will be suitable for most camera locations.
Time Exposure:
When selecting “Manual”, click the drop down menu to se-
lect a different exposure time. The lower the number, the slower the shutter
speed (this will create a motion blur effect). Some experimentation is recom-
mended to select the best settings.
Defog Mode:
This function extends visibility and improves video quality if
there is moderate to heavy fog or haze. The default setting will be suitable for
most camera locations. If selecting “Manual”, click and hold the slider left or
right to change.
·
Don’t forget to click “Save”
to apply settings.
·
Click the “Close” button to
exit the Main Menu.
09/05/2017 04:30:15 PM
Front Yard


