21
20
HD Sports
HD Sports
OPTIONS MENUS
You can use the OPTIONS menu to change many of the parameters for VIDEO,
PHOTOS and SYSTEM functions.
To see and use the OPTIONS menu, you need to have the LCD attached since
it has the buttons you use to navigate your way around. You can use the LCD
attachment to view the OPTIONS or you can view them on an external TV or
monitor if connected(see “Playback and Live viewing” on page 27).
Navigation
The following tables detail the parameters you can change and what they mean.
To navigate the menus and change parameters:
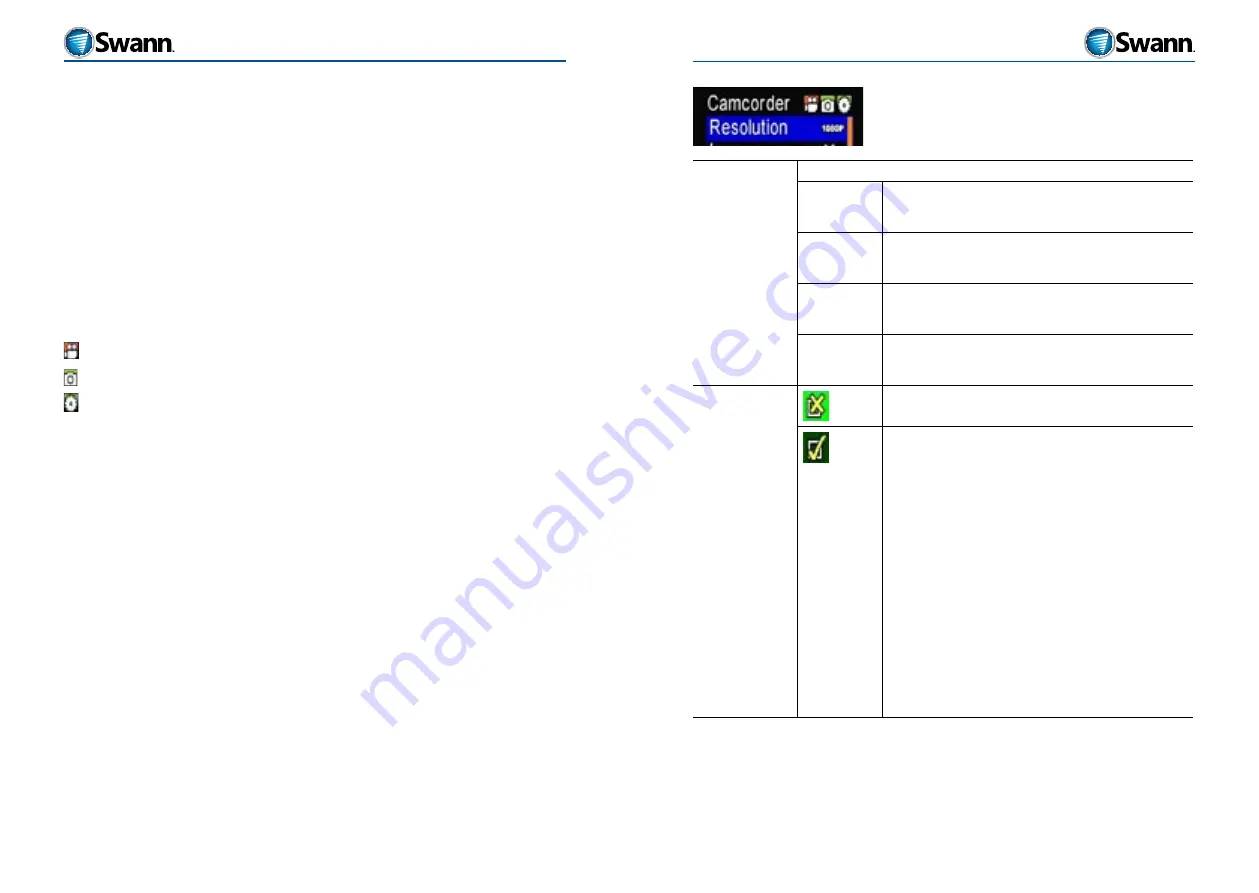
Press the “M” (MENU) button to bring up the menu. There are three main sections
indicated by the three icons in the top right of the screen.
CAMCORDER
: for settings related to video
CAMERA
: for settings related to photos
SETUP
: for settings related to the system-wide operation of the unit
To adjust a setting:
•
Attach the rear LCD screen (see “Attaching/removing the LCD screen” on page
16)
•
Turn on the unit
•
Press the M (MENU) button on the LCD screen attachment
•
Use the < or > button to move left or right across the three main settings. The
icon setting that is currently able to be edited is colored red, the other two will
be green. Move left or right until the icon (top right) representing the menu
you want to edit is highlighted red and the relevant description is shown in
the top left.
•
Use the + or - buttons to move up or down to the selection you want to edit.
•
Press the OK button to enter editing mode for that feature/option.
•
Use the < or > button to move to the value you want to select for that feature.
•
Press the OK button to select and save that feature.
•
If you enter editing mode and want to cancel without making a selection, just
press the MENU button once to go back to the MENU list.
Camcorder menu
Resolution
Sets the VIDEO resolution.
1080p
1920*1080 resolution.
On a full charge, the camera will record up to 2.5 hours in
this resolution.
720p
1280*720 resolution.
On a full charge, the camera will record up to 2.5 hours in
this resolution.
WVGA
848*480 resolution.
On a full charge, the camera will record up to 3 hours in this
reoslution.
QVGA
320*240 resolution.
On a full charge, the camera will record up to 3.5 hours in
this resolution.
Laser Sync
Turns off the laser pointing function.
Activates the laser pointer. When the laser is switched on
from this menu, a laser icon replaces the VIDEO or AUDIO
recording icon in the top left of the LCD screen. This icon
does not appear if the laser is manually switched on.
The laser light can also be turned on and off by long pressing
(for about 3 seconds) the RECORD button on the camera
or the SNAPSHOT button on the remote control (see “The
Remote Control” on page 33). Activating the laser in this
way does not affect the setting you have selected here.
The laser pointer fires a red laser from the front of the unit
which can be bounced off walls and other surfaces. It is useful
for pinpointing where the lens is looking and therefore what
it is likely to record when shooting VIDEO or a SNAPSHOT
without the need for the LCD screen to preview the image.
WARNING: Do not look into the laser or shine it near eyes as
it could cause damage to the eyes.


