4
5
Chapter 1 - Getting Started
Chapter 1 - Getting Started
Connect Your Cinelink™ Player
The basic method of connecting the Cinelink™ player is described
below. Your particular installation environment may require extra
equipment and/or adapters.*
IMPORTANT!
Do not connect the Cinelink™ player's power cord
until all other connections have been made and your display/
projector is powered on
.
Step 1
- Connect an HDMI cable from
HDMI 1
on the Cinelink™
player to your display. Power on your display.
Step 2
- Connect a network cable from the Cinelink™ player’s
LAN port
to your internet router or switch.
Step 3
- Remove the
USB receiver
from within the remote
control’s battery compartment and insert it into one of the two
front
USB ports on the Cinelink™ player
. Install the 2 AAA
batteries into the remote and replace the battery cover.
Step 4
- Connect the
power adapter
to the Cinelink™ player and
plug the opposite end into an electrical socket (preferably one
that is surge-protected).
Optional
- Connect a 2
nd
monitor to
HDMI 2
on the Cinelink™
player for dual-display mode.
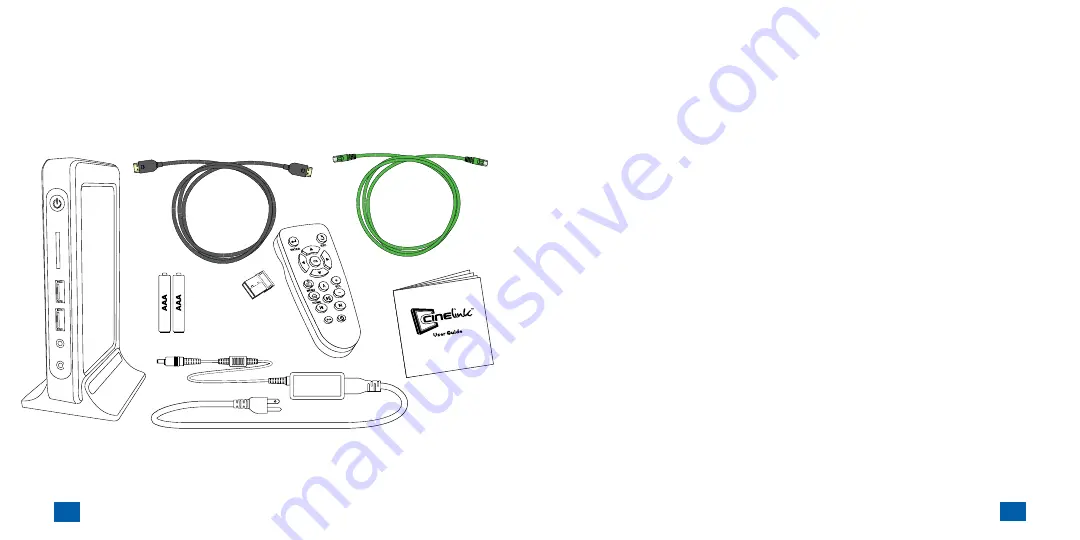
What’s Included?
Please be sure to check for the following items in the box:
HDMI
Cable
Remote
Control
Power Adapter
Cinelink™ Player
2X AAA
Batteries
User Guide
USB
Receiver
(ships inside
remote)
Network
Cable
*
Adapters not included. Please note, 1080p output is only possible if HDCP is maintained between
the Cinelink™ player and the display device - otherwise, video quality will be reduced to SD.
Содержание Cinelink
Страница 1: ...User Guide...


