25
AVSI-12 Interview Room System Setup and User Guide
SECTION 3: SYSTEM SETUP
b.
For other items you selected, open the drop down lists for the Date/Time Format, Display Mode and OSD Font as
needed and select the best choice for your camera.
c.
Drag the text boxes to the best locations in the camera field of view.
6.
Click
Apply
to save your settings.
3 .9 .2
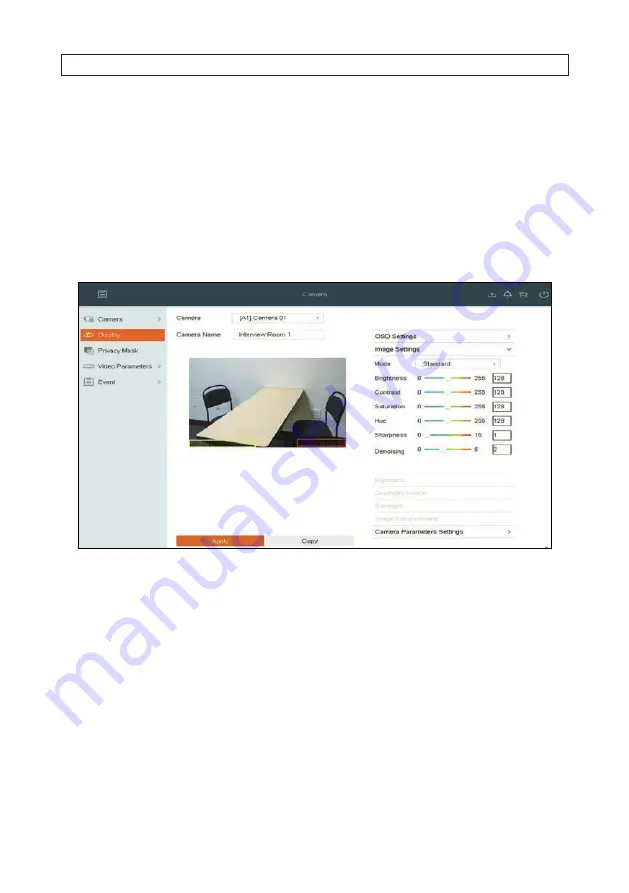
Camera Image Settings
1.
In the
Display
menu, click the
expand-more
icon on the
Image Settings
line.
2.
In the
Camera
field drop down list, select the camera you want to configure. In the example above, [
A1] Camera 01
is
selected.
3.
Click the expand icon for
Image Settings
.
4.
Open the
Mode
drop-down list, and then select the option that best applies to the where the camera is installed. If you are
configuring an IP camera, the only option is
Custom
.
5.
Adjust the sliders for the
Brightness
,
Contrast
,
Saturation
,
Hue
,
Sharpness
and
Denoising
to produce the best
image. If you are configuring an IP camera, options for
Sharpness
and
Denoising
are not available.
6.
If you are configuring an IP camera, open the drop down lists for
Enable Rotation
,
Mirror Mode
and
Scene Mode
, then
select best option for each for this camera installation.
7.
Click
Apply
to save your settings for this camera.


