Chapter 4
Rackmount Installation
4-11
3. If you plan to connect more than one disk array to a loop, make sure the Box ID
for each disk array is a unique value (0–3).
See Section 5.5 “Set-Up 1” on page 5-6.
4. Using the
luxadm
command, enter a unique Box Name for each disk array.
See Section 5.5 “Set-Up 1” on page 5-6.
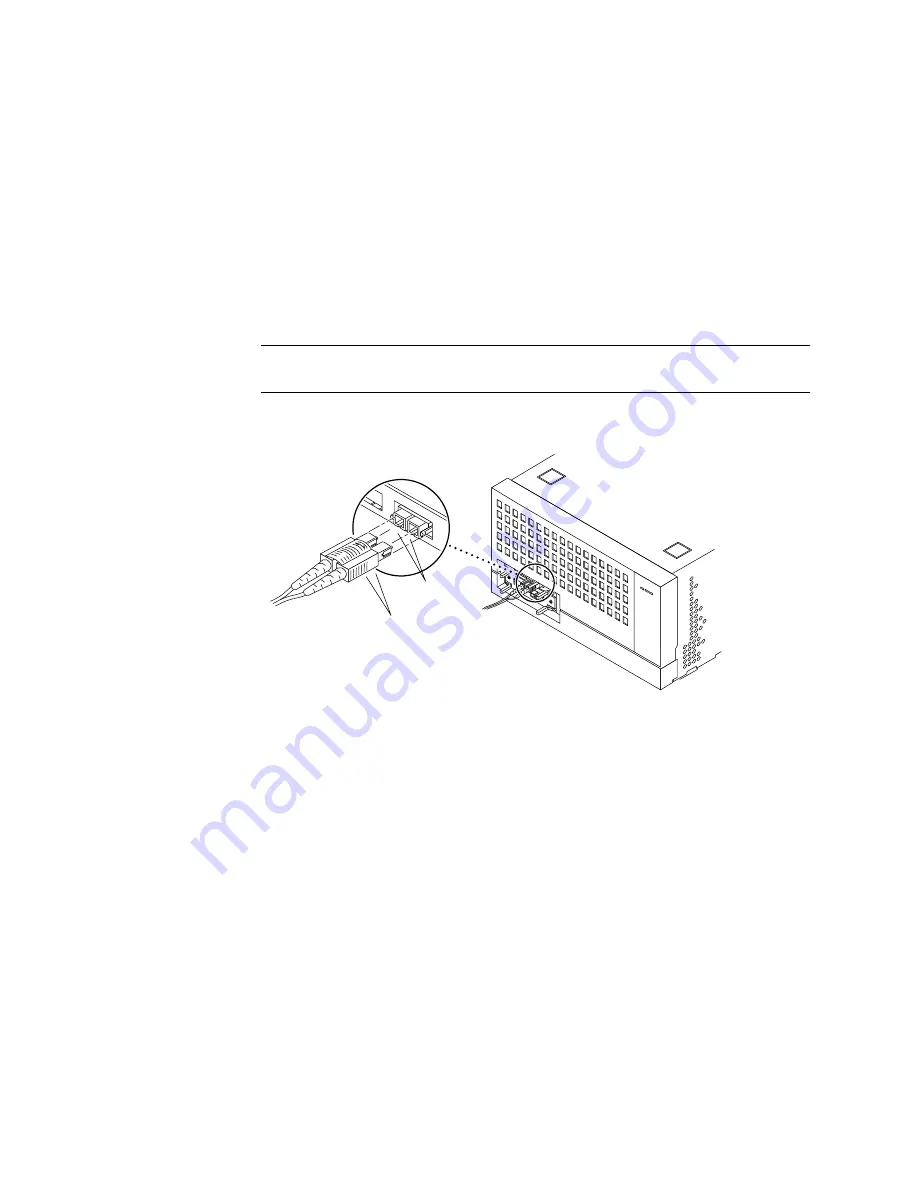
5. Connect one end of the fiber optic cable to the GBIC (
Note –
Fiber optic cable connectors are keyed to prevent improper insertion; they
can be installed only as shown in
.
FIGURE 4-9
GBIC on the Rear Panel
6. Connect the fiber optic cables to the other devices that will be connected to the
disk array.
Refer to the Sun StorEdge A5000 Hardware Configuration Guide and the documentation
that came with the devices.
7. Repeat Step 2 through Step 6 to connect additional cables.
Notches
Keys
(on bottom)
Содержание STOREDGE A5000
Страница 12: ...xii Sun StorEdge A5000 Installation and Service Manual September 1999...
Страница 17: ...Contents xvii D 6 2 sf Driver Software Errors D 15...
Страница 18: ...xviii Sun StorEdge A5000 Installation and Service Manual September 1999...
Страница 22: ...xxii Sun StorEdge A5000 Installation and Service Manual September 1999...
Страница 26: ...xxvi Sun StorEdge A5000 Installation and Service Manual September 1999...
Страница 38: ...2 6 Sun StorEdge A5000 Installation and Service Manual September 1999...
Страница 40: ...3 2 Sun StorEdge A5000 Installation and Service Manual September 1999...
Страница 68: ...5 16 Sun StorEdge A5000 Installation and Service Manual September 1999...
Страница 76: ...6 8 Sun StorEdge A5000 Installation and Service Manual September 1999...
Страница 112: ...8 8 Sun StorEdge A5000 Installation and Service Manual September 1999...
Страница 116: ...A 4 Sun StorEdge A5000 Installation and Service Manual September 1999...
Страница 146: ...Index 4 Sun StorEdge A5000 Installation and Service Manual September 1999...


